


Cleaning the Self-Clean Oven (some models)
Adhere to the following cleaning precautions:
• Allow the oven to cool before cleaning.
• Wear rubber gloves when cleaning any exterior parts of the oven manually.
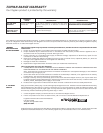
During the self-cleaning cycle, the outside of the wall oven can become very hot to the touch. DO NOT leave small
children unattended near the appliance.
Before cleaning any part of the oven, be sure the electronic oven control is turned off or else push CANCEL pad. Wait
until the oven is cool.
DO NOT use commercial oven cleaners or oven protective coatings in or around any part of the self-cleaning oven. DO NOT clean the oven
door gasket. The gasket on the oven door is essential for a good seal. Care should be taken not to rub, damage or move the gasket. DO
NOT use any cleaning materials on the gasket. Doing so could damage it. DO NOT use aluminum foil to line the oven bottom. This may
affect cooking or foil could melt and damage the oven surface.
A self-cleaning oven cleans itself with high temperatures (well above cooking temperatures) which eliminate soil completely or reduce it to a
fine powdered ash you can whisk away with a damp cloth.
Preparing the Oven for Self-Cleaning
1. Remove any excess spillovers in the oven cavity before starting the self-cleaning cycle. To
clean, use hot soapy water and a cloth. Large spillovers can cause heavy smoke or fire when
subjected to high temperatures. DO NOT allow food spills with a high sugar or acid
content (such as tomatoes, sauerkraut, fruit juices or pie filling) to remain on the surface as
they may cause a dull spot even after cleaning.
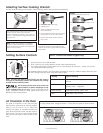
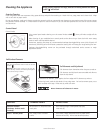
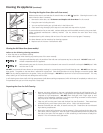
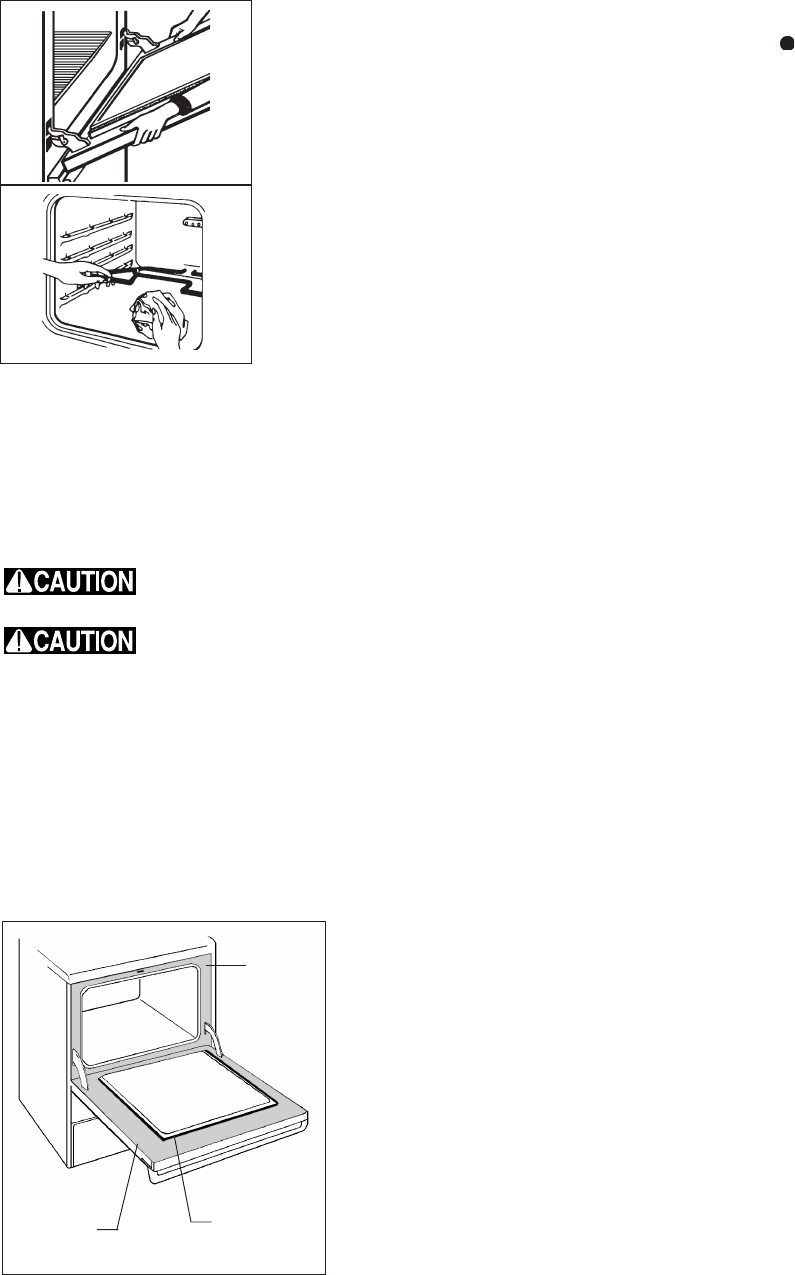
2. Clean any soil from the oven frame and the door liner (see illustration). These areas heat
sufficiently during a self-clean cycle to burn soil on. Clean with soap and water.
3. Remove the broiler pan and insert, all utensils and any foil. These items do not withstand
high cleaning temperatures.
4. Oven racks may be left in the oven or may be removed. If they go through the clean cycle,
their colour will turn slightly dull. After the cycle is completed and the oven has cooled, rub
the sides of the racks with wax paper or a cloth containing a small amount of baby oil or
salad oil. This will make the racks glide easier.
Cleaning the Appliance (continued)
Cleaning the Regular Oven (Non self-clean oven)
Make sure the oven is cool and that all control knobs are at OFF “ ” position. Cleaning the oven is a lot
easier when the door is removed.
1. Remove the oven door; see “To Remove and Replace the Oven Door” in this manual.
2. Empty the oven including the racks.
3. You can wash the broiler pan, grid and racks in the kitchen sink.
4. Clean oven lining thoroughly with soap and a wet cloth and wipe with a dry cloth.
To remove burned-on fat on oven walls, moisten soiled parts with household ammonia, using a wet cloth.
Follow suggested manufacturer’s cleaning method. (Do not remove the oven door when using
ammonia.)
Complete cleaning with a damp cloth and use a fine steel wool or scouring agent if necessary.
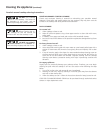
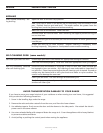
The lower element can be moved up for cleaning purposes.
5. Replace racks in the oven. Reinstall oven door.
DO NOT HAND
CLEAN SEAL
DO HAND
CLEAN DOOR
DO HAND
CLEAN
FRAME
General 11 information