26
Model C706Operating Procedures
080714
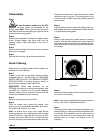
Disassembly
Step 1
Be sure the power switch is in the OFF
position. No lights should be illuminated on the
control panel. Note: Failure to follow this instruction
may result in severe personal injury to fingers or hands
from hazardous moving parts.
Step 2
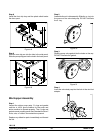
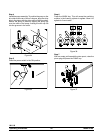
Remove the handscrews, freezer door, beater, beater
shoes, scraper blades, and drive shaft from the
freezing cylinder. Take these parts to the sink for
cleaning.
Step 3
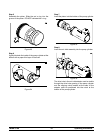
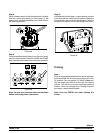
Remove the drive shaft from the drive hub in the rear
wall of the mix hopper.
Step 4
Remove the front drip tray and the splash shield.
Brush Cleaning
Make sure all brushes provided with the freezer are
available for brush cleaning.
Step 1
Prepare a sink with an approved cleaning solution
(examples: Kay- 5R or Stera- SheenR). USEWARM
W ATER AND FOLLOW T HE MANUFACTURER’S
SPECIFICATIONS. If another approved cleaner is
used, dilute according to label instructions.
IMPORTANT: Follow label directions, as too
STRONG of a solution c an cause parts damage, while
too MILD of a solution will not pr ovide adequate
cleaning. Make sure all brushes provided with the
freezer are available for brush cleaning.
Step 2
Remove the seal from the drive shaft.
Step 3
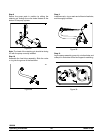
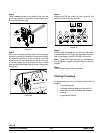
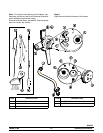
From the freezer door remove the gasket, front
bearing, pivot pin, adjustable draw handle, draw valve,
and prime plug. Remove all o- rings.
Note: To remove the o- rings, use a single s ervice
towel to grasp the o- ring. Apply pressure in an upward
direction until the o- ring pops out of its groove. With
the other hand, push the top of the o- ring forward and
it will roll out of the groove and can be easily removed.
If there is more than one o- ring to be removed, always
remove the rear o- ring first. This will allow the o- ring
to slide over the forward rings without falling into the
open grooves.
Step 4
From the pump cylinder; remove the retaining pin, mix
inlet adapter, valve cap, and the piston. Remove all the
o- rings and the valve gasket.
Step 5
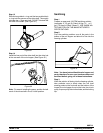
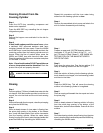
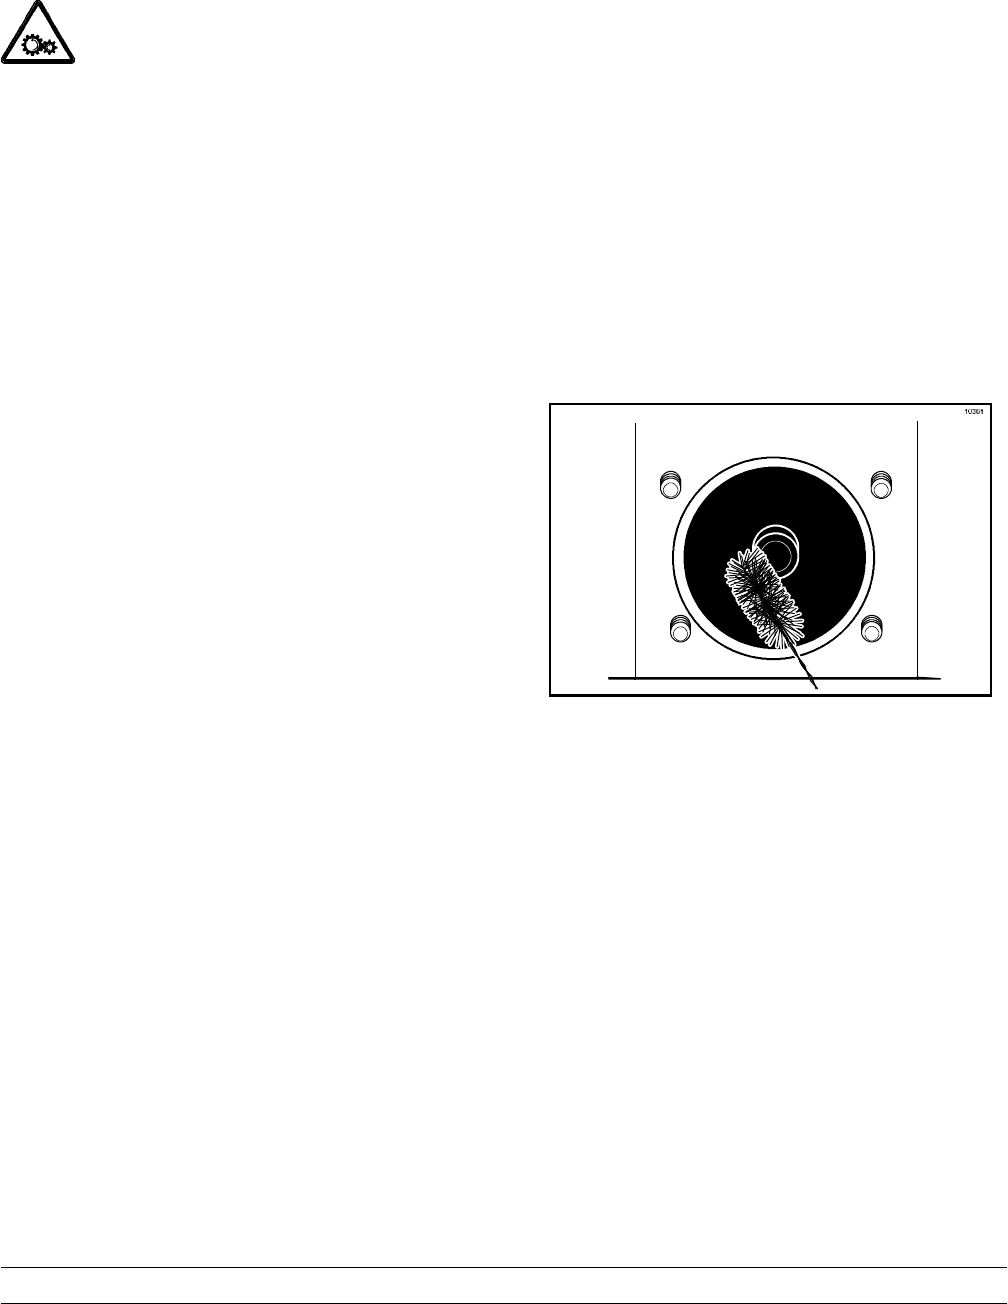
Return to the freezer with a small amount of cleaning
solution. With the black bristle brush, brush clean the
rear shell bearing at the back of the freezing cylinder .
Brush clean the drive hub opening inthe rearwall of the
mix hopper.
Figure 44
Step 6
Remove the rear drip pan from the side panel and take
it to the sink for cleaning.
Note: If the drip pan is filled with an excessive amount
of mix, refer to the Troubleshooting Guide.
Step 7
Thoroughly brush clean all disassembled parts in the
cleaning solution, makingsure all lubricant and mix film
is removed. Take particular care to brush clean the
hole for the draw valve in the freezer door. Place all
cleaned parts on a clean, dry surface t o air dry
overnight.


