


42 43
ENGLISH
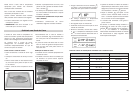
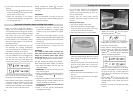
Electronic Clock Settings
1 Cooking Time: This setting allows you to
programme cooking time length, after
which the oven will turn off automatically.
2 Cooking Stop Time: This setting allows
you to programme the time for cooking to
stop, after which the oven will turn off
automatically.
3 Cooking Time and Cooking Stop Time:
This setting allows both cooking time
length and the stop time to be
programmed. The oven switches on
automatically at the set time and operates
for the cooking time it has been
programmed for. It switches itself off
automatically at the entered stop time.
4 Timer Alarm: An audible signal is produced
at the programmed time, even if the oven
is not being used.
5 Stand-by mode: This mode permits you to
choose between having the display screen
on (showing the time) or off (stand-by, with
nothing displayed). When the screen is off,
touching any part of the glassed front will
bring up the clock again, and the On/off
symbol will light up. When the oven is
turned off, the display screen will gradually
turn itself off.
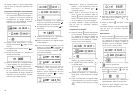
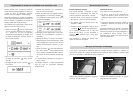
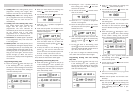
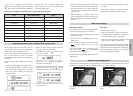
Programming Cooking Time
1 Touch the symbol which will stay lit up
in red. Touching the + and – symbols, you
will see the 5 clock settings on the screen:
cooking time, end time, alarm, setting the
clock and stand-by mode.
2 When you have chosen the cooking time
setting , touch the OK symbol.
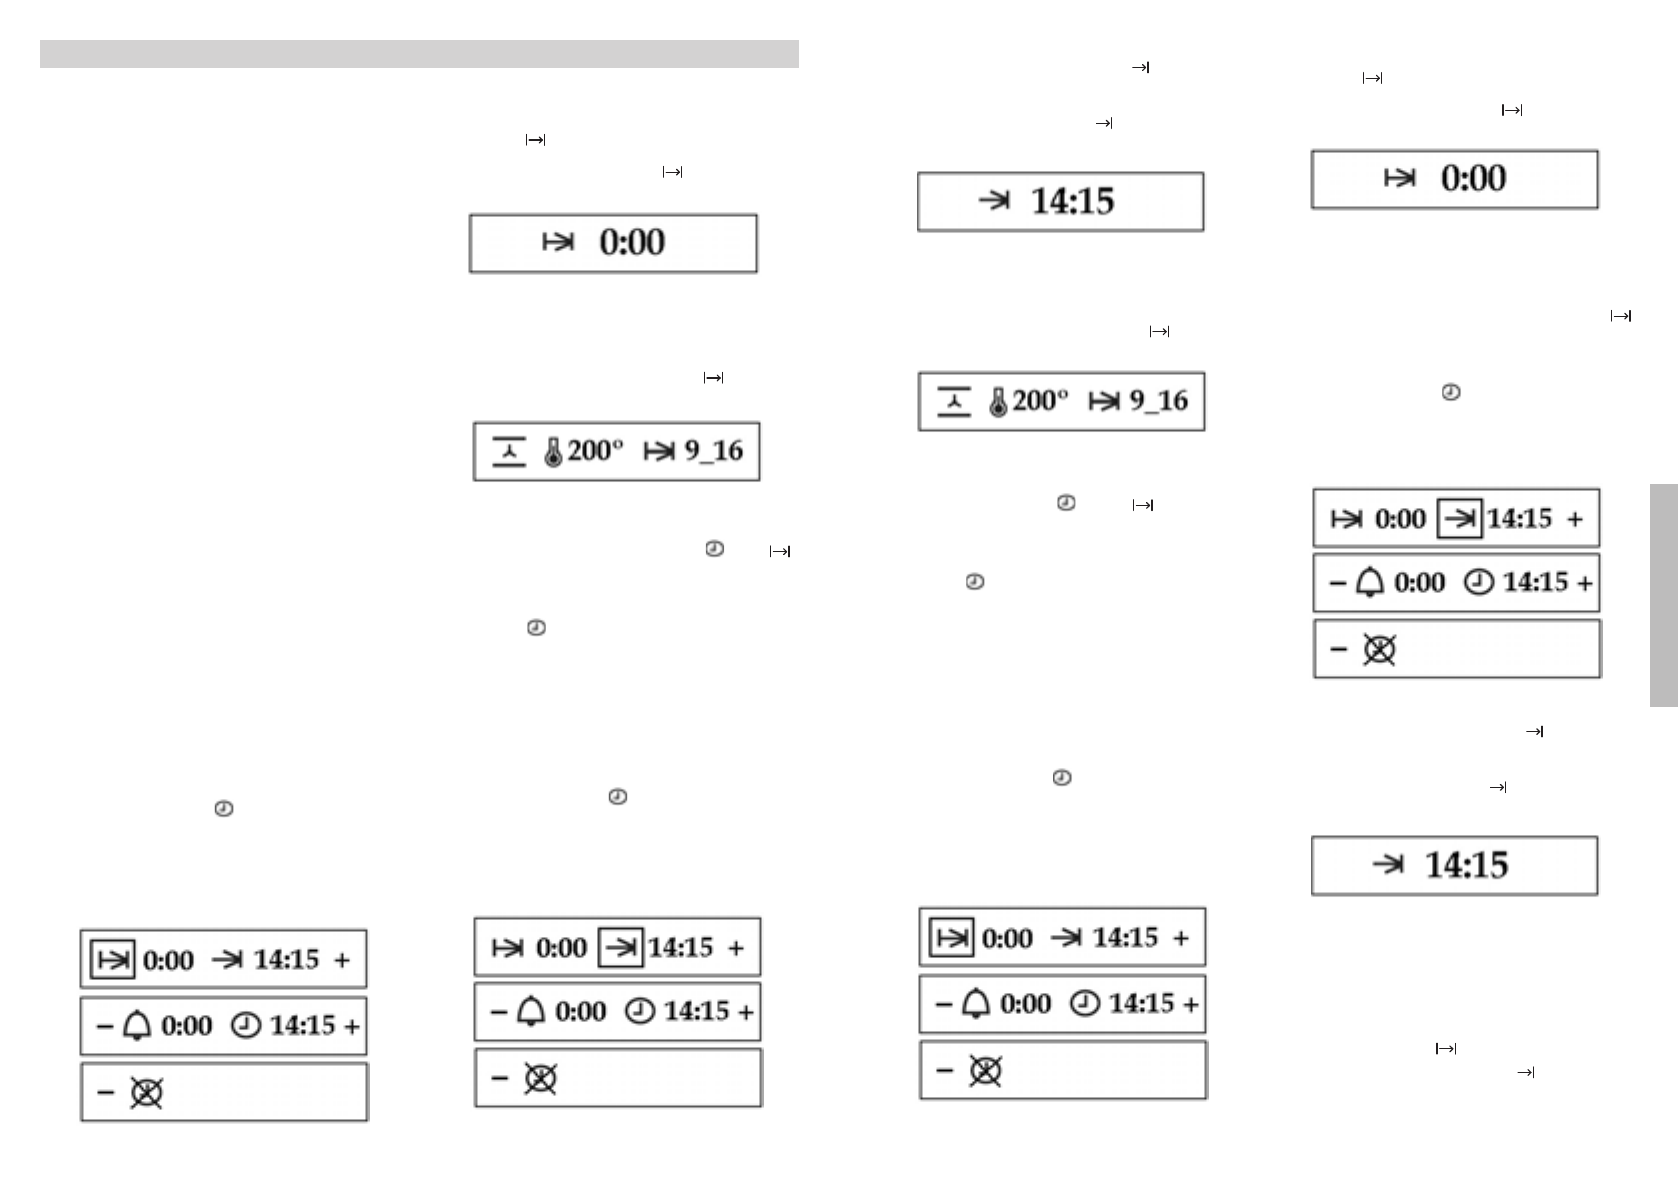
3 You will see the symbol and the indi-
cation 0:00 on the screen.
4 Touch the + or — symbols to programme
the cooking time.
5 Touch the OK symbol. You will hear a dou-
ble beep and see the symbol and the
selected cooking time.
6 After the programmed cooking time, the
oven will switch itself off, an alarm will
sound briefly, and the symbols and
will start blinking.
7 To stop the alarm or the blinking, touch
symbol . The oven will then show the
current time and the ON/OFF symbol will
be lit up in white. The oven is now off.
If you want to change the selected cooking
time, follow the instructions above again.
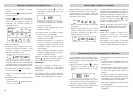
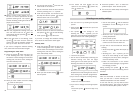
Programming the Cooking Stop Time
1 Touch the symbol which will stay lit up
in red. Touching the + and – symbols, you
will see the 5 clock settings on the screen:
cooking time, end time, alarm, setting the
clock and stand-by mode.
2 Touching the + and – symbols, select the
End Cooking Time setting , and then
touch the OK symbol.
3 You will see the symbol and the current
time on the screen.
4 Touch the + or — symbols to programme
the end of cooking time.
5 Touch the OK symbol. You will hear a dou-
ble beep and see the symbol and the
selected end time.
6 After the programmed time, the oven will
switch itself off, an alarm will sound briefly,
and the symbols and will start
blinking.
7 To stop the alarm or the blinking, touch
symbol . The oven will then show the cur-
rent time and the ON/OFF symbol will be lit
up in white. The oven is now off.
If you want to change the selected cooking
time, follow the instructions above again.
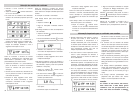
Programming Cooking Time and Cooking
Stop Time
1 Touch the symbol which will stay lit up
in red. Touching the + and – symbols, you
will see the 5 clock settings on the screen:
cooking time, end time, alarm, setting the
clock and stand-by mode.
2 When you have chosen the cooking time
setting , touch the OK symbol.
3 You will see the symbol and the indi-
cation 0:00 on the screen.
4 Touch the + or — symbols to programme
the cooking time.
5 Touch the OK symbol. You will hear a dou-
ble beep. On the screen the symbol
and the selected cooking time will be dis-
played.
6 Touch the symbol . Touching the + and –
symbols, you will see the 5 timer settings
on the screen: cooking time, end time,
alarm, setting the clock and stand-by mode.
7 Touching the + and – symbols, select the
End Cooking Time setting , and then
touch the OK symbol.
8 You will see the symbol and the current
time on the screen.
9 Touch the + or — symbols to programme
the end of cooking time.
10 Touch the OK symbol. You will hear a dou-
ble beep.
11 The oven will stay off. The screen will dis-
play the symbol and the cooking time
alternating with the symbol and the end
time, indicating that the oven is pro-
grammed.