IMPORTANT: Save these instructions for the Local Gas Inspector’s use.
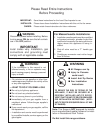
INSTALLER: Please leave these Installation Instructions with this unit for the owner.
OWNER: Please retain these instructions for future reference.
Please Read Entire Instructions
Before Proceeding
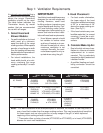
For Massachusetts Installations:
1. Installation must be performed by a qualified
or licensed contractor, plumber or gas fitter
qualified or licensed by the state, province or
region where this appliance is being in-
stalled.
2. Shut-off valve must be a “T” handle gas
cock.
3. Flexible gas connector must not be longer
than 36 inches.
IMPORTANT
Local codes vary. Installation, gas
connections and grounding must
comply with all applicable codes.
WARNING
Disconnect power before installing. Before
turning power ON, be sure that all controls
are in the OFF position.
WARNING:
If the information in this manual is not
followed exactly, a fire or explosion may
result causing property damage, personal
injury or death.
— Do not store or use gasoline or other flam-
mable vapors and liquids in the vicinity of this
or any other appliance.
— WHAT TO DO IF YOU SMELL GAS
■ Do not try to light any appliance.
■ Do not touch any electrical switch.
■ Do not use any phone in your building.
■ Immediately call your gas supplier from a
neighbor’s phone. Follow the gas supplier’s
instructions.
■ If you cannot reach your gas supplier, call the
fire department.
— Installation and service must be performed
by a qualified installer, service agency or the
gas suppler.
TO REDUCE THE RISK OF TIPPING OF THE
APPLIANCE, IT MUST BE SECURED BY A
PROPERLY INSTALLED ANTI-TIP DEVICE.
VERIFY THAT THE ANTI-TIP DEVICE IS ENGAGED
PER INSTALLATION INSTRUCTIONS. (NOTE:
ANTI-TIP DEVICE IS REQUIRED ON ALL 30" AND
36" RANGES)
Note: This Range is NOT designed for installa-
tion in manufactured (mobile) homes or for instal-
lation in Recreational Park Trailers.
Do Not install this range outdoors.
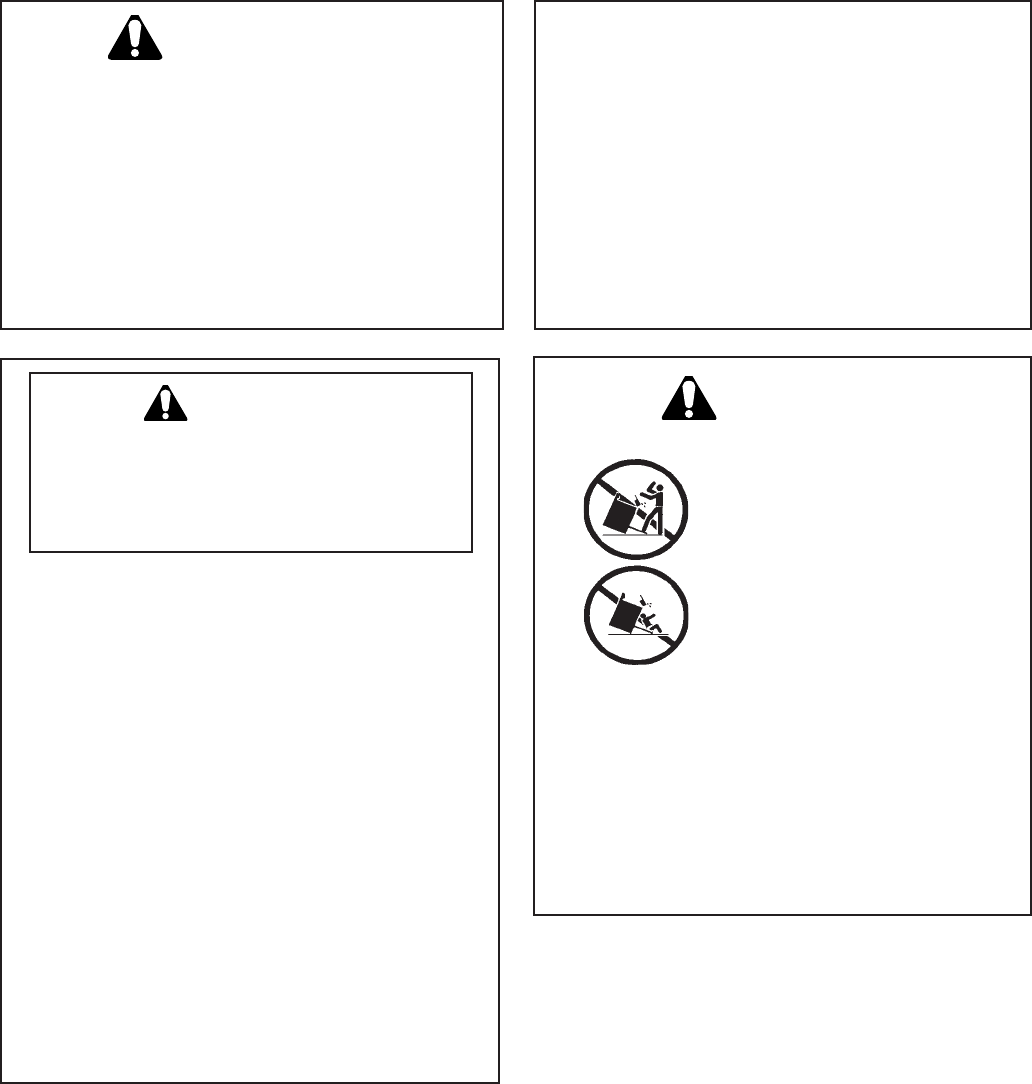
WARNING
■ All Ranges can tip
■ Injury to Persons
could result
■ Install Anti-Tip Device
■ See Installation
Instructions


