


02/2005 15 www.U-LineService.com
™
CO2075DWR — Ice Maker/Refrigerator
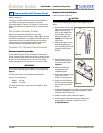
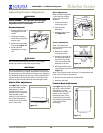
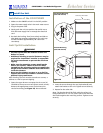
4. Using two of the screws (C) supplied, fasten the screws
through the bracket and into the counter, cabinet or wall.
IMPORTANT
Certain cabinets or countertops may require special
fasteners or additional wood blocking to anchor properly.
CAUTION
Make sure the screws are back far enough so they do not
damage any exposed front surface of the cabinet.
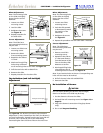
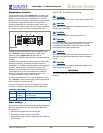
Installation Troubleshooting
Problem
Q
:
Water is leaking under the unit.
Solution
A:
A water leak under the unit is most likely caused by a bad
connection in the water supply line. Make sure the water
line’s brass fitting is screwed tight to its valve and
threaded correctly.
Problem
Q
:
The drawer remains open unless it is pushed closed.
Solution
A:
The drawer should be self-closing when it is open
approximately 8
"
. If this is not, re-check leveling from
front to back of the unit and readjust if necessary.
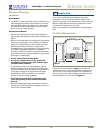
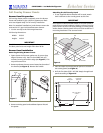
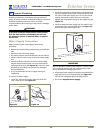
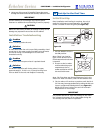
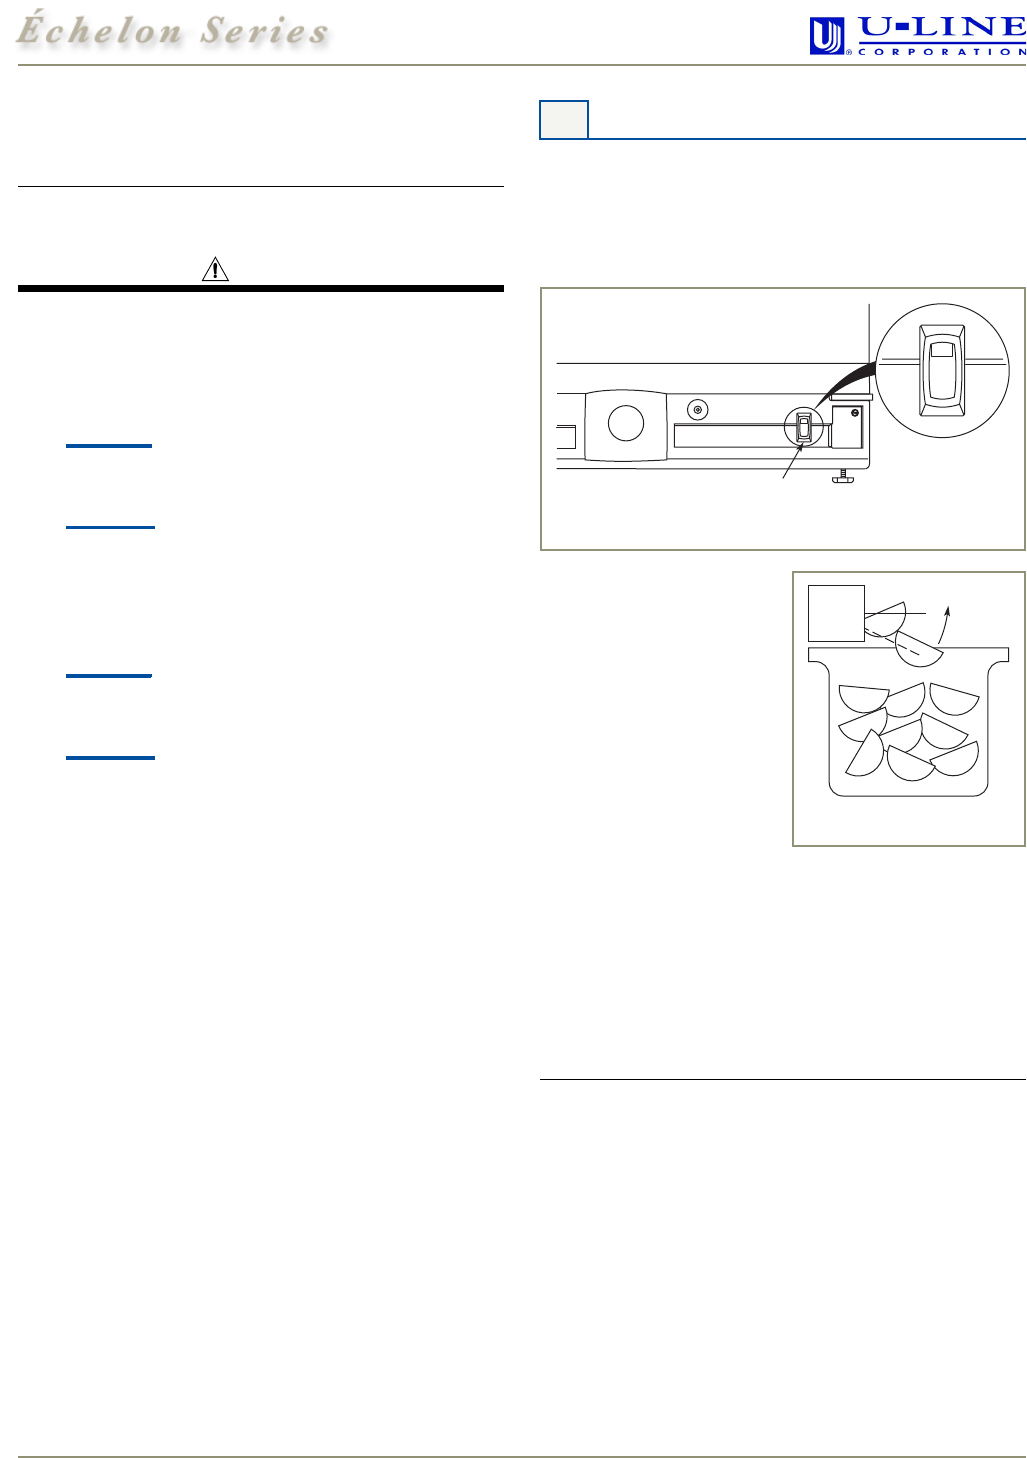
Initial Start-Up
Once installation and leveling is complete, the unit is
ready for initial start-up and operation. The ON/OFF
switch is located in the front grille (see Figure 30).
1. Put the ON/OFF switch in
the ON position.
Note: There is an interior
light in each drawer which
illuminates when the drawer
is opened.
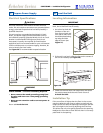
2. As soon as the ice maker
mold reaches the proper
temperature, the ice
maker mechanism will fill
the mold with water.
Note: The first cubes may be small because of air in the
water line. After two hours, cubes will be standard size.
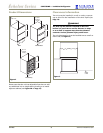
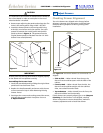
3. The ice maker will continue to produce until the bin is
full. You may interrupt production by raising the bin arm
into an upright and locked position (see Figure 31).
While the bin arm is locked, the unit will maintain
temperature for ice storage.
IMPORTANT
It is possible that dirt or scale will dislodge in the water
line. Always throw away all ice cubes made during the
first twenty-four (24) hours of operation.
10 Start-Up for the First Time
O
N
OF
F
ON/OFF
Switch
O
N
OFF
Figure 30
Figure 31