


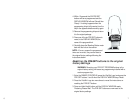
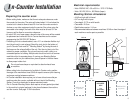
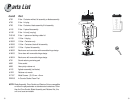
Tamper
Two-part Lid
1.5 Liter Polycarbonate container
The two part lid is easy to clean and easy to put on,
take off and seal.
• To remove fully latched lid, squeeze tabs
together on both sides of the container, pull
upward and off.
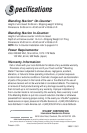
• Twist the center lid plug to fasten or remove.
NOTE: To make new lids easier to insert and remove, rub a light coating of
cooking oil around bottom where it seals. Place it in container for several
minutes, remove and lightly wipe oil off lid.
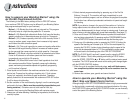
Two-part Lid
2 Liter Polycarbonate container
The two part lid is easy to clean and easy
to put on and take off. (Note: Brand new
lids are a little stiff. This is temporary.)
• The lid has a continuous rim which
latches inside the container tabs.
Push one side of the rim under one
tab, and with the heel of your hands
push down, over the opposite tab,
to snap lid into position.
• To remove lid, place hands around
the lid, pressing thumbs above
one of the container tabs. Push
in and lift off.
• Twist the center lid plug to fasten
or remove.
One Piece Lid (optional)
2 Liter Polycarbonate container
The one piece lid is easy to clean and easy to put
on and take off.
(Note: Brand new lids are a little stiff. This is temporary.)
• There is no latch on this lid.
• Add ingredients through port on top.
CAUTION: Do not use non-latching lid when processing hot ingredients.
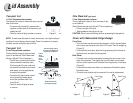
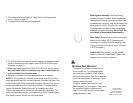
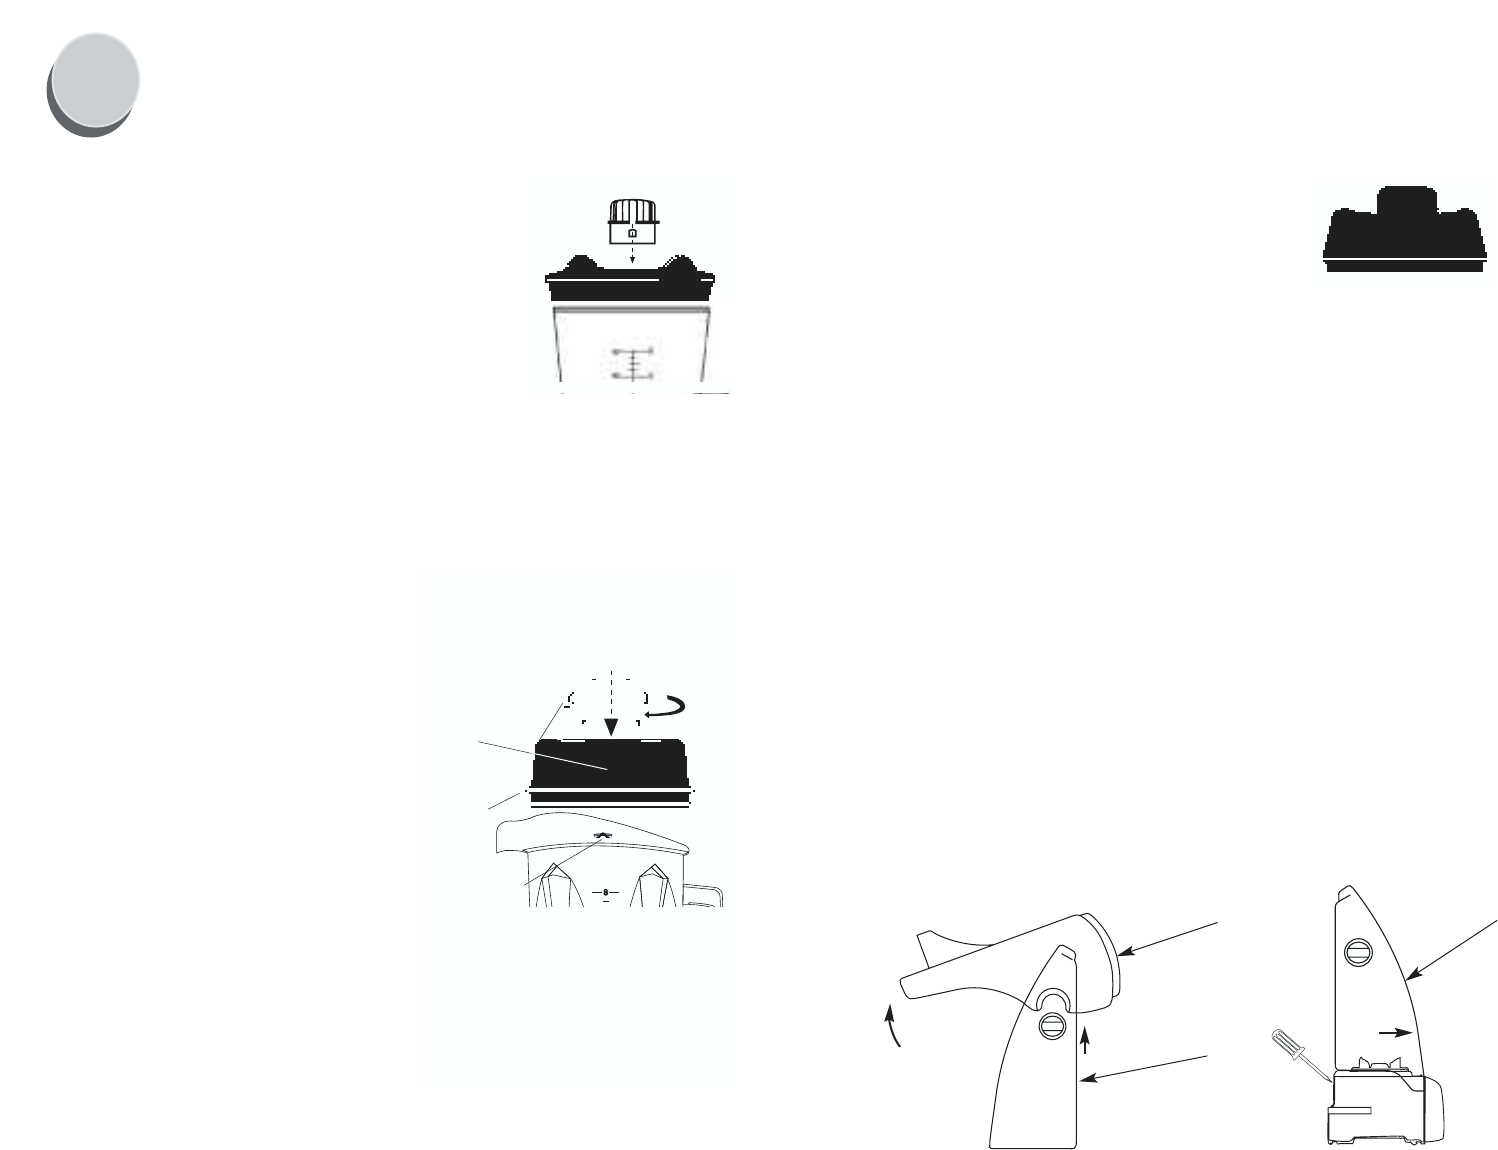
Cover with Removable Hinge Design
Cover Door:
• The cover door can be removed by opening it until the curved bottom
of the cover and the back cover form a 90˚ angle. Then lift straight up.
(Figure D)
• To reinstall the cover door, align the hinge opening with the hinge on
the back cover and slide the two together.
Back Cover:
• The back cover can be removed by loosening the two screws in the
back of the machine. Then lightly tap or pull the back cover toward
the front of the machine until it loosens from the grooves on the base.
(Figure E)
• To reinstall the back cover slide on to the base until latched in place.
Reinstall screws.
• The back cover should only be removed if in need of replacement.
CUPS
Figure A
Figure C
Figure D
Figure E
Back Cover
Back Cover
Figure B
12 13
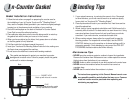
To secure lid plug, rotate it
so one tab locks between the
stops on top of rubber lid.
Always latch lid when
processing hot liquids.
Press in
above
container
tab to
remove
lid
Rim
Container
Tab
L
id Assembly
90˚
Cover Door