10
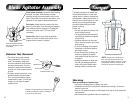
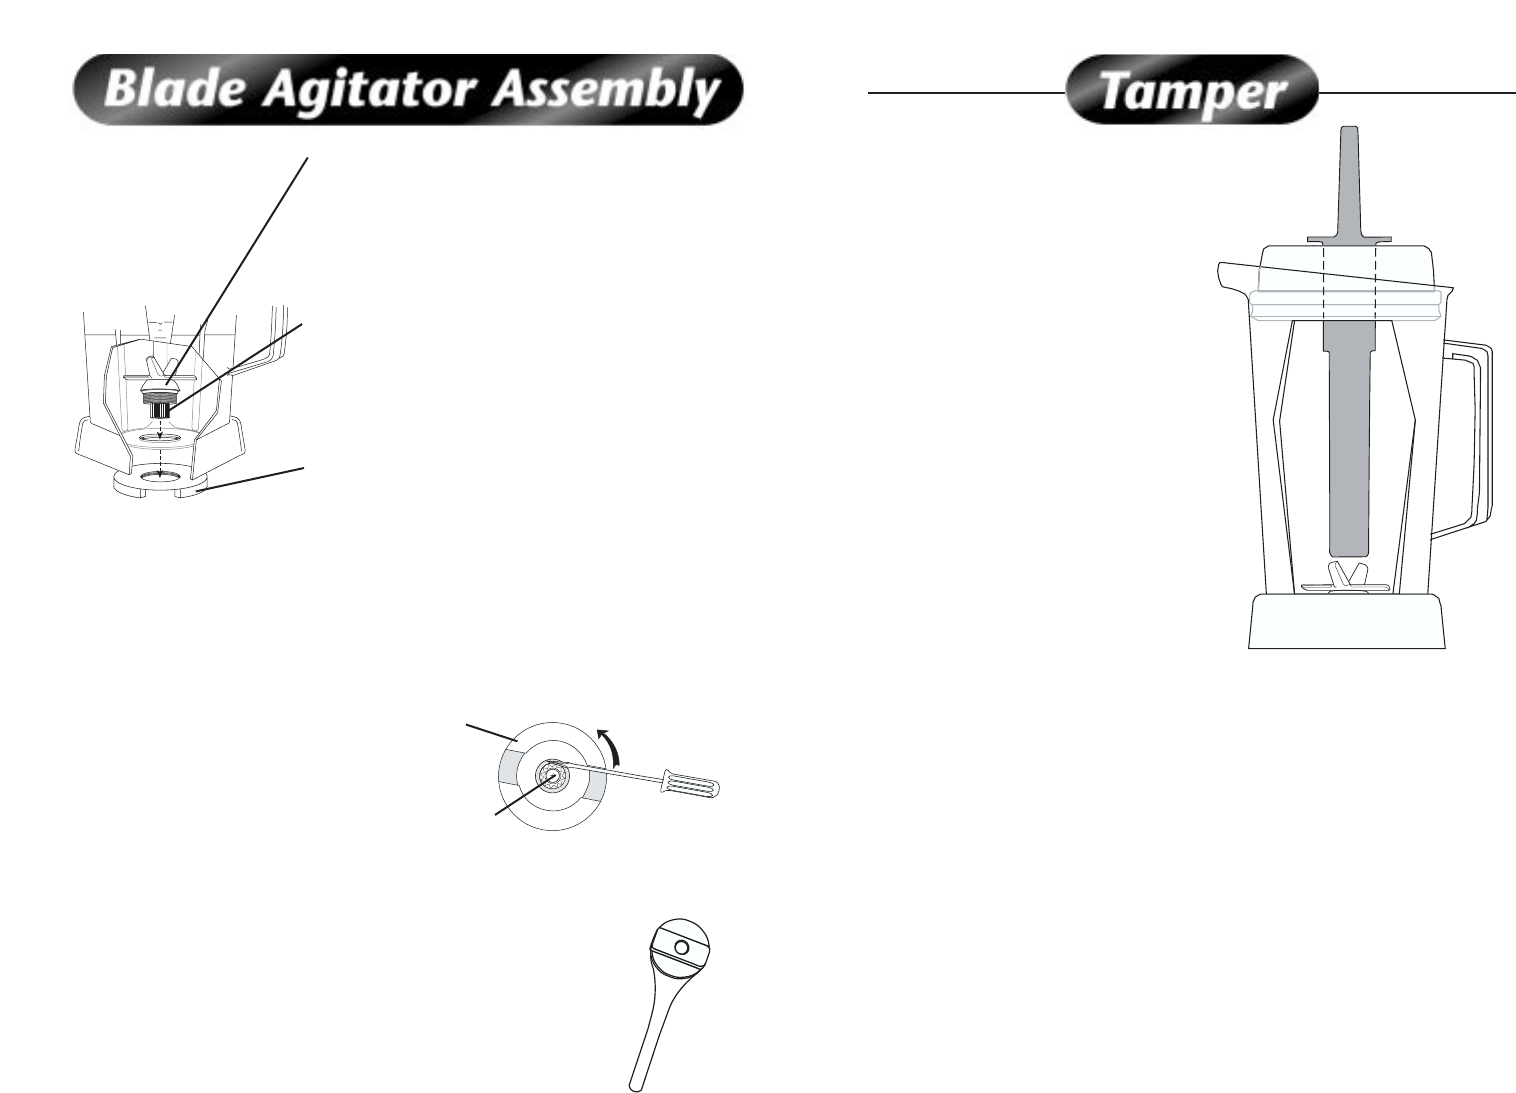
Blade Agitator Assembly. Use caution when handling
the blade; it is sharp. When inserting the blade
assembly through the container bottom, align the flat
sides. Gravity holds it in place while the retainer nut is
tightened. Do not attempt to disassemble this part.
Drive Spline. Mates with drive socket on the motor
base to turn the blade. Note: Removing and replacing
your container while the coupling is still rotating will
strip the drive spline “teeth”. (This part is NOT
removable.)
Retainer Nut. Must be snug. Order the available
retainer nut wrench for best results. (Refer to the
diagram below to remove or replace.)
• The retainer nut is easily removed
using a standard 6” (15 cm) screw-
driver. Turn container upside down
and insert screwdriver shaft between
the lobe and drive spline. Push the
screwdriver handle counterclockwise
to loosen nut. Once loosened, remove
by hand.
• To replace, position retainer nut on top
of blade assembly and hand tighten.
Then, using the screwdriver, tighten
clockwise until it stops. If it is not tight
enough, you will notice increased
container noise.
Retainer Nut Removal
Never use a blade assembly
with loose, damaged or nicked
components.
Retainer Nut
Drive Spline
Lobe
Available: For best results we recommend using
a Retainer Nut Wrench in place of screwdriver.
To order ask for Item #1222.
Container (bottom view)
11
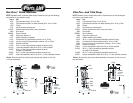
The tamper prevents an air bubble from
forming while blending. It is used when
making frozen ice creams, pureeing fruits
and vegetables, making peanut butter (or
whenever your mixture requires it). It also
permits you to push ingredients down
around the blades while the Vita-Mix
blender is running.
Tamper use:
• Use only with the lid in place and the
center lid plug removed.
• The splash disc prevents the tamper
from hitting the blades when inserted
through the lid.
• Container should not be more than
2/3 full when the tamper is left in place
while blending.
• To avoid overheating, do not exceed
30 seconds of continuous blending
with tamper in place.
• If thick mixtures stop circulating, you
have likely trapped an air bubble.
Insert tamper through the lid and stir
to release it.
• Holding the tamper at an angle near
the side and pushing towards the
center will be more effective when
creating a thicker, smoother drink.
Warning
When processing hot liquids always:
• Use caution; escaping steam or splatters may scald.
• Completely latch the lid; this will prevent expansion from blowing it off when the
machine is turned on.
• Start on LOW speed then switch to HIGH speed. Never start on HIGH speed with
hot ingredients.
• Do not process hot ingredients with the non-latching lid.
*NOTE:
Tampers have a small step on
them. The step prevents contact of the
tamper with the blades in the 48 oz. (1.4 liter)
polycarbonate containers. Tampers cannot
be used with one piece non-latching lid.


