– 11 –
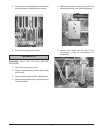
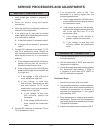
5. Allow temperature to stabilize at new setting
and compare temperature tester to dial setting.
Recalibrate if the temperature does not fall
within the range of 330°F to 370°F.
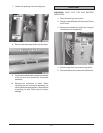
6. If the temperature does not fall within the
limits at both settings, replace the thermostat.
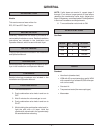
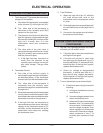
PILOT ADJUSTMENT
1. Light pilot as outlined under Lighting Pilot on
page 3.
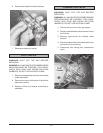
2. If the flame does not extend beyond the outer
edges of the pilot shield
1
/2", or extends more
than
1
/2", an adjustment is necessary.
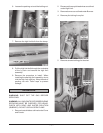
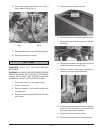
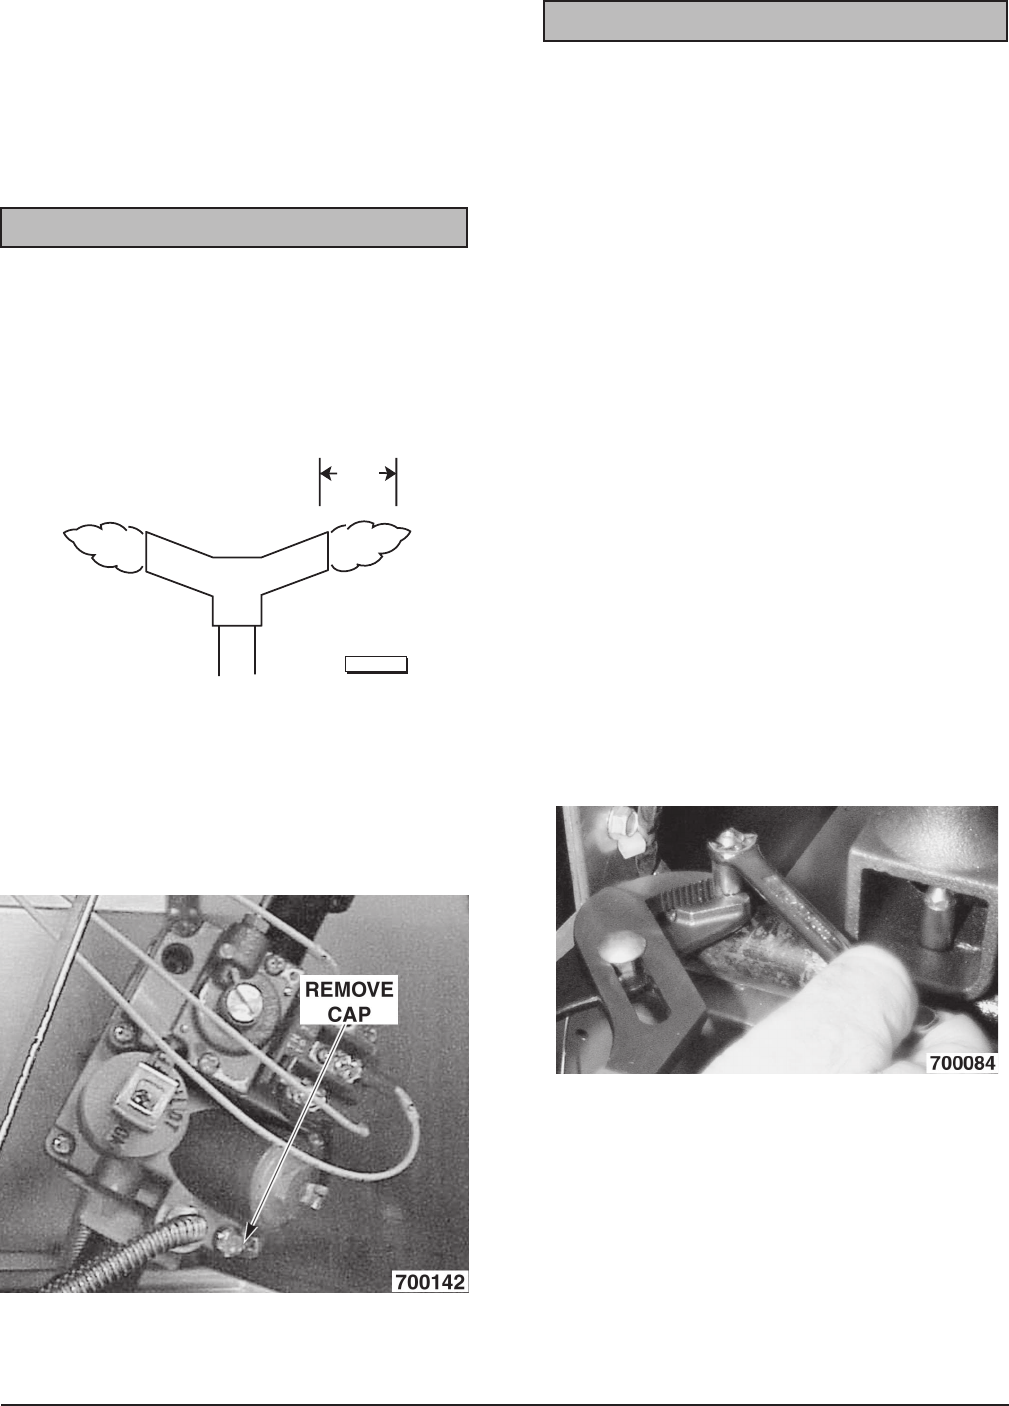
3. Remove the cap covering pilot adjustment
screw. Turn the recessed pilot adjustment
screw counterclockwise to increase the size
of the flame or clockwise to decrease the
size of the flame.
1/2"
PL-56158
BURNERS, NOZZLES AND ORIFICES
WARNING: SHUT OFF THE GAS BEFORE
SERVICING.
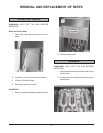
Burners
If the burner ports become clogged, the fryer will not
operate properly. If the burner is cracked, it must be
replaced.
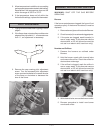
1. Remove burner(s) as outlined under Burners.
2. Check burner(s) for cracks and clogged ports.
3. If the ports are clogged, wash burner(s) in
warm, soapy water. If this does not remove
obstructions, a #37 drill bit can be used (do
not use in an electric drill; hand-turn only).
Nozzles and Orifices
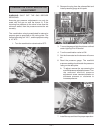
1. Remove the burners as outlined under
Burners.
2. Hold the burner nozzle with channel locks
and remove the orifice. Check the orifice for
obstructions or damage.
3. If the orifice is clogged, wash the orifice in
warm, soapy water. If this does not remove
obstructions, a #37 drill bit can be used (do
not use in an electric drill; hand-turn only).
4. With channel locks, remove the burner nozzle.
5. Reverse procedure to install new burner
nozzle and orifice.


