8
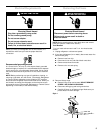
4. RUN WATER THROUGH THE DISPENSER UNTIL THE
WATER RUNS CLEAR (about 2-3 gallons or 6-7 minutes).
This will clean the system and clear air from the lines.
Additional flushing may be required in some households.
NOTE: As air is cleared from the system, water may spurt out
of the dispenser.
5. Open the refrigerator door and inspect the filter system for
water leaks. If you see water leaks, see the “Troubleshooting”
section.
NOTE: You can run the dispenser without a water filter cartridge.
Your water will not be filtered.
Water System Preparation
Please read before using the water system.
Immediately after installation, follow the steps below to make
sure that the water system is properly cleaned.
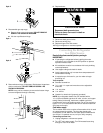
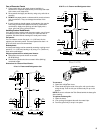
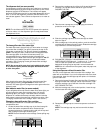
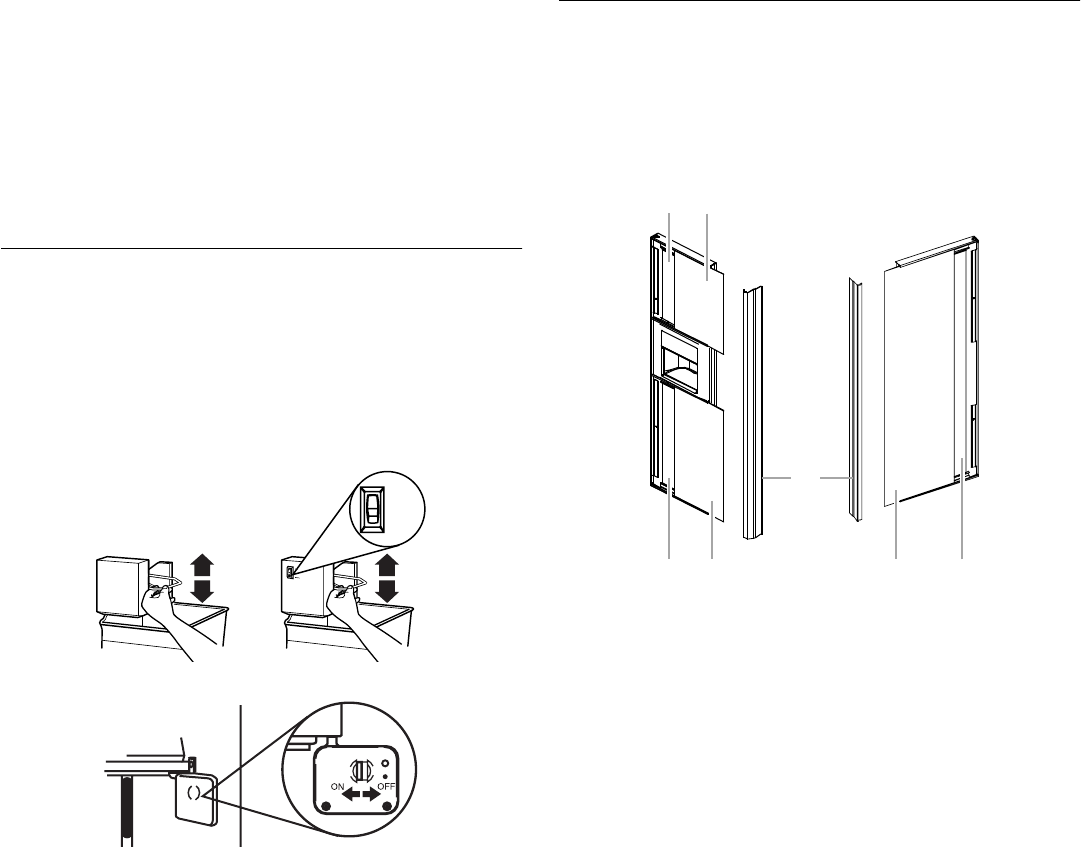
1. Open the freezer door and turn off the ice maker. For Style 1
lift up the wire shut-off arm as shown. For Style 2 move the
switch to the OFF (right) setting as shown.
Style 1
Style 2
2. Flush the water system by dispensing and discarding
2 to 3 gallons (approximately 6 to 7 minutes) of water through
the dispenser. This will clean the system and help clear air
from the lines. Additional flushing may be required in some
households.
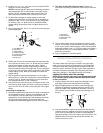
3. Open the freezer door and turn on the ice maker. For Style 1
lower the wire shut-off arm. For Style 2 move the switch to
the ON (left) position. Please refer to the “Ice Maker and
Storage Bin” features section for further instructions on the
operation of your ice maker.
■ Allow 24 hours to produce the first batch of ice.
■ Discard the first three batches of ice produced.
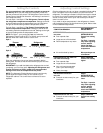
■ Depending on your model, you may want to select the
maximum ice feature to increase the production of ice. To
do so, set the switch on the front of the ice maker to MAX.
Factory Trim Kit
(on some models)
There may be an occasion when you will need to remove the
factory-installed trim kit, such as moving the refrigerator to a new
home or installing custom-made decorator panels. Please read
all instructions carefully before removing the trim kit and
decorator panels.
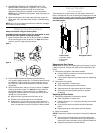
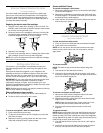
1. Decorator Panels
2. Filler Panels
3. Handles
Removing the Door Panels
NOTE: When removing and replacing decorator panels, only the
handle is removed. All other trim pieces remain attached to the
doors.
1. Remove the refrigerator and freezer handles:
■ Using a Phillips screwdriver, remove the screws that
hold each handle in place.
■ Lift off handle. Make sure you keep screws for reattaching
handles.
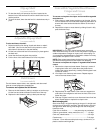
2. Remove the door panels:
■ Open refrigerator or freezer door.
■ Slide out decorator panel and filler board.
■ Repeat process for other panels and filler boards.
■ Store panel and filler boards carefully to prevent
scratching.
Replacing the Door Panels
1. Replace the refrigerator or freezer door panels:
■ Open refrigerator or freezer door.
■ Carefully slide the ¹⁄₈ in. decorator panel into place behind
the side trim.
■ Push the filler board into place behind the decorator
panel.
■ Repeat process for other panels and filler boards.
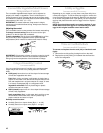
2. Attach the handles:
NOTE: Freezer door handle is notched to fit around the dispenser
panel.
■ Align the top of the refrigerator or freezer handle flush
with the top trim. Fasten the handle to the refrigerator or
freezer door with the screws, using a Phillips screwdriver.
■ Repeat the process for the other handle.
MAX
NORMAL
Freezer Door Refrigerator Door
2 1
2 1
3
1
2


