


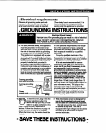
Installation Instructions
Before you begin operating the oven, carefully read the following instructions.
1. Empty
the microwave oven and
clean
inside it with a soft, damp cloth. Check for
damage such as misaligned door, dam-
age around the door, or dents inside the
oven or on the exterior. If there is any
damage, do not operate the unit until it
has been checked by an authorized
Whirlpoole service technician and any
repairs made.
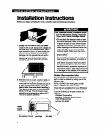
2.
Put
the oven on a cart, counter, table, or
shelf that is strong enough to hold the
oven and the food and utensils you put in
it. (The control side of the unit is the
heavy side. Use care when handling.)
The weight of the oven is approximately
28 Ibs (12.6 kg). The microwave oven
should be at a temperature above 50°F
(10°C) for proper operation.
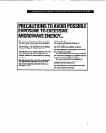
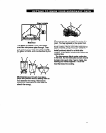
Fire, Electrical Shock, Excessive Expo-
sure To Mkrowave Energy, Personal
injury and Product Damage Hazard
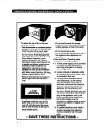
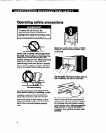
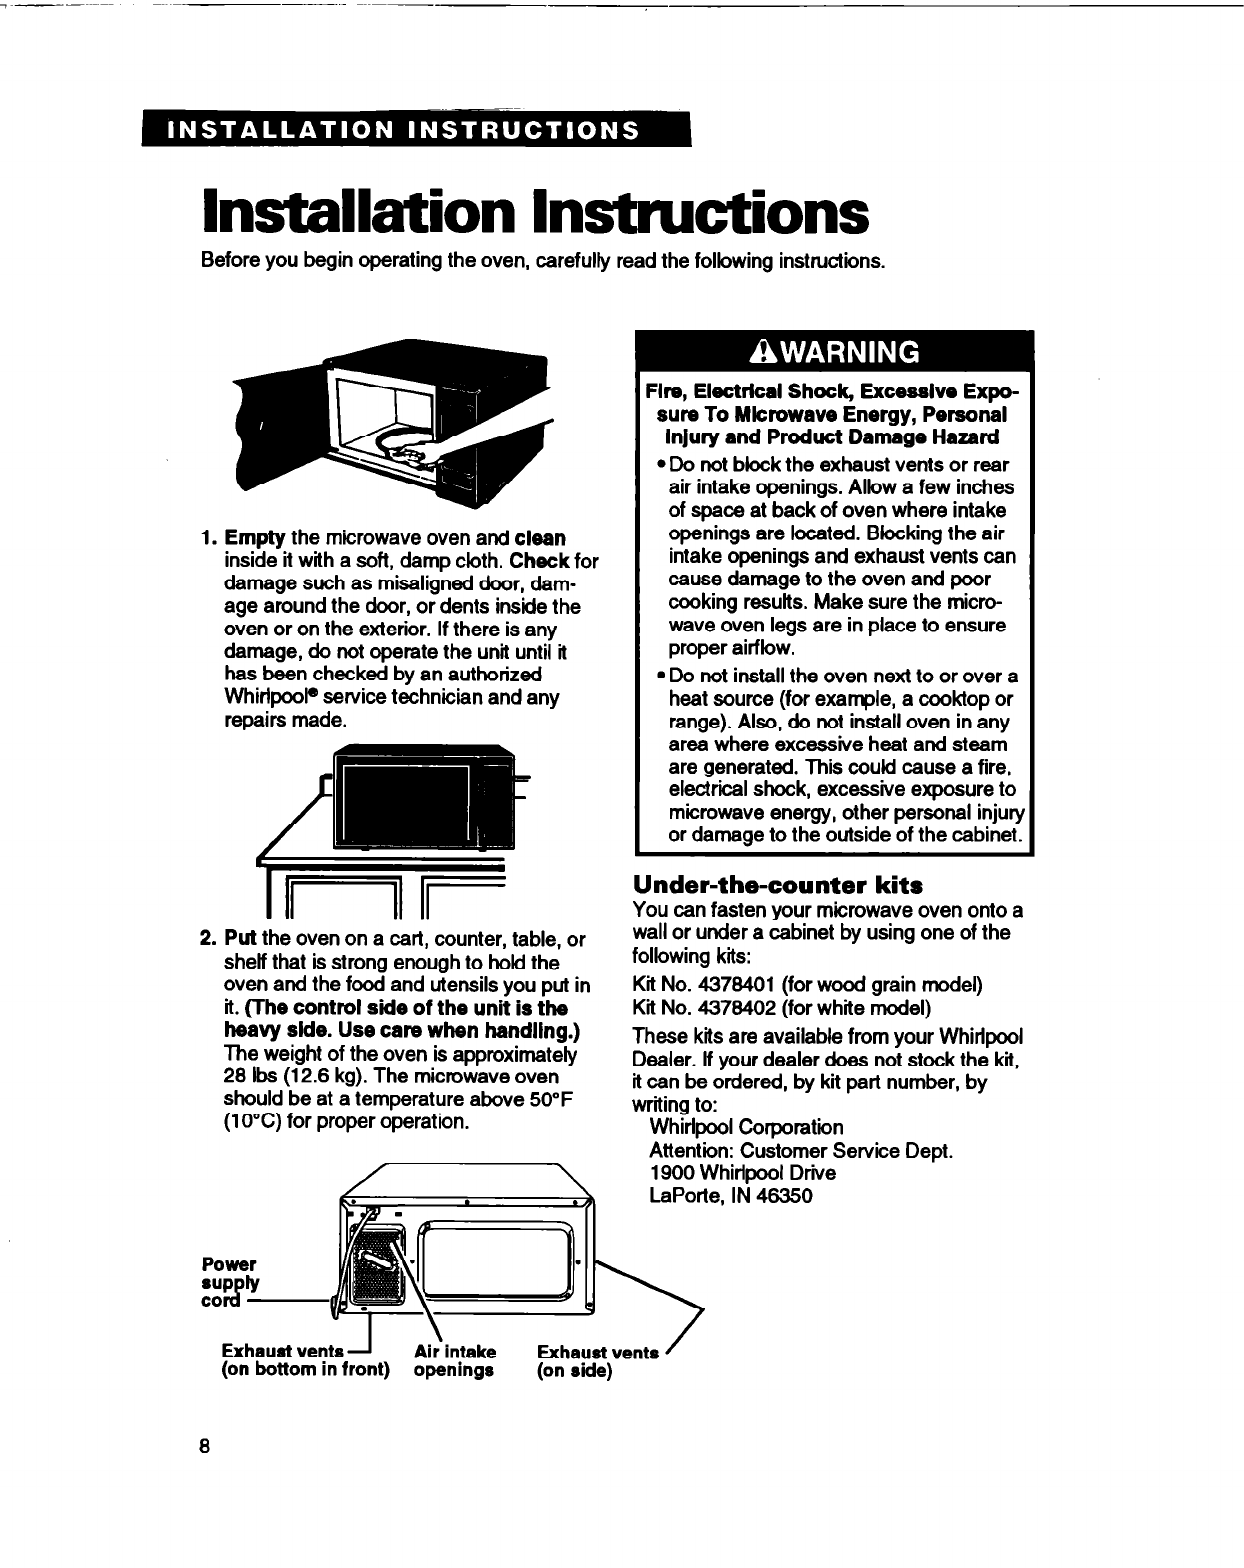
l Do not block the exhaust vents or rear
air intake openings. Allow a few inches
of space at back of oven where intake
openings are located. Blocking the air
intake openings and exhaust vents can
cause damage to the oven and poor
cooking results. Make sure the micro-
wave oven legs are in place to ensure
proper airflow.
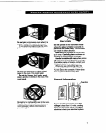
l Do not install the oven next to or over a
heat source (for example, a cooktop or
range). Also, do not install oven in any
area where excessive heat and steam
are generated. This wuM cause a fire,
electrical shock, excessive exposure to
microwave energy, other personal injury
or damage to the outside of the cabinet.
Under-the-counter kits
You can fasten your microwave oven onto a
wail or under a cabinet by using one of the
following kits:
Kit No. 4878401 (for wood grain model)
Kit No. 4878402 (for white model)
These kits are available from your Whirlpool
Dealer. lf your dealer does not stock the kii,
it can be ordered, by kit part number, by
wriiing to:
Whirlpool Corporation
Attention: Customer Service Dept.
1900 Whirlpool Drive
LaPorte, IN 48350
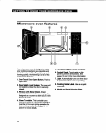
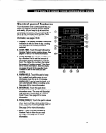
Power
SUP ly
co d
Exhaust vents 1
Aiiintake
Exhaust vents
(on bottom in front)
openings
(on side)
8