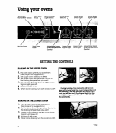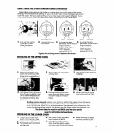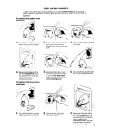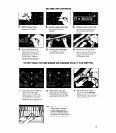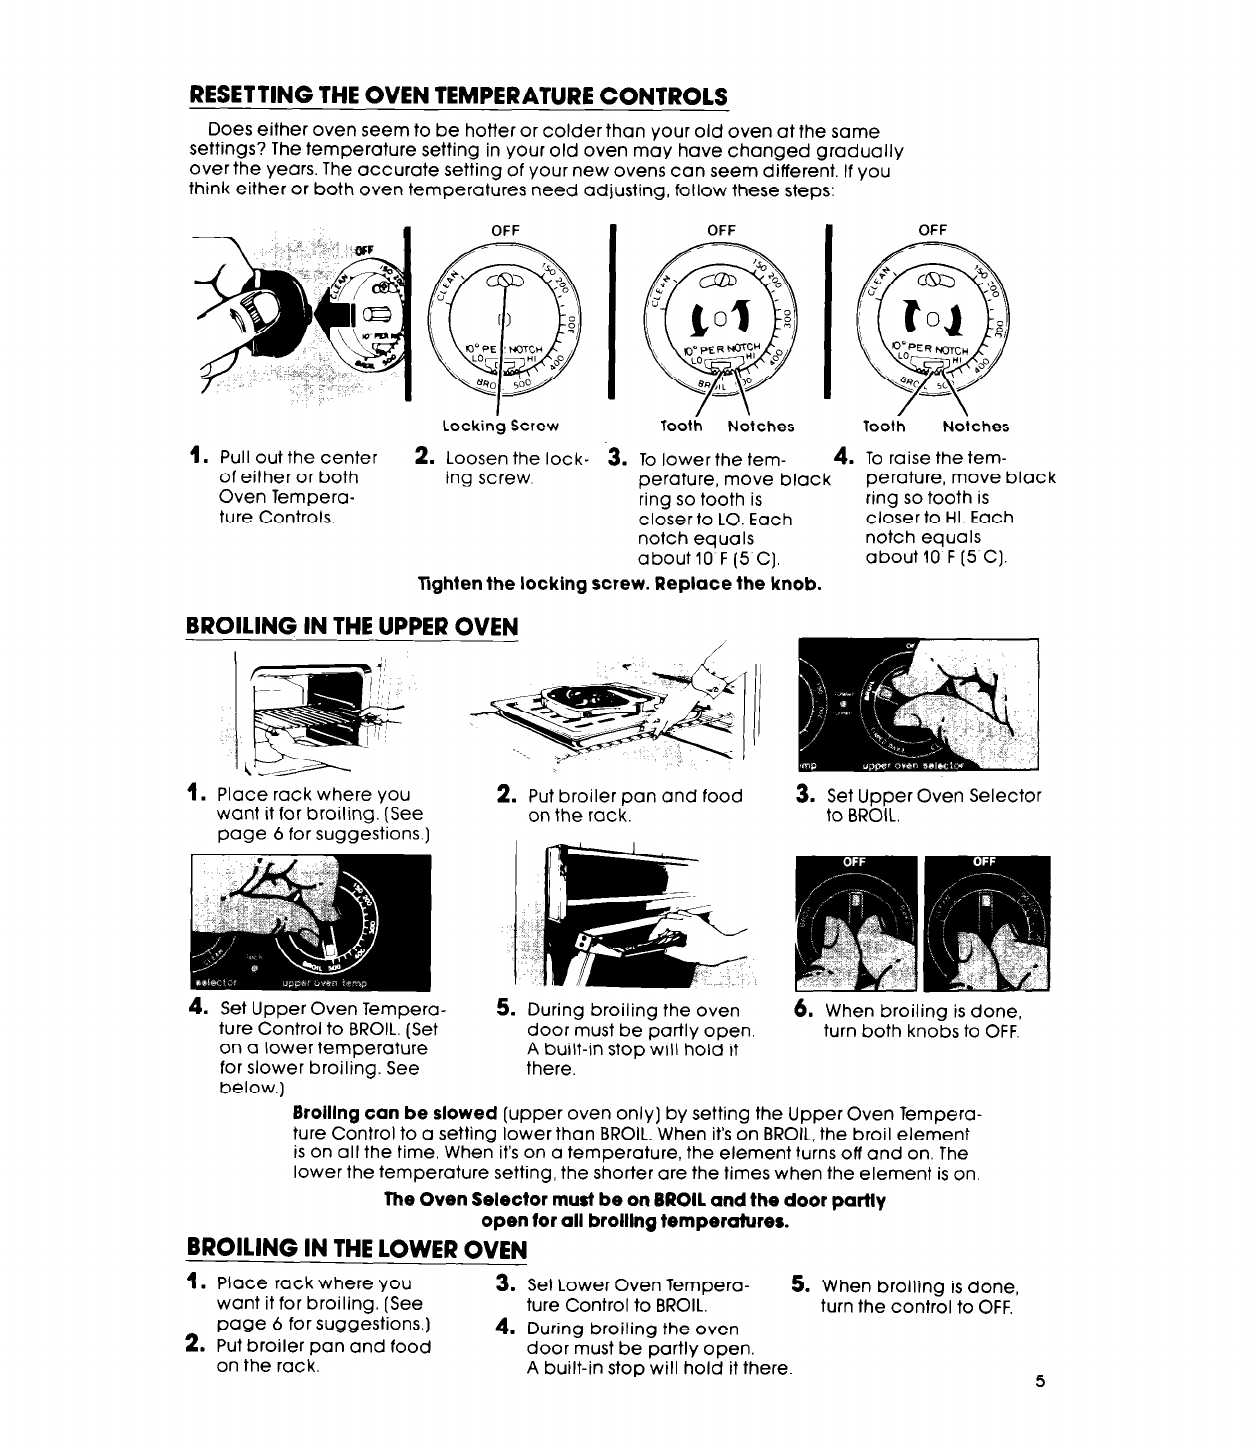
RESETTING THE OVEN TEMPERATURE CONTROLS
Does either oven seem to be hotter or colder than your old oven at the same
settings? The temperature setting in your old oven may have changed gradually
over the years. The accurate setting of your new ovens can seem different. If you
think either or both oven temperatures need adjusting, follow these steps:
OFF
OFF
OFF
Locking Screw
lootil
Notches
Tooth
Noiches
1.
Pull out the center
2.
Loosen the lock-
3. To lower the tem-
4. To raise the tem-
of either or both ing screw.
perature, move black
perature, move black
Oven Tempera-
ring so tooth is
ring so tooth is
ture Controls.
closer to LO. Each
closer to HI. Each
notch equals
notch equals
about 10 F (5 C].
about 10 F (5 C].
mghten the locking screw. Replace the knob.
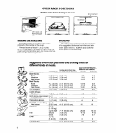
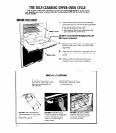
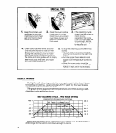
BROILING IN THE UPPER OVEN
/
1.
Place rack where you
want it for broiling. (See
oaae 6 for suaaestions.)
2. Put broiler pan and food
on the rack.
4. Set Upper Oven Tempera-
ture Control to BROIL. (Set
on a lower temperature
for slower broiling. See
below.]
5. During broiling the oven
door must be partly open.
A built-in stop will hold it
there.
3.
Set Upper Oven Selector
to BROIL.
6.
When broiling is done,
turn both knobs to OFF.
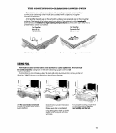
Brolllng can be slowed (upper oven only] by setting the Upper Oven Tempera-
ture Control to a setting lower than BROIL. When its on BROIL, the broil element
is on all the time. When it’s on a temperature, the element turns off and on. The
lower the temperature setting, the shorter are the times when the element is on,
The Oven Selector must be on BROIL and the door partly
open tor all brolllng temperatures.
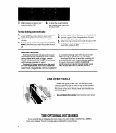
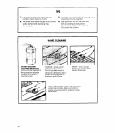
BROILING IN THE LOWER OVEN
1.
Place rack where you
want it for broiling. [See
page 6 for suggestions.)
2. Put broiler pan and food
on the rack.
3. Set Lower Oven Tempera- !% When broiling is done,
ture Control to BROIL. turn the control to OFF.
4. During broiling the oven
door must be partly open.
A built-in stop will hold it there.
5


