The anti-tip bracket
The range will not tip during normal use. However, tipping can occur if you apply too much
force or weight to the open door without the anti-tip bracket properly secured.
Tip Over Hazard
Connect anti-tip bracket to the range feet.
Reconnect anti-tip bracket, if the range is moved.
Do not push down on the open oven door.
Follow the installation instructions.
Do not let children climb onto the oven door.
Failure to do so can result in death, burns, or other injury.
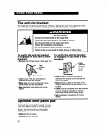
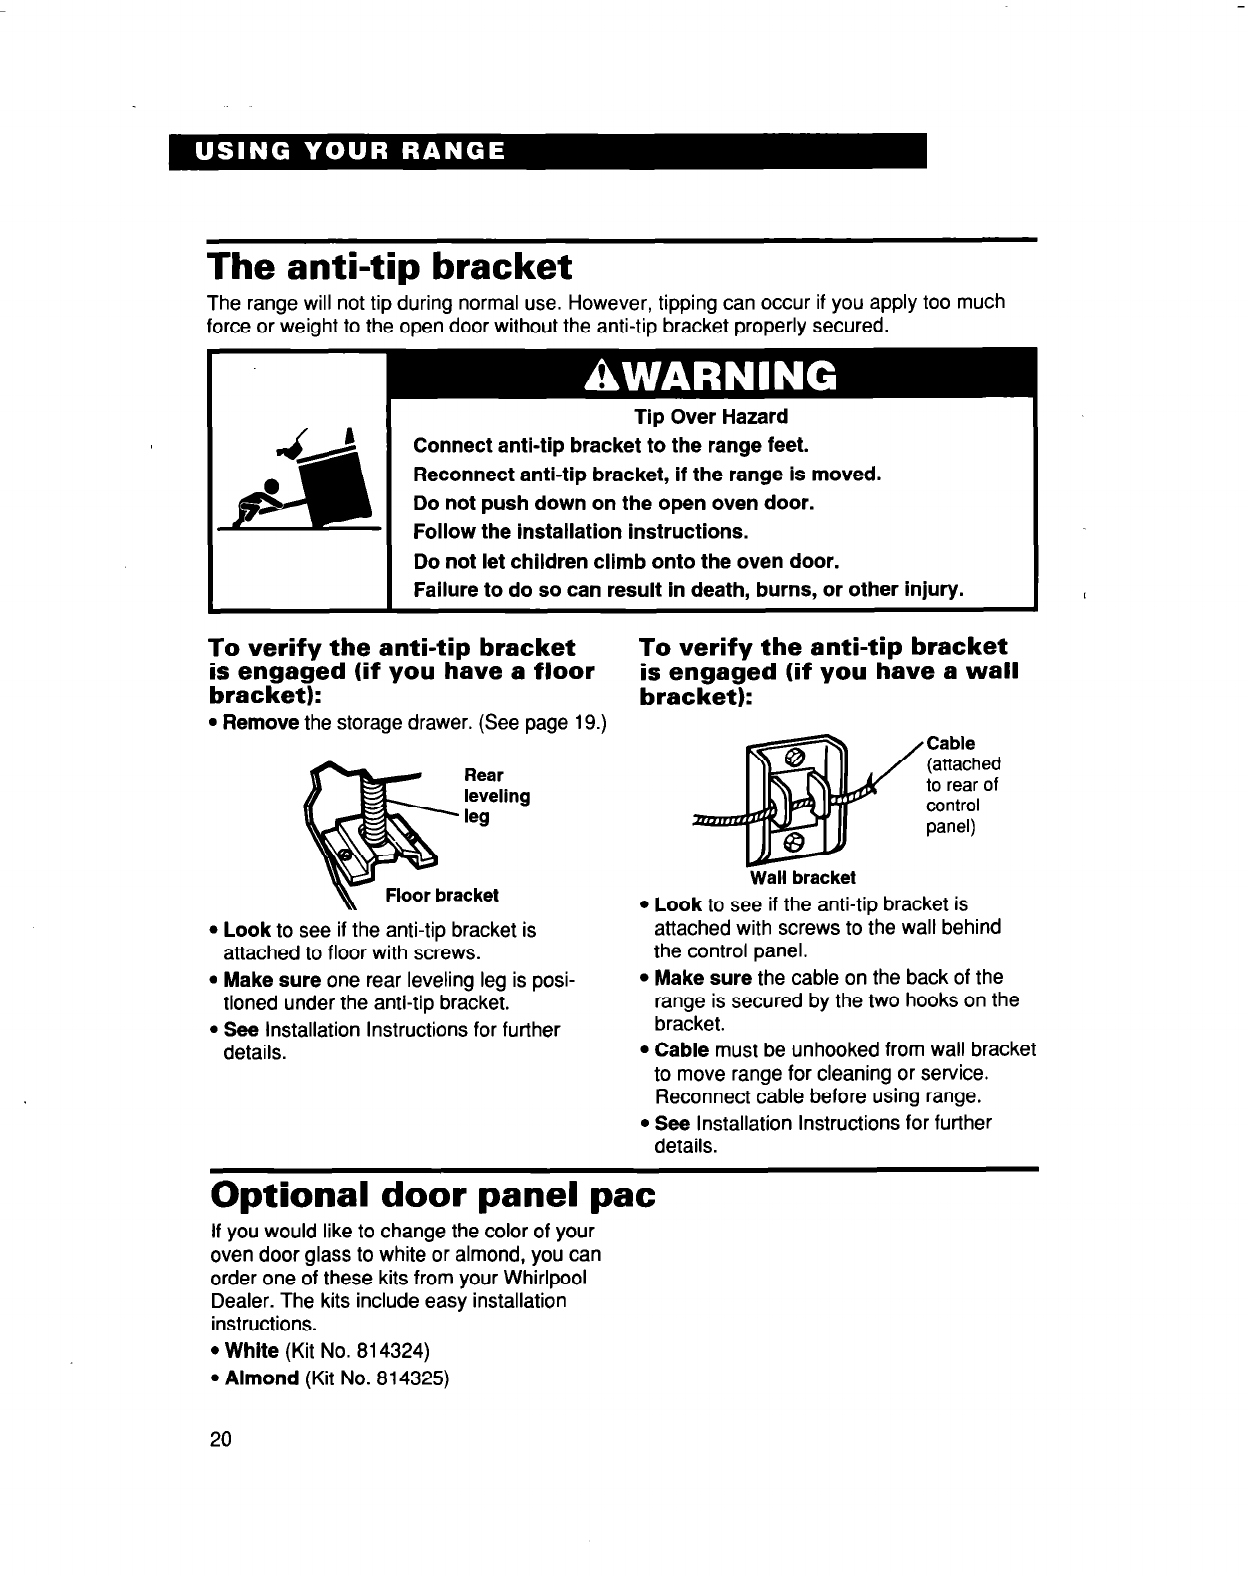
To verify the anti-tip bracket
is engaged (if you have a floor
bracket):
l
Remove the storage drawer. (See page 19.)
5,
Floor bracket
l
Look to see if the anti-tip bracket is
attached to floor with screws.
l
Make sure one rear leveling leg is posi-
tioned under the anti-tip bracket.
l
See Installation Instructions for further
details.
To verify the anti-tip bracket
is engaged (if you have a wall
bracket):
Cable
(attached
to rear of
control
panel)
Wall bracket
l
Look to see if the anti-tip bracket is
attached with screws to the wall behind
the control panel.
l
Make sure the cable on the back of the
range is secured by the two hooks on the
bracket.
l
Cable must be unhooked from wall bracket
to move range for cleaning or service.
Reconnect cable before using range.
l
See Installation Instructions for further
details.
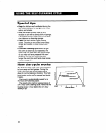
Optional door panel pat
If you would like to change the color of your
oven door glass to white or almond, you can
order one of these kits from your Whirlpool
Dealer. The kits include easy installation
instructions.
l
White (Kit No. 814324)
l
Almond (Kit No. 814325)
20


