I
I
I’
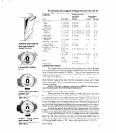
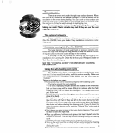
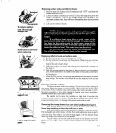
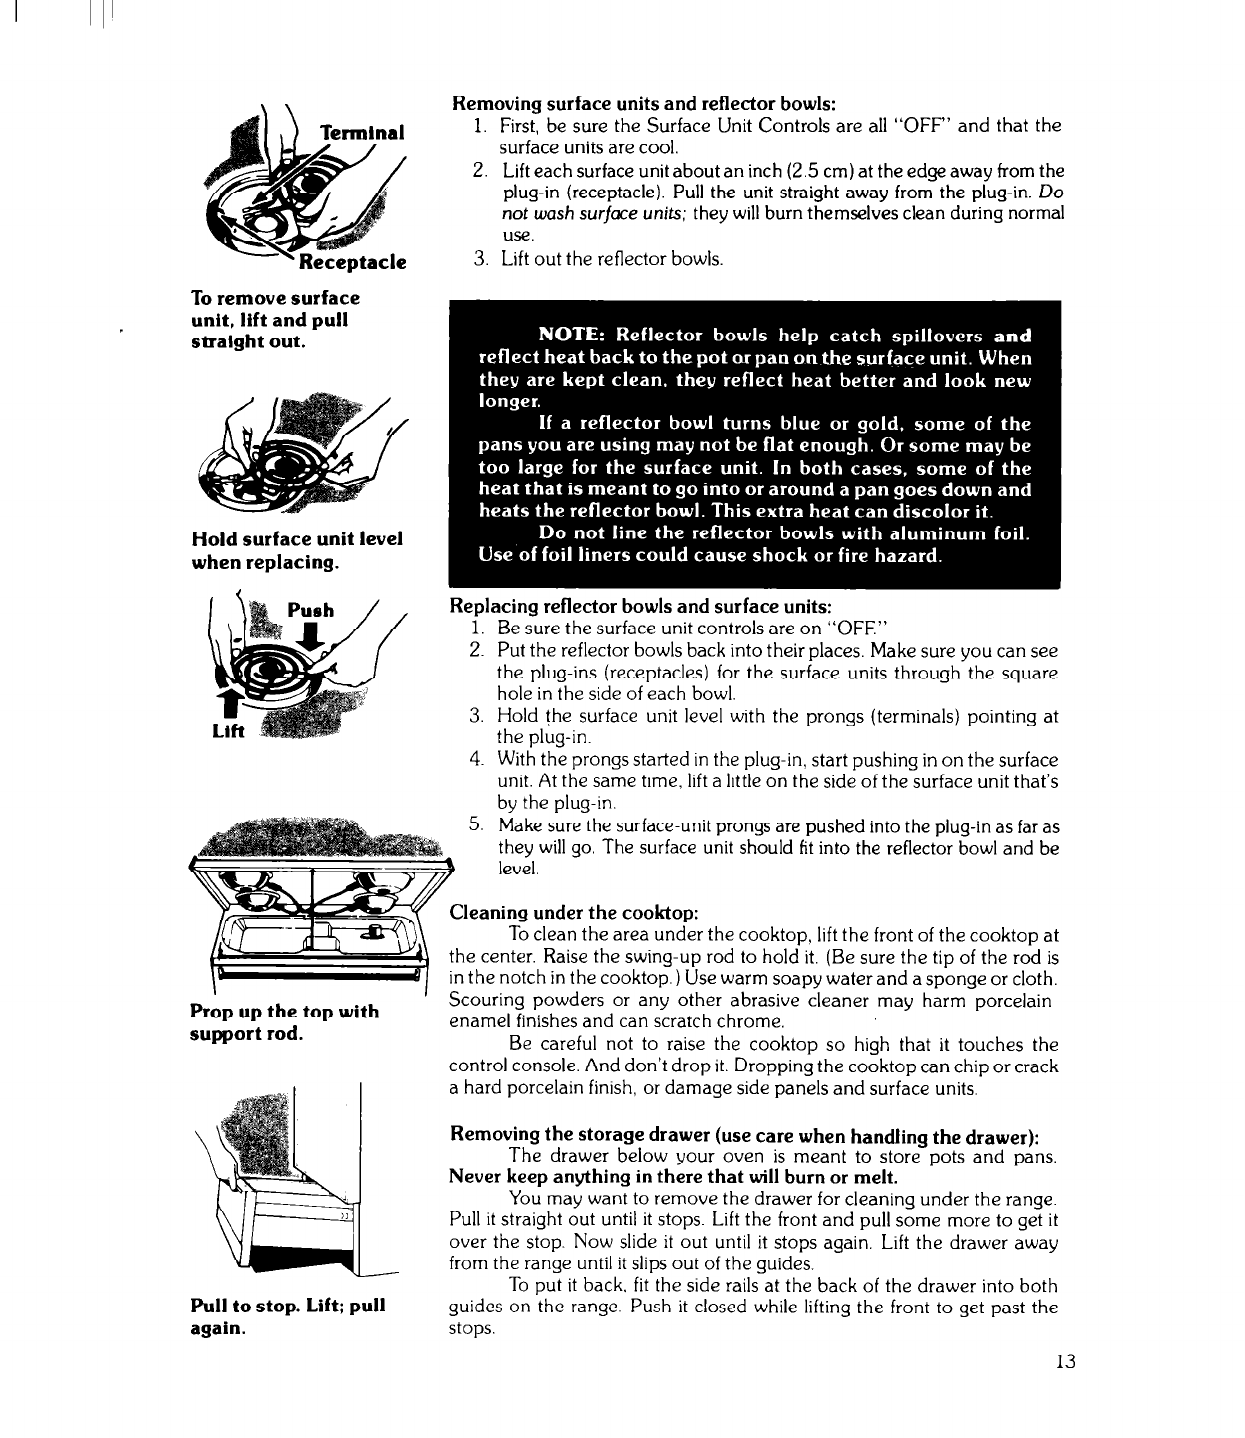
To remove surface
unit, lift and pull
straight out.
Hold surface unit level
when replacing.
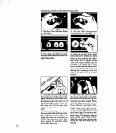
Removing surface units and reflector bowls:
1. First, be sure the Surface Unit Controls are all “OFF” and that the
surface units are cool.
2. Lift each surface unit about an inch (2.5 cm) at the edge away from the
plug-in (receptacle). Pull the unit straight away from the plug-in. Do
not wash surface units; they will burn themselves clean during normal
USe.
3. Lift out the reflector bowls.
Replacinn reflector bowls and surface units:
1. Be s&e the surface unit controls are on “OFF”
Put the reflector bowls back into their places. Make sure you can see
the plug-ins (receptacles) for the surface units through the square
hole in the side of each bowl.
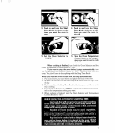
Hold the surface unit level with the prongs (terminals) pointing at
the plug-in.
With the prongs started in the plug-in, start pushing in on the surface
unit. At the same time, lift a little on the side of the surface unit that’s
by the plug-in.
Make sure the surface-unit prongs are pushed into the plug-in as far as
they will go, The surface unit should fit into the reflector bowl and be
level.
Cleaning under the cooktop:
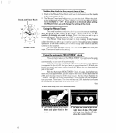
To clean the area under the cooktop, lift the front of the cooktop at
the center. Raise the swing-up rod to hold it. (Be sure the tip of the rod is
in the notch in the cooktop.) Use warm soapy water and a sponge or cloth.
Scouring powders or any other abrasive’cleaner may harm-porcelain
enamel finishes and can scratch chrome.
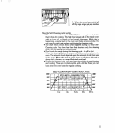
Prop up the top with
support rod.
Pull to stop. Lift: pull
again.
Be careful not to raise the cooktop so high that it touches the
control console. And don’t drop it. Dropping the cooktop can chip or crack
a hard porcelain finish, or damage side panels and surface units.
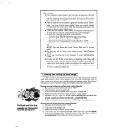
Removing the storage drawer (use care when handling the drawer):
The drawer below your oven is meant to store pots and pans.
Never keep anything in there that will burn or melt.
You may want to remove the drawer for cleaning under the range.
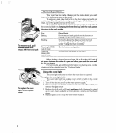
Pull it straight out until it stops. Lift the front and pull some more to get it
over the stop. Now slide it out until it stops again. Lift the drawer away
from the range until it slips out of the guides.
To put it back. fit the side rails at the back of the drawer into both
guides on the range. Push it closed while lifting the front to get past the
stops.
13


