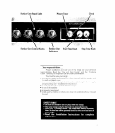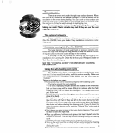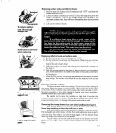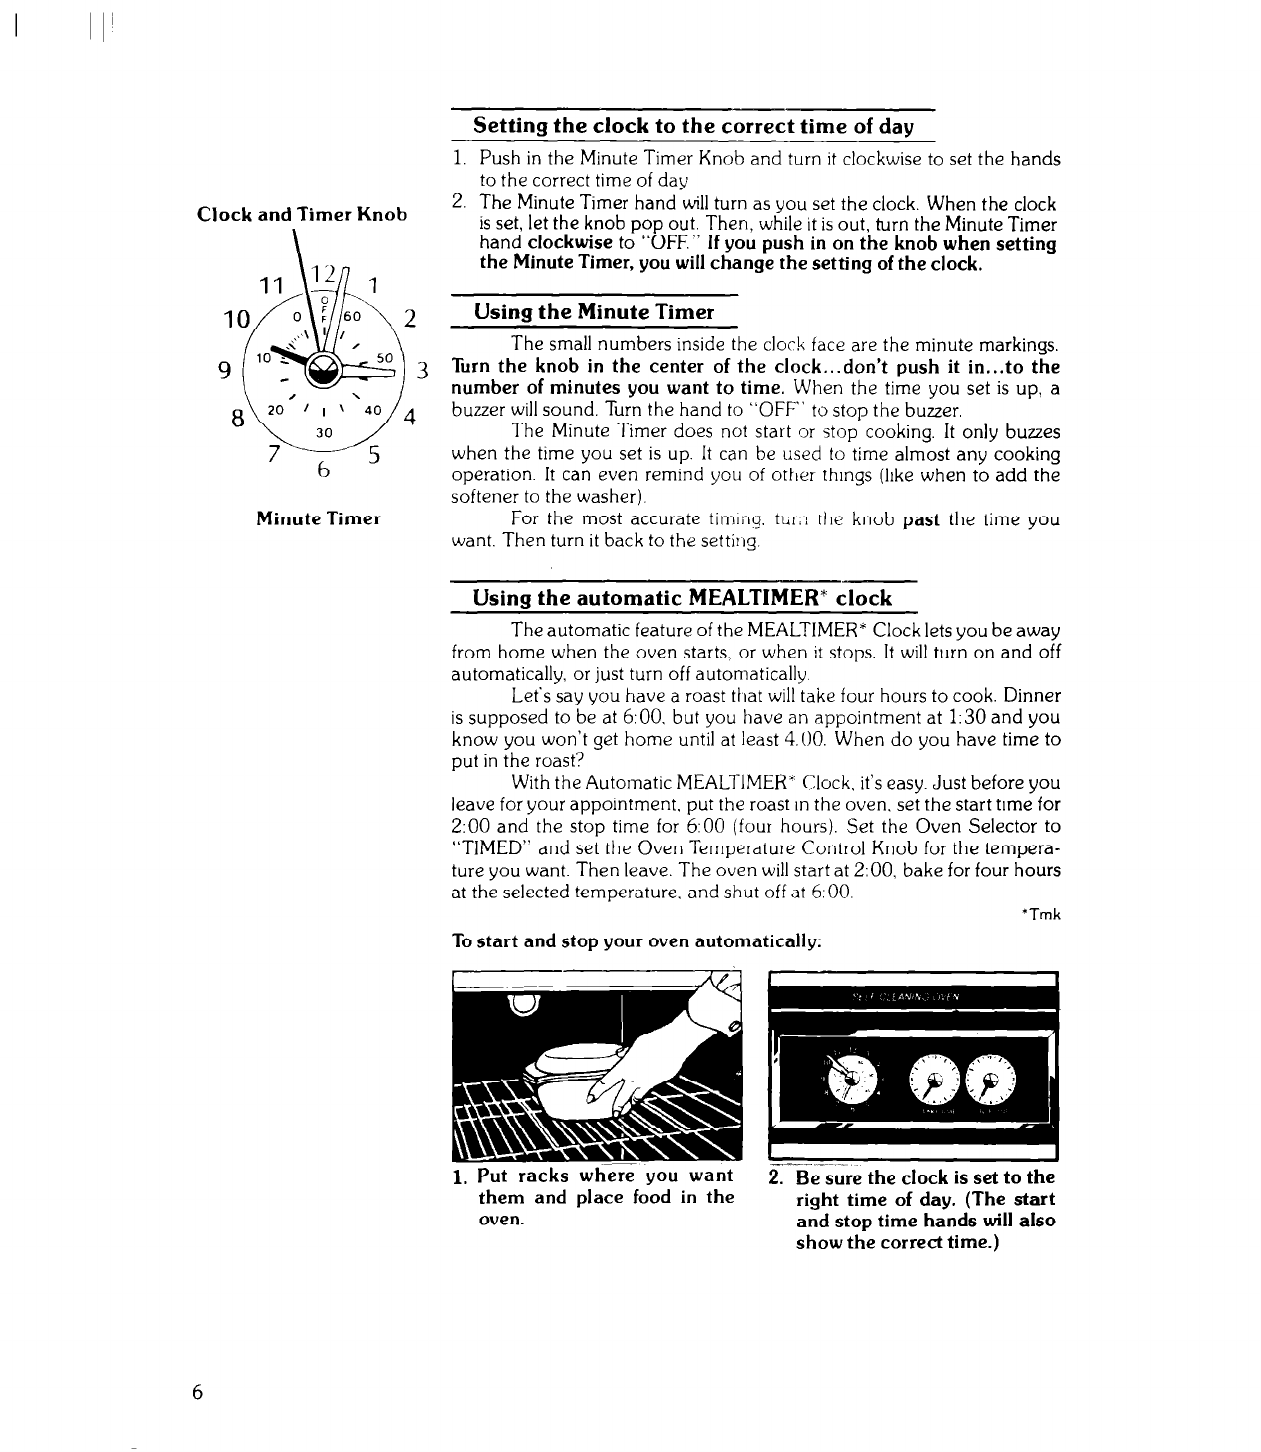
Clock and Timer Knob
11 2 1
10
+p” 2
9
/
?L
\..,I
10 ;"
/
-@ so3
8
20
",;“40 4
7
h
5
Minute Timer
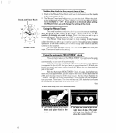
Setting the clock to the correct time of day
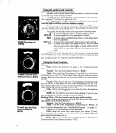
1. Push in the Minute Timer Knob and turn it clockwise to set the hands
to the correct time of day
2. The Minute Timer hand will turn as you set the clock. When the clock
is set, let the knob pop out. Then, while it is out, turn the Minute Timer
hand clockwise to “OFF.” If you push in on the knob when setting
the Minute Timer, you will change the setting of the clock.
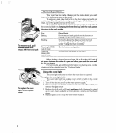
Using the Minute Timer
The small numbers inside the clock face are the minute markings.
Turn the knob in the center of the clock...don’t push it in...to the
number of minutes you want to time. When the time you set is up, a
buzzer will sound. Turn the hand to “OFF’ to stop the buzzer.
The Minute Timer does not start or stop cooking. It only buzzes
when the time you set is up. It can be used to time almost any cooking
operation. It can even remind you of other things (like when to add the
softener to the washer).
For the most accurate timing. tur:? the knob past the time you
want. Then turn it back to the settirig.
Using the automatic MEALTIMER* clock
The automatic feature of the MEALTIMER* Clock lets you be away
from home when the oven starts, or when it stops. It will turn on and off
automatically, or just turn off automatically.
Let’s say you have a roast ttiat will take four hours to cook. Dinner
is supposed to be at 6:O0. but you have an appointment at 1:30 and you
know you won’t get home until at least 4.00. When do you have time to
put in the roast’?
With the Automatic MEALTIMER’ Clock. it’s easy. Just before you
leave for your appointment. put the roast in the oven. set the start time for
2:00 and the stop time for 6:00 (four hours). Set the Oven Selector to
“TIMED” and set the Oven Temperature Control Knob for the tempera-
ture you want. Then leave. The oven will start at 2:00, bake for four hours
at the selected temperature. and shut off at 6:O0.
*Tmk
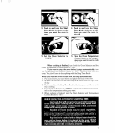
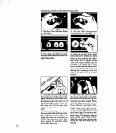
To start and stop your oven automatically:
1. Put racks where you want
them and place food in the
oven.
I
-----.-
2. Be sure the clock is set to the
right time of day. (The start
and stop time hands will also
show the correct time.)
6


