


4
First Steps
Before starting the refrigerator, follow these important first steps:
Location
• Choose a place that is near a grounded electrical outlet. DO NOT use an
extension cord or an adapter plug.
• If possible, place the refrigerator out of direct sunlight and away from the range,
dishwasher or other heat sources.
• The refrigerator must be installed on a floor that is level and strong enough
to support a fully loaded refrigerator.
• Consider water supply availability for models equipped with an automatic ice maker.
Installation
• Do not install the refrigerator where the temperature will drop below 60°F
(15°C) or rise above 110°F (43°C). The compressor will not be able to maintain
proper temperatures.
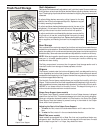
• Allow space around the unit for good air circulation. Leave a 1 inch (25 mm) space
behind and a 3 inch (75 mm) space above the refrigerator for adequate
circulation.
• In a recessed installation, allow an extra 1/2 inch (10-15 mm) on each side for ease
of installation.
• For best circulation, elevate the unit 1 inch (25 mm) from the floor, especially if
the floor is carpeted.
Door Opening
The doors should open to allow easy access to a counter when removing food.
• Do not position the refrigerator so you have to walk around the refrigerator doors.
• Reverse the doors if necessary. See "Door Reversal Instructions."
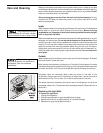
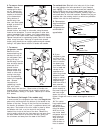
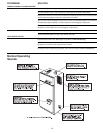
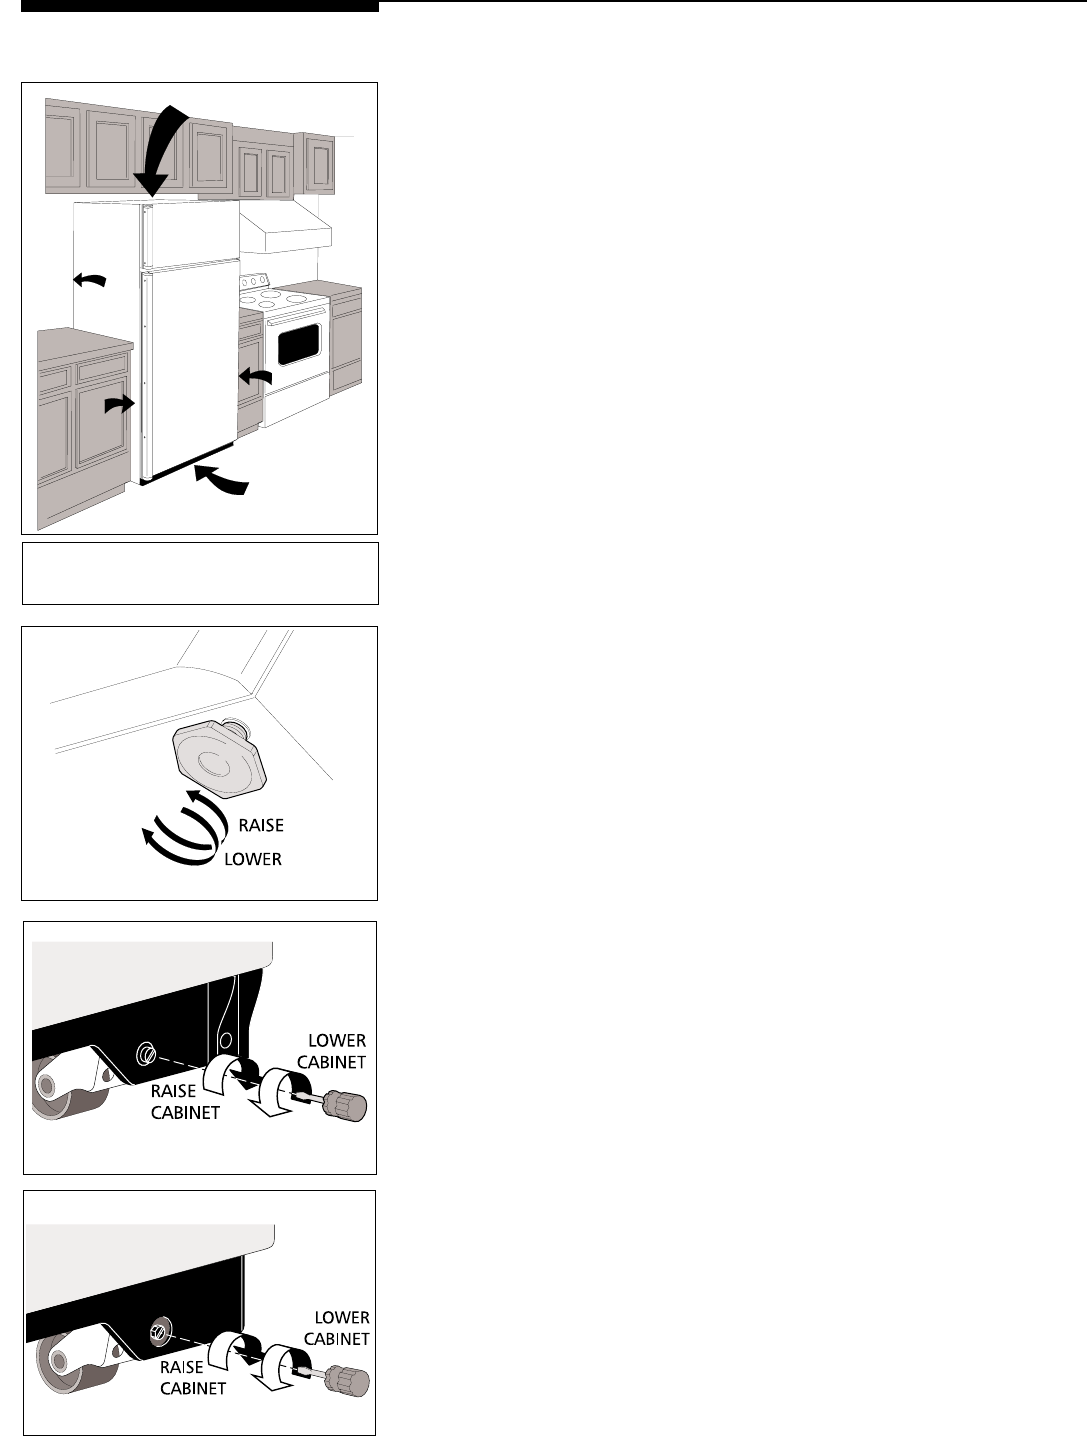
Leveling
All four corners of refrigerator must rest firmly on a solid floor. Some models are
equipped with adjustable screw-type levelers. Others are equipped with rollers. If
your refrigerator did not come with rollers, they can be purchased from your
dealer.
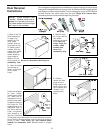
Remove toe grille (some models). See Toe Grille Instructions on page 13.
• To adjust screw-type levelers (some models):
Tip cabinet back slightly and raise adjusting bolts as needed
• To adjust front rollers (some models):
Use a screwdriver, 3/8” socket wrench, or nutdriver to adjust rollers.
RAISE THE FRONT of cabinet enough so doors will close freely when opened
halfway. Level cabinet side to side.
Cleaning
• Wash the inside, all removable parts and the outside with mild detergent and
warm water. Wipe dry. Do not use harsh cleaners on these surfaces.
• Do not use razor blades or other sharp instruments that can scratch the
appliance surface, when removing adhesive labels. Any glue left from the
tape or energy label can be removed with a mixture of warm water and mild
detergent, or, touch the residue with the sticky side of tape already removed.
• Do not remove the serial plate.
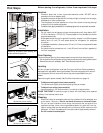
Exposed bolt (some models)
Sunken bolt (some models)
1"
1"
1/2"
1/2"
3" AIR SPACE
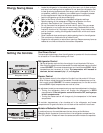
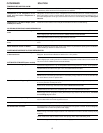
Clearance
Proper air circulation and leveling will
ensure efficient operation.
Adjusting Screw-type Levelers (some models)