15
Dimensions in parentheses are in
millimeters unless otherwise specified.
INSTALLATION INSTRUCTIONS
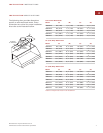
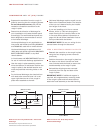
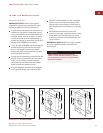
Rough-In
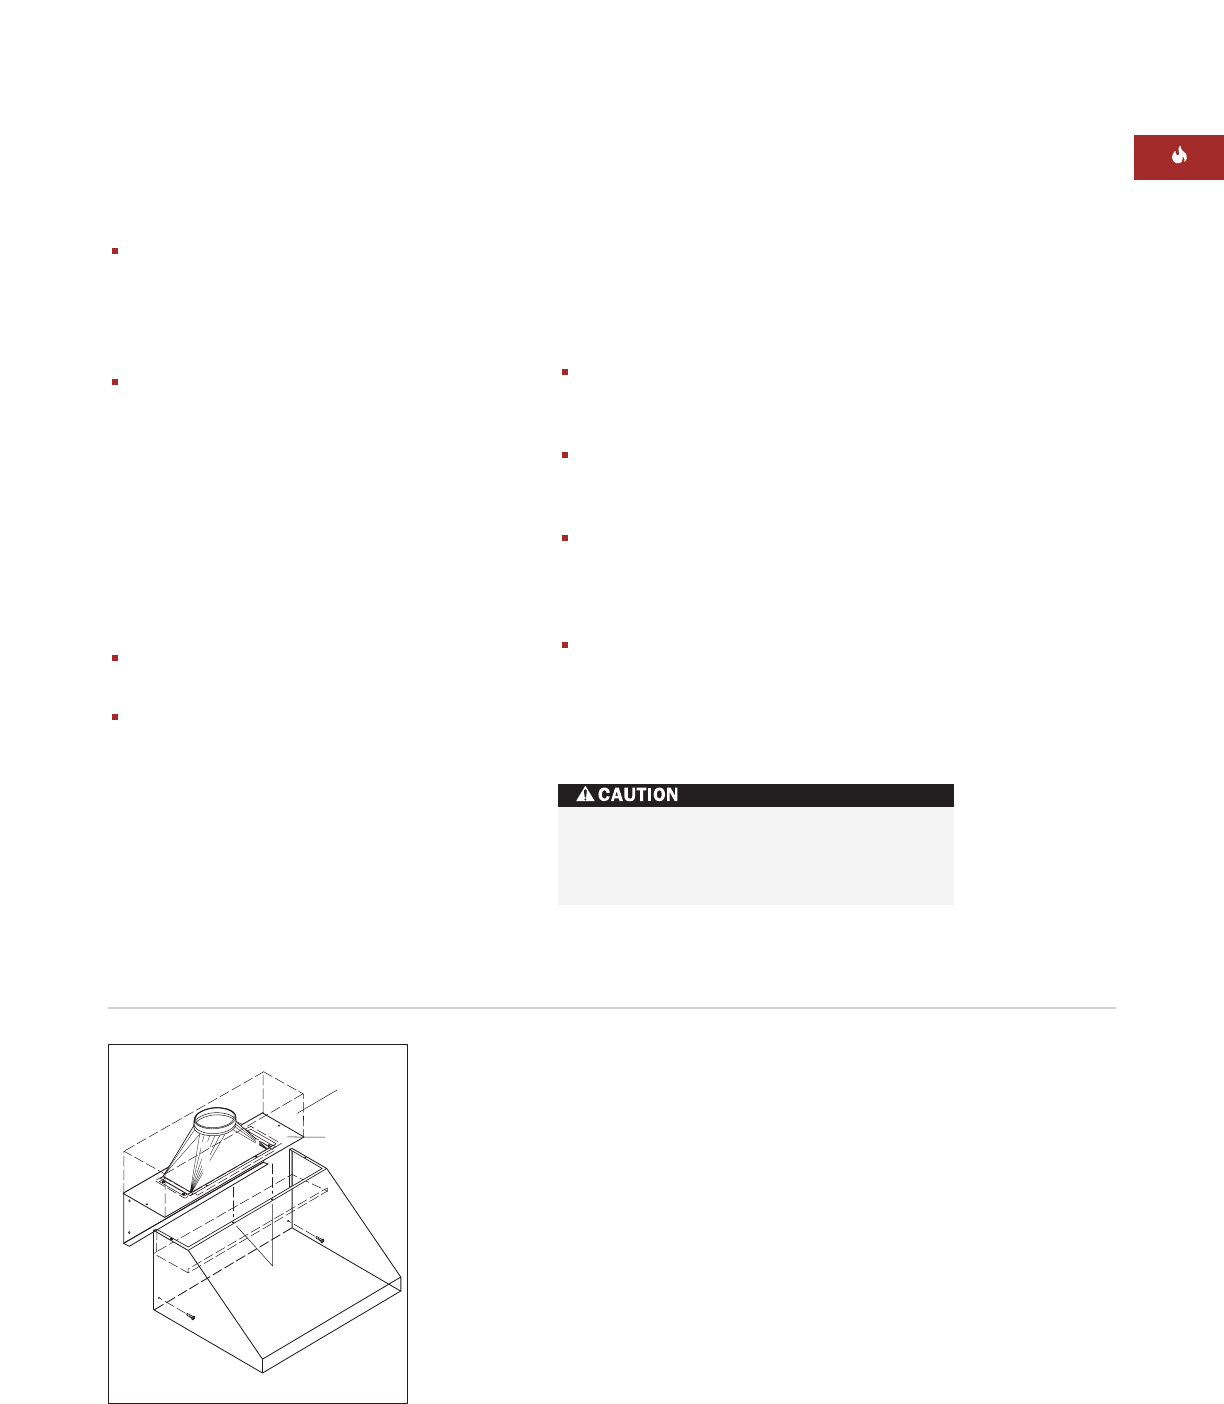
Plate
Soffit
Mounting
Holes
Hood installation
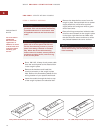
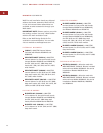
27" (686) DEEP WALL HOODS
If you are installing WBLOWER-90INT or
WBLOWER-120INT, refer to the internal
blower information on page 17 and follow
installation instructions provided with the
blower.
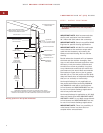
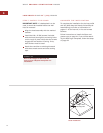
If you are installing an in-line or remote
blower, drill a
7
/8" (22) hole through the
wood framing for the conduit. Refer to the
in-line and remote blower information on
pages 18–19 and follow installation instruc-
tions provided with the blower.
IMPORTANT NOTE:
Do not run wiring for the
remote blower through the ductwork.
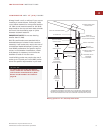
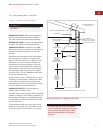
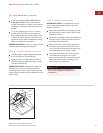
STEP 4: INSTALL ROUGH-IN PLATE
Use the rough-in plate assembly to deter-
mine the location of wall framing.
Install the #10 x 1" (25) screws (included
with the hood) through the rough-in plate
into the wall framing.
IMPORTANT NOTE:
If additional support is
required for the hood, drill supplementary
mounting holes in the rough-in plate and use
these holes to attach the hood assembly to the
wall framing.
STEP 5: INSTALL THE HOOD
IMPORTANT NOTE:
If a backsplash is to be
used, it should be installed before the wall
hood is mounted.
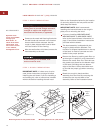
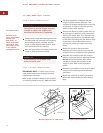
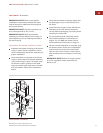
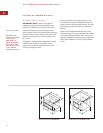
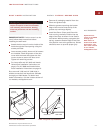
Align both ends of the hood assembly with
the ends of the rough-in plate. Refer to the
illustration below.
Insert the back edges of the hood assembly
into the rough-in plate and push the hood
assembly toward the wall.
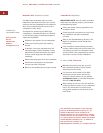
Place the studs on the rough-in plate into
the slots on the hood. Use the hex head
nuts (included with the hood) to secure the
hood assembly to the rough-in plate.
Install the remaining #10 x 2" (51) screws
(included with the hood) in the lower
section of the hood. Verify that the screws
engage the wall studs or framing. If not,
wall anchors must be used.
Due to the weight of the hood, be
sure to have adequate manpower for
installation.


