


FULL SIZE GAS CONVECTION OVENS - REMOVAL AND REPLACEMENT OF PARTS
F32700 (February 2006) Page 12 of 64
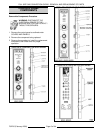
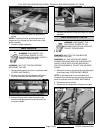
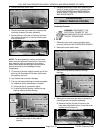
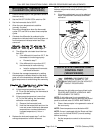
6. Remove the nuts that secure the motor mounting
plate to the rear wall.
7. Place a piece of cardboard on the bottom of the
oven cavity to protect its surface from any
damage during motor assembly removal.
8. Pull the motor assembly into the oven cavity and
place it on the cardboard.
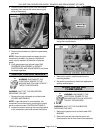
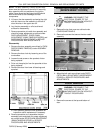
9. Remove the junction box cover from the motor,
disconnect lead wires and remove the conduit.
10. Remove motor mounting bolts and flat
washers then lift the motor from the mounting
plate.
11. Position the replacement motor on the motor
mounting plate and install mounting bolts and
washers. Hand tighten mounting bolts only.
12. Reconnect lead wires at the motor, replace
conduit and junction box cover.
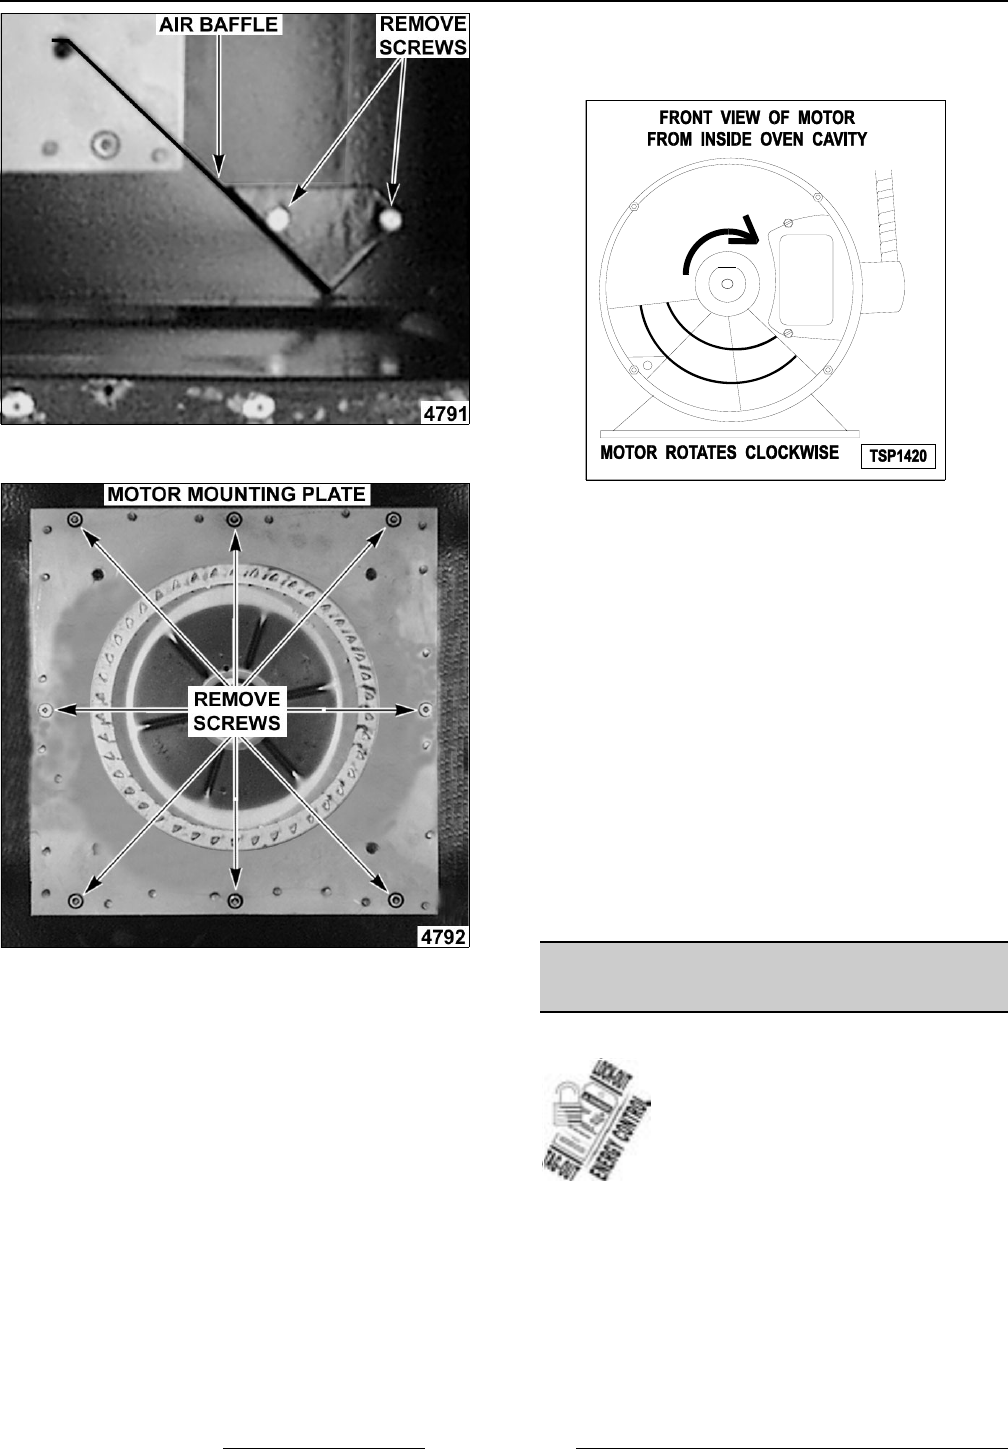
NOTE: Check data plate on motor for wiring
schematic. The motor must rotate clockwise when
viewed from the shaft end.
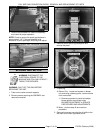
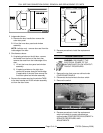
13. Slide blower onto motor shaft until hub is flush
with end of shaft then tighten set screws.
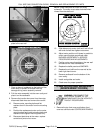
14. Adjust motor position until blower is parallel to
motor mounting plate as outlined under
BLOWER ADJUSTMENT in SERVICE
PROCEDURES AND ADJUSTMENTS.
15. Position motor mounting plate on the rear wall
and secure with nuts and washers.
16. Replace the baffle panel and SNORKEL.
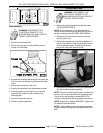
17. Replace the air baffle on the rear wall at the
lower right hand corner.
18. Remove cardboard from the bottom of the
oven cavity.
19. Install rack guides and racks.
20. Check oven for proper operation.
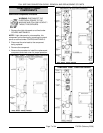
OVEN DOORS AND BEARINGS
(INDEPENDENT DOORS)
WARNING: DISCONNECT THE
ELECTRICAL POWER TO THE
MACHINE AND FOLLOW LOCKOUT /
TAGOUT PROCEDURES.
1. Remove the top front cover and bottom front
cover as outlined under COVERS AND PANELS.