FULL SIZE GAS CONVECTION OVENS - SERVICE PROCEDURES AND ADJUSTMENTS
F32700 (February 2006) Page 20 of 64
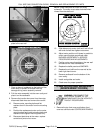
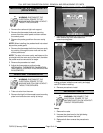
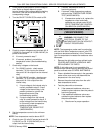
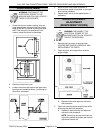
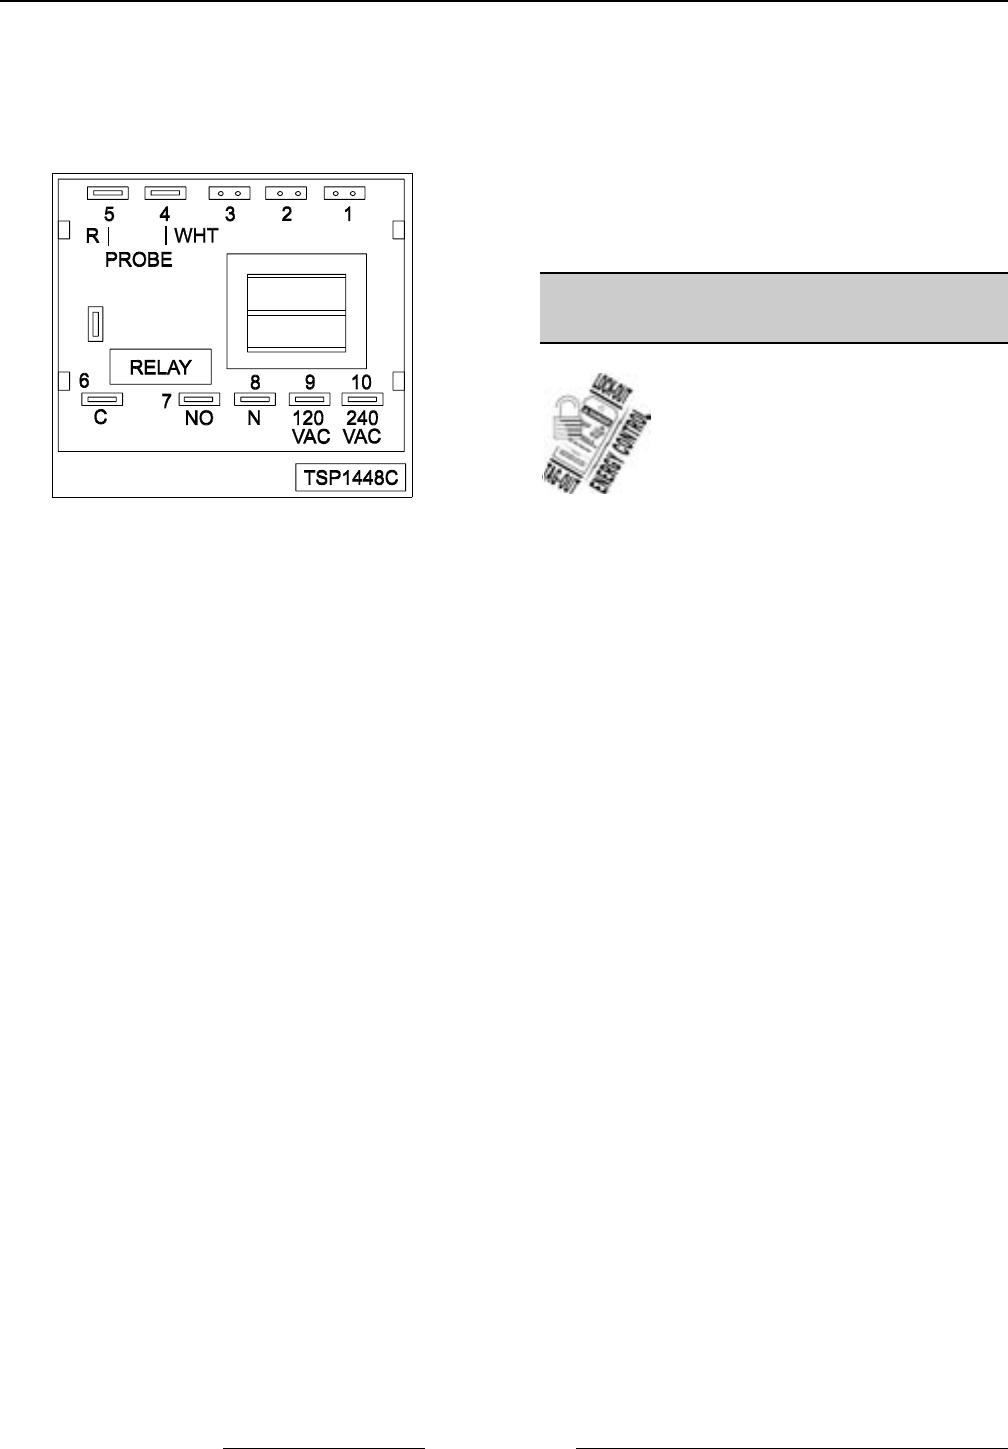
4. Check machine data plate for correct voltage to
oven. Refer to diagram below for proper
terminal locations and voltages before checking
the control. Use the correct terminals for the
corresponding voltage.
5. Turn the ON-OFF-OVEN COOL switch to ON.
6. Check for proper voltage across terminals 8 & 9
(120VAC) or terminals 8 & 10 (208-240VAC) for
power to the control.
A. If correct, proceed to step 7.
B. If incorrect, problem is not with the
temperature control (See troubleshooting
section).
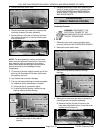
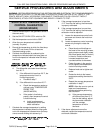
7. Check relay voltages on the board:
A. For 120VAC controls - check across
terminals 7 & 9 for input to the internal
relay and 6 & 9 for output from the internal
relay.
B. For 208-240VAC controls - check across
terminals 7 & 10 for input to the internal
relay and 6 & 10 for output from the
internal relay.
1) If input voltage to the internal relay is
correct, proceed to step 8. If input
voltage to the internal relay is not
present, problem is not with the
temperature control (See
troubleshooting section).
2) If output voltage from the internal
relay is correct proceed to step 8. If
output voltage from the internal relay
is not correct, check temperature
probe as outlined under
TEMPERATURE PROBE TEST
(WKGD/WKGDX).
8. Set the temperature control to the minimum
setting.
NOTE: Oven temperature must be above 300°F.
9. Check for zero (0) volts AC across terminals 6 &
9 (120VAC) or 6 & 10 (208-240VAC) for no
output from the internal relay.
A. If correct, temperature control is
functioning properly.
B. If incorrect, check temperature probe as
outlined under TEMPERATURE PROBE
TEST (WKGD/WKGDX).
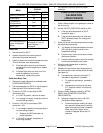
1) If temperature probe is ok, replace the
temperature control and check
calibration as outlined under SOLID
STATE TEMPERATURE CONTROL
CALIBRATION (WKGD/WKGDX).
TEMPERATURE PROBE TEST
(WKGD/WKGDX)
WARNING: DISCONNECT THE
ELECTRICAL POWER TO THE
MACHINE AND FOLLOW LOCKOUT /
TAGOUT PROCEDURES.
NOTE: The temperature probe used in conjunction
with the Solid State Temperature control is an RTD
(resistance temperature detector) of the Thermistor
type. As temperature increases the resistance value
decreases.
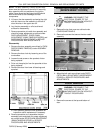
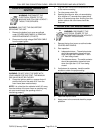
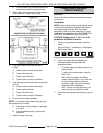
1. Remove the right side panel as outlined under
COVERS AND PANELS in REMOVAL AND
REPLACEMENT OF PARTS.
NOTE: If right side panel is not accessible, this
component can be serviced by removing the control
panel as outlined under COVERS AND PANELS.
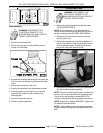
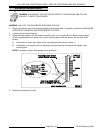
2. Place a shielded thermocouple in the geometric
center of the oven cavity and determine the
temperature in the oven cavity.
3. Remove the probe lead wires from the solid
state temperature control.
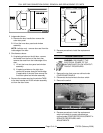
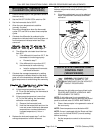
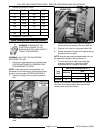
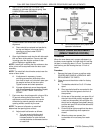
4. Test the probe with an ohmmeter.
A. If the measured resistance values are
inside the given tolerance then the probe is
functioning properly.
B. If the measured resistance values are
outside the given tolerance then replace
the probe and retest.
1) Check oven for proper operation.


