11
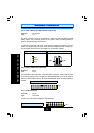
2.2. Installation Steps
You need to complete the following installation steps before you can use your PC.
•
Check and Set the Mainboard Settings.
•
Install the Central Processing Unit (CPU).
•
Install the Memory Modules.
•
Install the Expansion Cards.
•
Connect the Ribbon Cables, Panel Wires and the Power Supply.
•
Setup the system BIOS
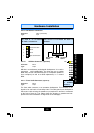
Before you start
installing your mainboard we strongly recommend that
you use a grounded anti-static mat. We further recommend that you attach
an anti-static wristband, which is grounded at the same location as the mat,
to your wrist.
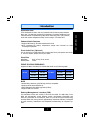
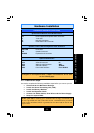
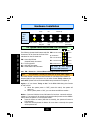
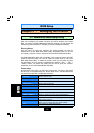
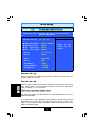
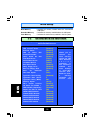
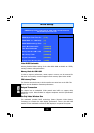
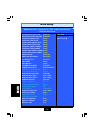
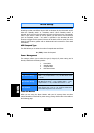
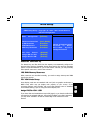
Installation Checklist (Continued)
PW
TL
HL
RS
Power On/Off and Suspend Switch Connector.
Turbo LED
HDD LED Connector
Reset Button LED Connector
PWR-LED
SPK
KBLOCK
Power LED
Speaker Connector
Keyboard Lock Connector
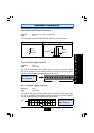
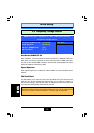
CN12
CN16
CN25
CN39
Infrared Connector IR
Wake-On-LAN Connector WOL
AIR BUS Interface AIRBUS
Front Audio Interface Front AUDIO
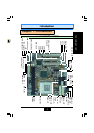
System Panel Buttons and LED Connectors
Speaker, Power LED and Keyboard Lock Connector
Optional Connectors
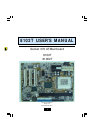
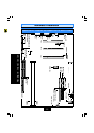
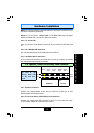
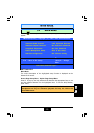
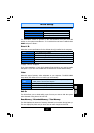
A Diagram of the Expansion Slots, Jumpers and Connectors can be seen
on the following page
Hardware Installation
Hardware Installation
Hardware Installation