EPSON Stylus Color 900 Revision C
Product Description Control Panel Operation 34
Printhead alignment mode
Alignment method is as described below:
1. While holding down both Load/Eject and Cleaning (Black) buttons,
turn the printer on.
2. Printer prints an instruction sheet that shows how to adjust the
printer and current alignment.
3. Referring to the current alignment, press the Cleaning button until
the LED indicate the appropriate test number.
4. Press the Load/Eject button. The printer prints the test pattern.
5. Referring to the test patterns on the new printout, select the most
closely aligned pattern by pressing the Load/Eject button.
6. Press the Cleaning button.
7. Repeat the steps from 3 to 6 until all test patterns are properly
aligned.
8. Turn the printer off.
1.4.2.2 Special Setting Mode
While turning the printer on, pressing the both Load/Eject and Cleaning
buttons generates the Special setting mode. While the Paper Out LED
is blinking, activate each function by pressing the specified button(s) in
the method described in Table 1-22.
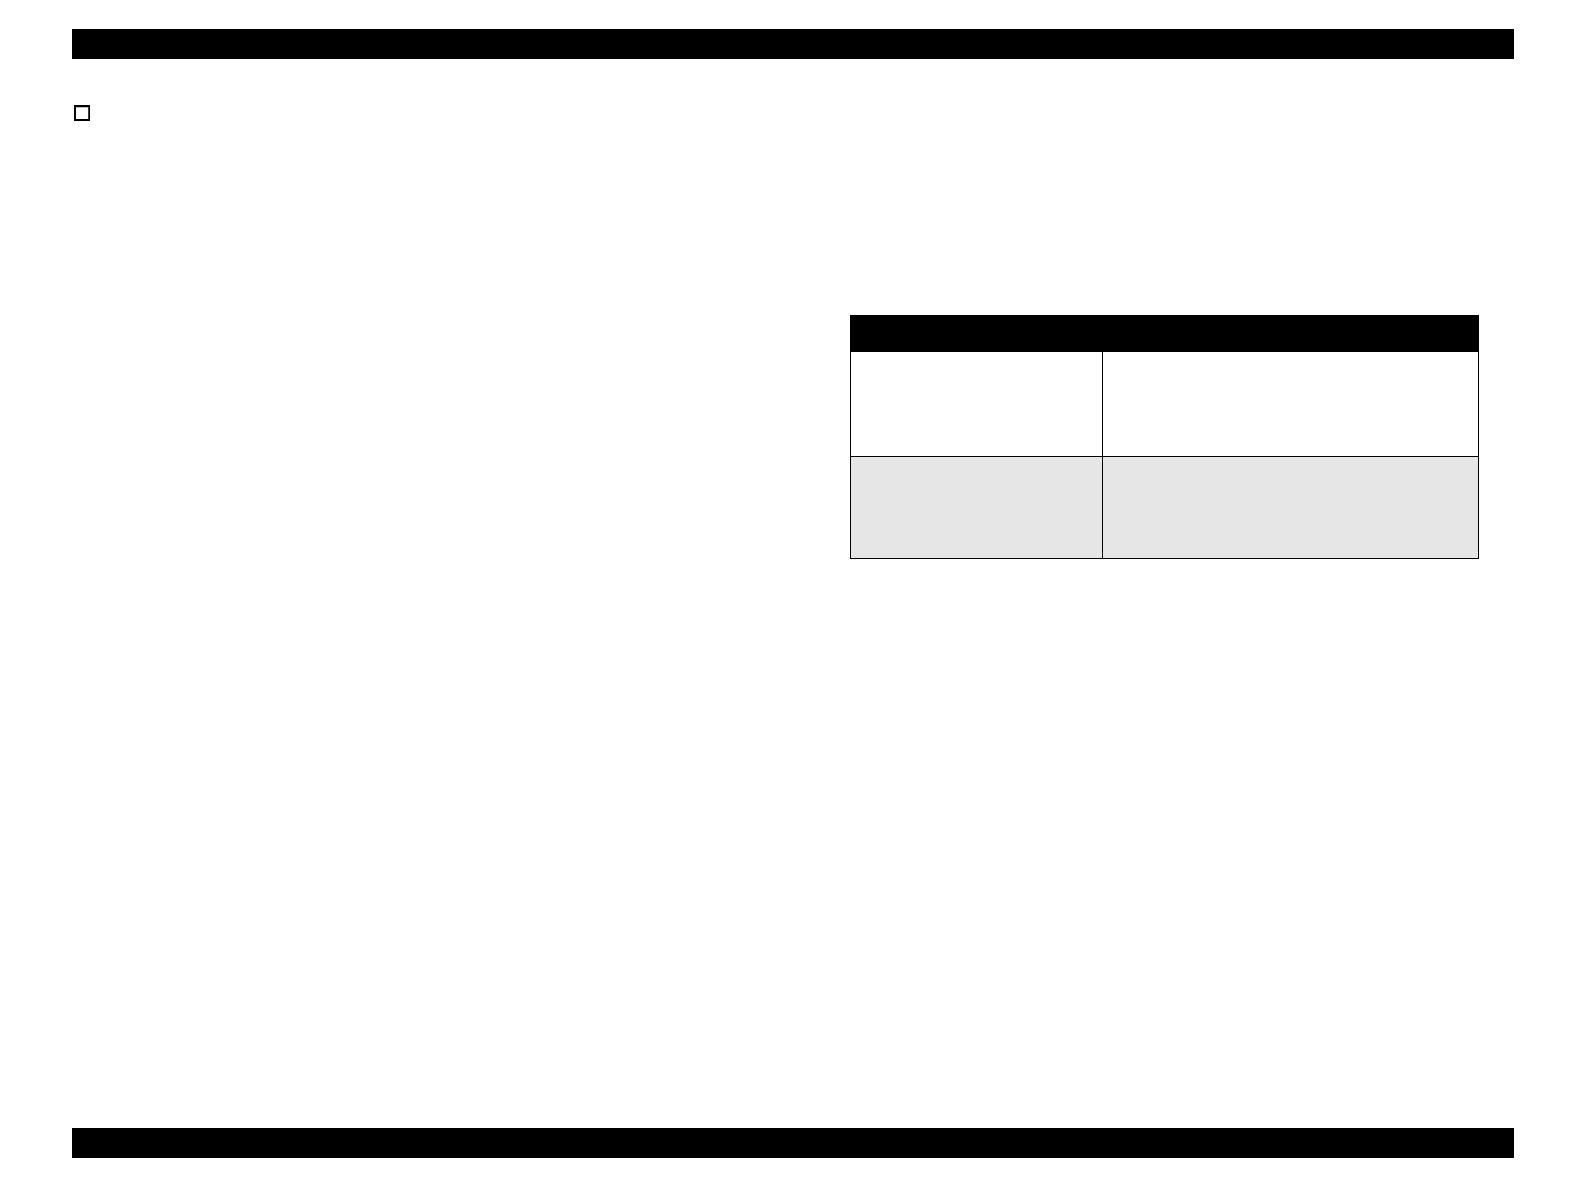
Table 1-22. Special Setting Mode
Switch Function
Load/Eject
While the Paper Out LED is blinking, pressing
the Load/Eject button initializes the EEPROM
and resets the timer IC. (Refer to EEPROM
Address Map in Appendix.)
Cleaning
(Hold it down for 10 seconds)
While the Paper Out LED is blinking, pressing
the Cleaning button for 10 seconds resets the
waste ink counter in the EEPROM. (Refer to
EEPROM Address Map in Appendix.)


