148
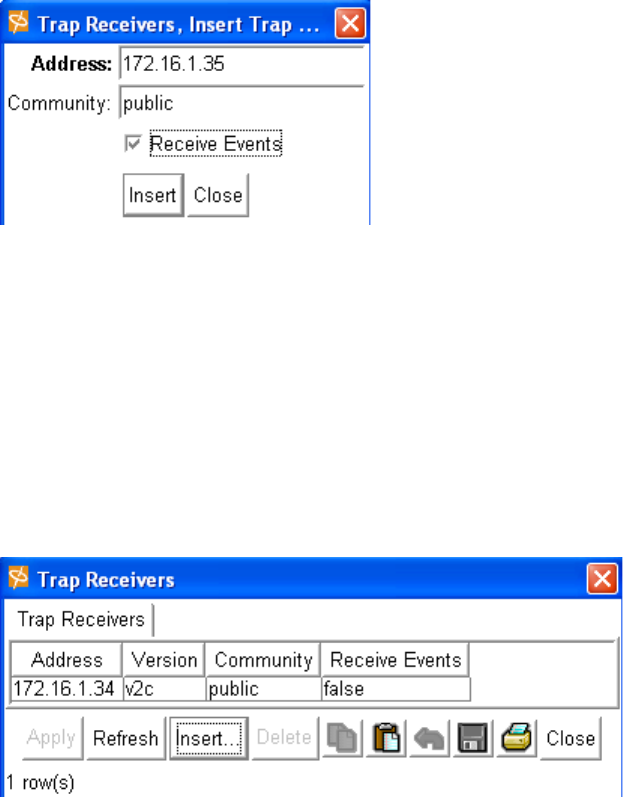
The Trap Receivers, Insert Trap... window appears.
4. Enter the IP address of the desired Trap Receiver in the Address field.
5. Enter the SNMP community string in the Community field.
6. Check the Receive Events box if you want to enable the Trap Receiver to receive events.
You can also add the Trap Receiver, then enable it later.
7. Click the Insert button.
Editing a Current SNMP Trap Receiver
1. Launch Element Manager, if you have not already done so.
2. Select Health --> Trap Receivers.
The Trap Receivers window appears.
Any previously configured Trap Receivers appear in the window.
3. Click in any of the fields to edit them.
• Click into the Address field to change the IP address of a Trap Receiver.
• Click into the Version field to change the SNMP version. Note: v2C is the highest supported
version.
• Click into the Community field to change the SNMP community string.
• Click into the Receive Events field to enable or disable the Trap Receiver from receiving
events. The field becomes a drop-down menu when clicked.


