


QUICKCHILLER • INSTALLATION/OPERATION/SERVICE MANUAL • 18.QUICKCHILLER • INSTALLATION/OPERATION/SERVICE MANUAL • 18.
SUB TITLE
TITLE
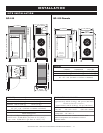
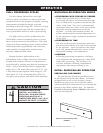
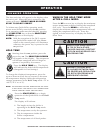
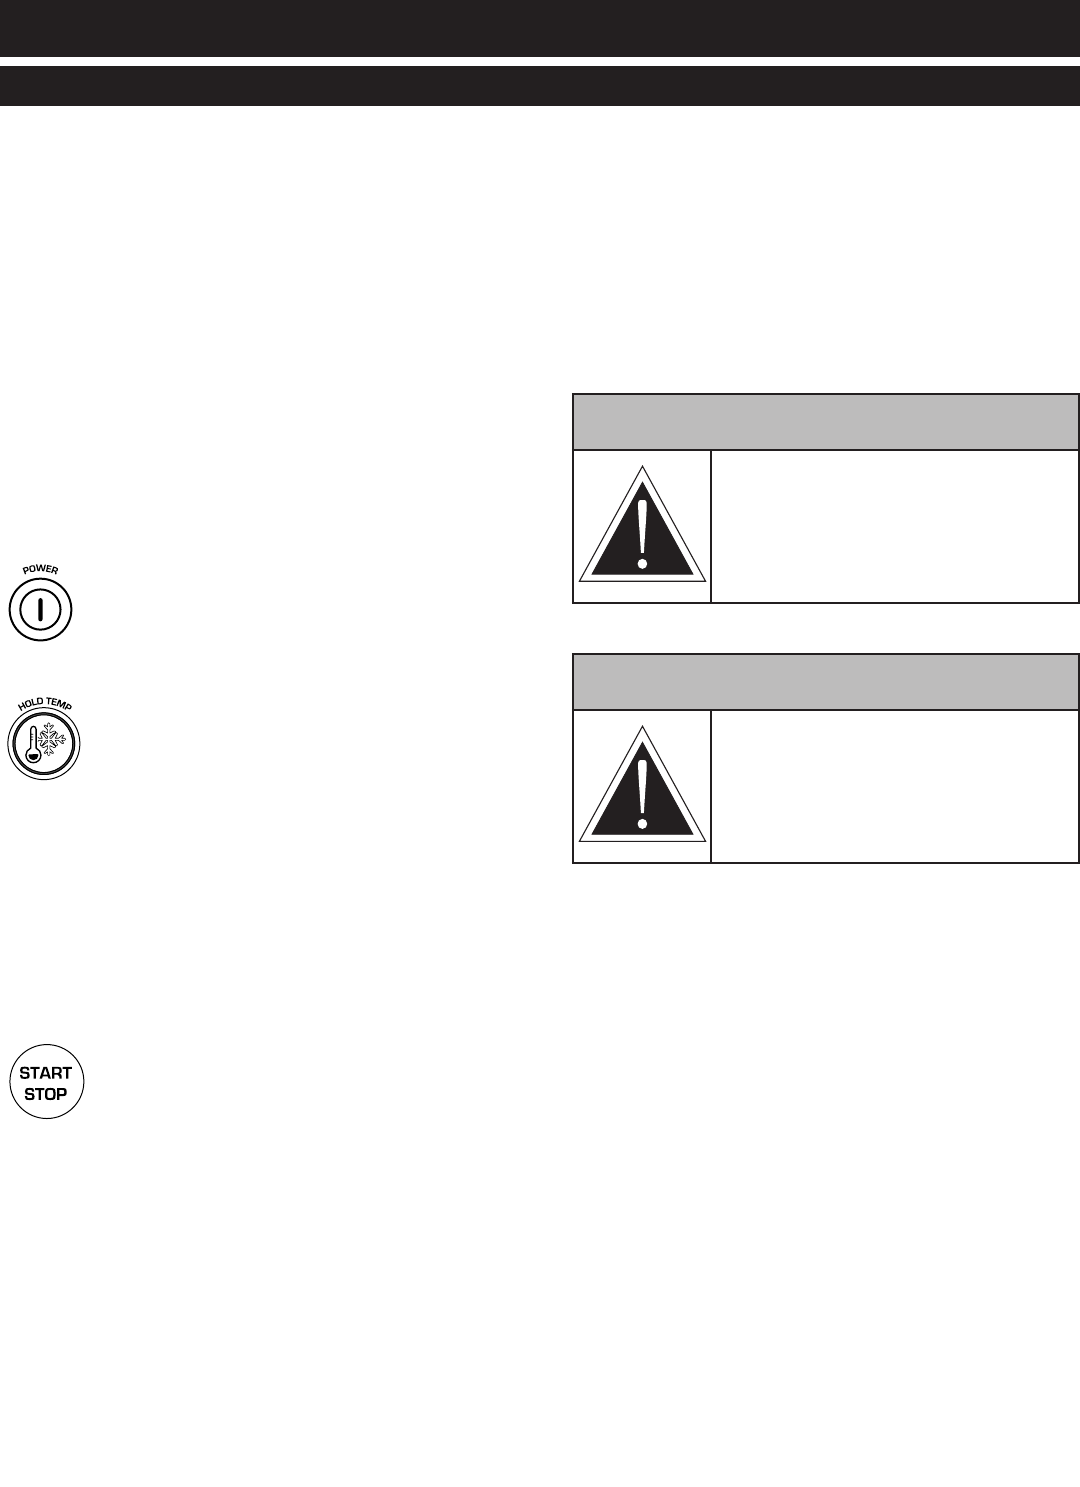
CAUTION
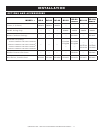
ADEQUATE SPACING MUST
BE ALLOWED BETWEEN PANS
FOR PROPER AIR CIRCULATION
FOR BOTH PROCESSING AND
SUBSEQUENT HOLDING.
ADVANCED OPERATION
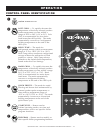
OPERATION
The date and time will appear in the display when
the unit is off. When the unit is turned on, the
screen will read: “SELECT MODE OR PRESS
START TO SELECT PRESET”
To initiate any Quickchiller operating mode,
power must initially start from the off position
or an operating mode must be halted by pressing
the START/STOP key so that the SELECTION
SCREEN appears on the display.
NOTE: With the exception of the QC-3 counter
top Quickchiller model, the Alto-Shaam
name on the control panel will illuminate
whenever the power key is pressed to the
on position.
HOLD TEMP
Starting from the off position, press the
power key on. The SELECTION SCREEN
will appear on the display. The compressor
will become energized and will begin to
operate if required by the sensors.
Press the HOLD TEMP key. The display
will indicate the default hold temperature
(changeable in User Settings).
To change the displayed temperature, press the
up5or down6arrow key to increase or decrease
the temperature display within the refrigeration
storage parameters of the Hold Temp mode -5°F to
+40°F (-21°C to +4°C).
note: THE MOdIfIEd HOLdINg TEMPERATURE SET-POINT
IS NOT SAVEd. THE dEfAULT HOLd TEMPERATURE
CAN bE CHANgEd UNdER USER SETTINgS.
Press the START/STOP key to begin
operation of the Quickchiller in the Hold
Temp mode.
The display will indicate:
1. The length of time the chiller is
operating in the Hold Temp mode.
2. The temperature set by the operator.
3. The air temperature inside the
chiller compartment.
4. The temperature of all food probes.
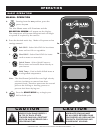
WHEN IN THE HOLD TEMP MODE
AFTER A CHILL MODE:
Press the UP 5arrow key to display the maximum
sensor temperature achieved during the completed
chill cycle. Press the DOWN 6 arrow key to
display the minimum sensor temperature achieved
during the completed chill cycle. Press the
right4or left3arrow key to display the Probe
Done Time.
CAUTION
NEVER STACK PANS DIRECTLY
ON TOP OF EACH OTHER.
STACKED PANS WILL RESTRICT
AIR FLOW AND INCREASE CHILL
PROCESSING TIME.