


Aquatic Industries, Inc.
9
Framing and supports will vary according to the model and type of installation selected.
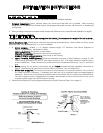
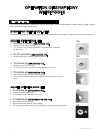
1. Plumbing Connections: (spout, handles, valves, etc.) should be made after unit is installed. When mounting
fittings on unit, drill holes from finished surface, using appropriate-sized hole saw with fine-tooth or abrasive grit
cutting edge.
2. When plumbing connections have been made, proceed with electrical hook-up (see Electrical Installation on page 8).
TYPES OF INSTALLATIONS:
*Installation dimensions should be taken directly from the bathtub. Do not support the weight of the tub by its rim.
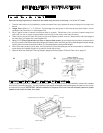
Alcove: Requires a skirt. Models shown with skirts have optional removable skirts. Other models not shown require
a field built skirt, have an integral skirt, or no skirt is available.
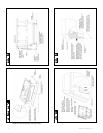
1. a) Alcove Framing: Leveled 1” x 3” ledgers indicated height “LH” dimension (see Alcove Diagrams on
page 9). Use a 3’ level. Nail ledgers to studs.
Island -- All Models: Above floor; no wall contact.
Peninsula -- All Models: Above floor; one end at plumbing wall.
Sunken (Partial or Full) -- All Models: Flush mount or self-rimming.
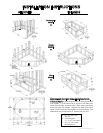
b) Island, Peninsula, Sunken Framing: Construct framework as shown in Island Diagrams on page 10, with
inside (cutout) dimensions “IW” and “ID” and height dimension “DH”. (Full height framework required, even in
sunken installations.) Check framework for proper dimensions, squareness and plumb. Use a 3’ (minimum)
level.
2. a) Before moving unit into alcove or framework see and follow enclosed Electrical Installation instructions on
page 8. (Electrical and air tube hook-ups will be difficult to perform if unit is installed first.)
b) Models with leveling feet: The following procedure is recommended for pre-leveled bottoms: Lift unit by the
rim, place in alcove or framework. If necessary, shim feet until unit is completely resting on leveled ledges or
framework. Secure the unit by fastening the bottom feet to the subfloor with any construction adhesive caulk.
The use of cement mortar is suggested as a foundation bed between the floor and the bottom of the unit to
suppress noise and give the rock solid feel for the user.
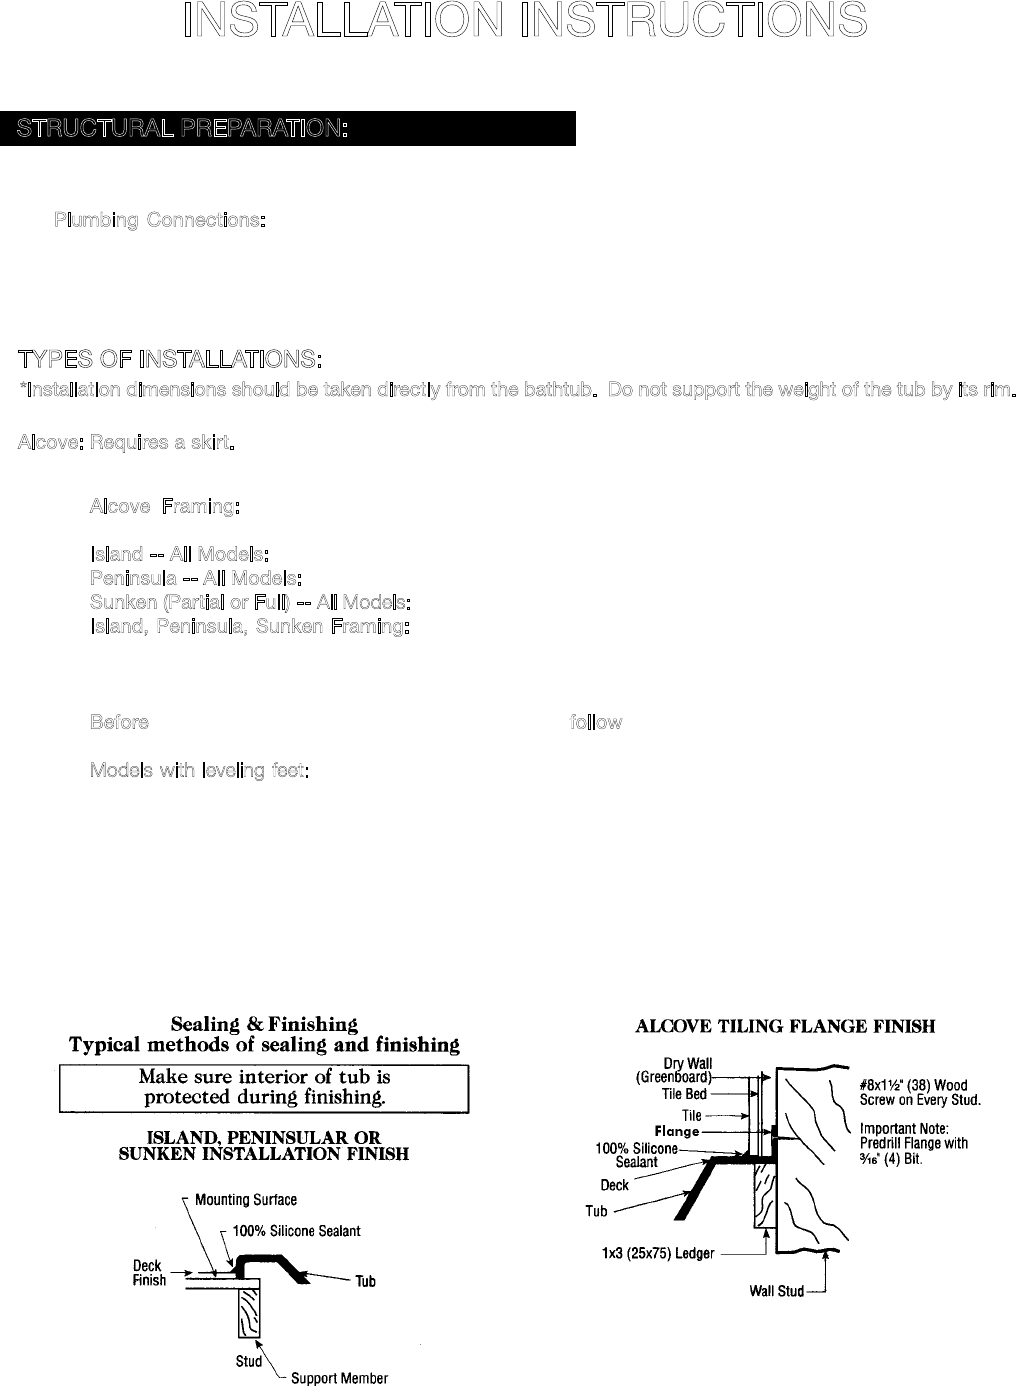
3. See and follow Sealing & Finishing diagrams (below) and System Test and Clean-Up on page 15.
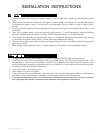
STRUCTURAL PREPARATION:
(Not to support tub’s lip)
INSTALLATION INSTRUCTIONS