7
BALANCING ERV/HRV
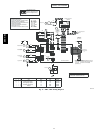
Balancing intake and exhaust airflow is very important for proper
system operation and optimum performance when applying an
ERV/HRV. Unit balancing prevents a positive and/or negative
pressure within the home. Balancing the ERV/HRV is done by
applying magnehelic gauge and using the balancing dampers at the
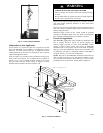
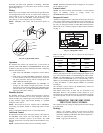
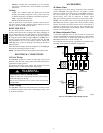
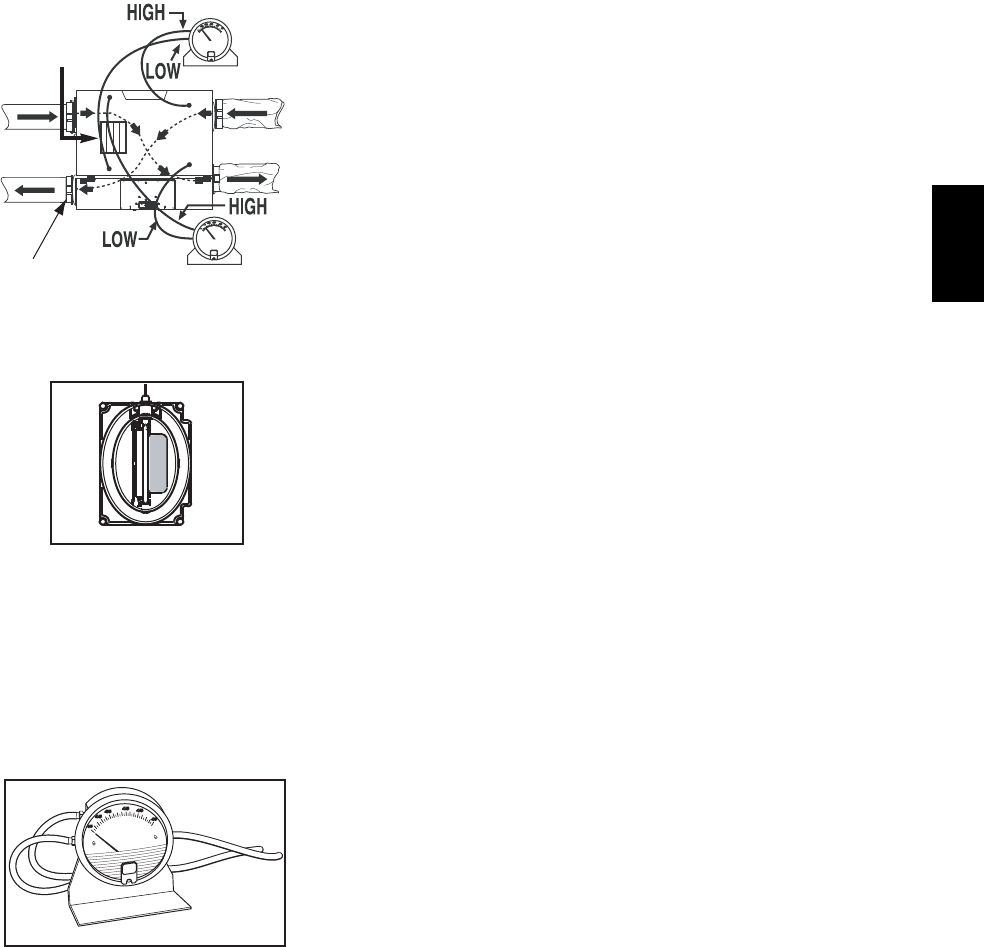
fresh air intake and stale air exhaust ducts. (See Fig. 13.)
1 12 12 11
1 12 12 11
3 13 33 23
1 12 12 11
1 12 12 11
3 13 33 23
Fresh air flow
Balancing
Chart
Exhaust air flow
Port with integrated
balancing damper
Top View
DETAIL A
See Detail A
A07261
Fig. 13 -- Balancing ER V/HRV
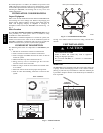
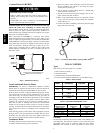
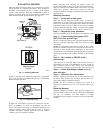
Airflow is determined by temporarily connecting a magnehelic
gauge to the pressure taps on ERV/HRV. (See Fig. 14.) Balancing
chart is located on unit door.
A98400
Fig. 14 -- Magnehelic Gauge
If supply --air from outside is greater than exhaust--air from the
house, an imbalance can result over pressurizing the home. If
exhaust-- air is greater than supply--air, combustion appliances may
backdraft, bringing exhaust fumes into the house. A balanced
condition will ensure optimum performance, provide satisfied
customers, and avoid expensive callbacks.
Before proceeding with balancing, all windows, doors, and
fireplace flues should be tightly closed. No exhaust systems such as
range top exhausts, dryer exhaust, fume hoods, bath or roof fans
should be in operation. The forced--air furnace (if used for
circulation) should be operating in continuous fan mode for normal
operating speed.
Balancing Procedure
Step 1 — Set the unit to high speed.
Make sure that the furnace/air handler blower is ON if the
installation is in a ny way connected to the ductwork of the cold air
return. If not, leave furnace/air handler blower OFF. If the outside
temperature is below 32_F(0_C), make sure the unit is not running
in defrost while balancing. (By waiting 10 minutes after plugging
the unit in, you are assured that the unit is not in a defrost cycle.)
Step 2 — Magnehelic gauge placement.
Place the magnehelic gauge on a level surface and adjust it to zero.
Step 3 — Connect tubing from gauge to EX-
HAUST air flow pressure taps.
Be sure to connect the tubes to their appropriate high/low fittings.
(See Fig. 13.) If the gauge drops below zero, reverse the tubing
connections.
NOTE: It is suggested to start with the exhaust air flow reading
because the e xhaust has typically more restriction than the fresh air,
especially in cases of fully ducted installations or source point
ventilation. Place the magnehelic gauge upright and level. Record
equivalent AIR FLOW of the reading according to the balancing
chart.
Step 4 — Move tubing to FRESH air flow
pressure taps.
Adjust the fresh air balancing damper until the fresh air flow is
approximately the same as the EXHAUST air flow. If fresh air
flow is less than exhaust air flow, then go back and adjust the
exhaust balancing damper to equal the fresh air flow. (See Fig. 13.)
Step 5 — Secur e both dampers thumb scr ew i n
place with tape.
Step 6 — Record air f low information.
Write the required air flow information on a label and stick i t near
the unit for future reference (date, maximum speed air flows, your
name, phone number and business address).
NOTE: The unit i s considered balanced even if there is a
difference of ±10 CFM (or ±5 l/s or 17 m
3
/h) between the t wo air
flows.
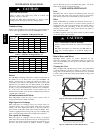
Balancing Dampers
Balancing dampers (sometimes called butterfly dampers) are
located in fresh--air intake and stale--air exhaust of the ERV/HRV.
(See Fig. 13.) Insulating over these dampers is strongly
recommended after balancing is complete to prevent condensation
problems.
ERV / HRV


