


6
ELECTRICAL HOOK-UP
CAUTION: Improper electrical installation will damage electronic components.
1. An electrician must provide electrical service as specified in conformance with all local, state and federal
electrical codes.
2. Using a voltmeter, check the voltage and color-coding of each conductor at the electrical source.
3. If plumbing is to be hooked up later, be sure the dispenser is disconnected from the power source. If plumbing
has been hooked up, the dispenser is ready for Initial Fill & Heat.
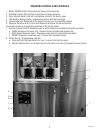
PLUMBING HOOK-UP
1. Flush the water line to remove any debris or foreign material.
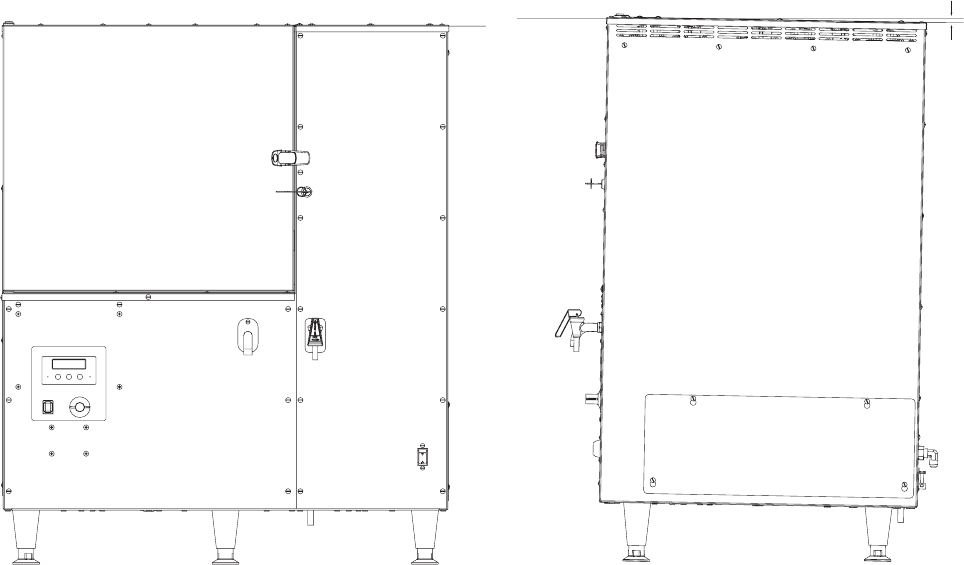
2. Securely attach the water line to the 3/8” flare fitting, lower – right - rear corner of the dispenser.
3. Turn on the water supply and check for leaks.
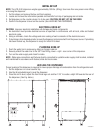
1/16"
LEVEL
41129 060111
NOTE - Water pipe connections and fixtures directly connected to a potable water supply shall be sized, installed
and maintained in accordance with federal, state and local codes.
INITIAL SET-UP
NOTE: The LCR-3 HV dispenser weighs approximately 180 lbs. (82 kg). Use more than one person when lifting
or moving the dispenser.
1. Cut the straps and remove the box and foam packing.
2. Locate and remove the information packets and tube kits from top of packaging and set aside.
3. Set dispenser on the counter where it is to be used. CAUTION: DO NOT LIFT ON THE DOOR.
4. Confirm the dispenser is level on the counter (See LEVELING THE DISPENSER).
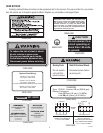
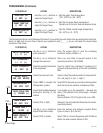
LEVELING THE DISPENSER
Proper leveling of the dispenser is required to insure proper drainage of condensation from the refrigeration unit.
1. Set the dispenser on a level counter top.
2. Use the (6) adjustable legs to level the dispenser.
3. Once the unit is level, adjust the front three legs out another 1/16” to create a slight tilt towards the rear of
the dispenser. (See Fig. below)