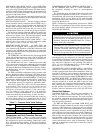
SERVICING COOLER (30HK,HL ONLY)
NOTE: The cooler on 30HW units is not serviceable.
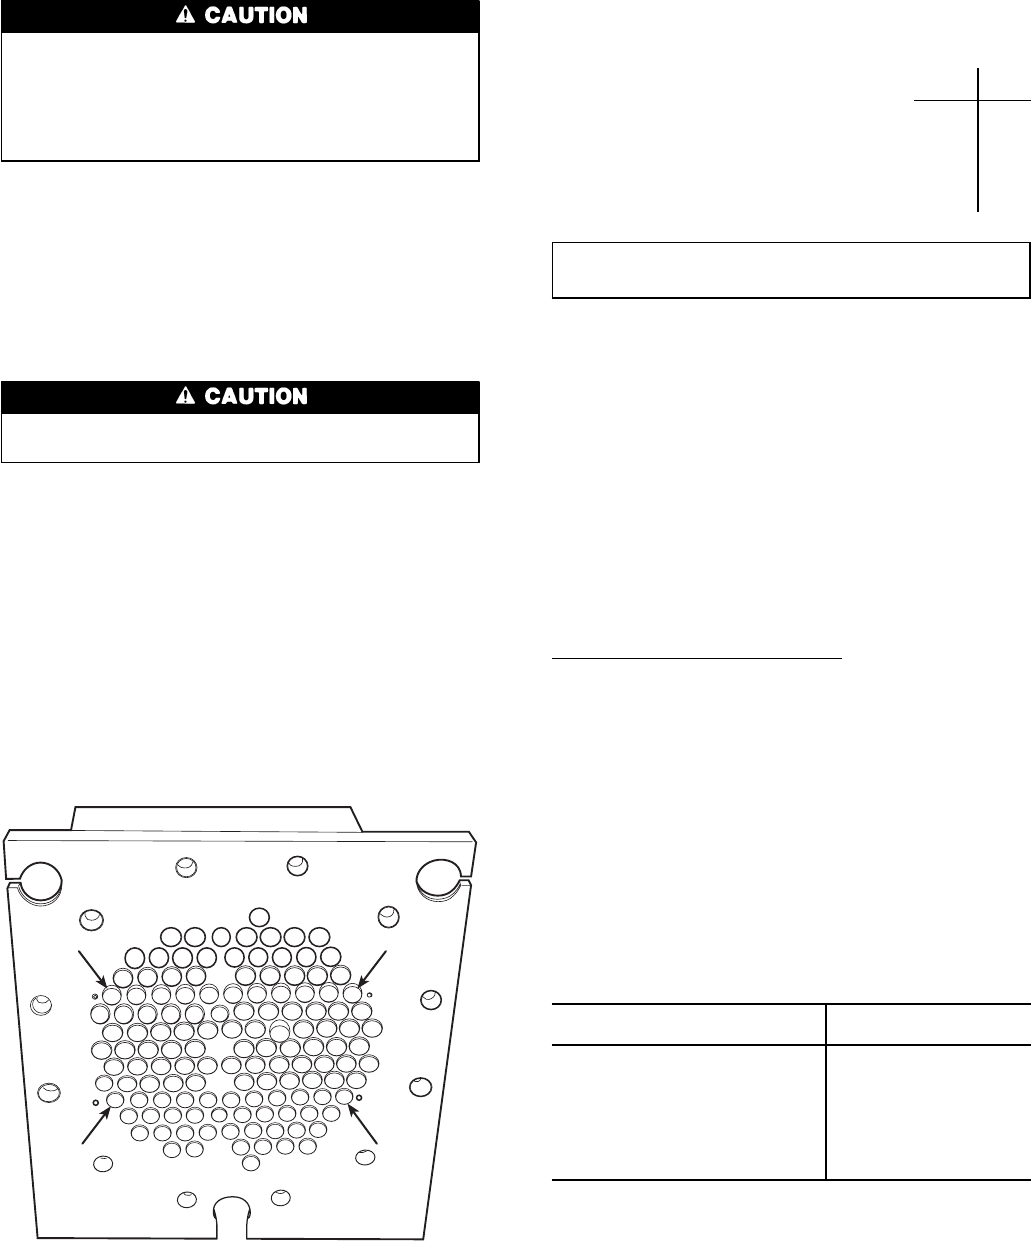
When cooler heads and partition plates are removed, tube
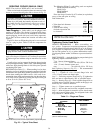
sheets are exposed showing tube ends as shown in Fig. 23.
Four tubes in the bundle are secured inside cooler at baffles
and cannot be removed. These are identified on the tube
sheets by a drill mark horizontally adjacent to each of
the 4 tubes. See Fig. 23. If leakage occurs in any of these
tubes, plug as described in Tube Plugging section
below.
Tube Plugging — Leaky tube(s) can be plugged until
retubing can be done. The number of plugged tubes deter-
mines how soon the cooler must be retubed. If several tubes
require plugging, check with your local Carrier representa-
tive to find out how number and location will affect unit
capacity.
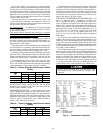
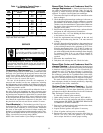
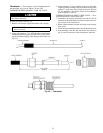
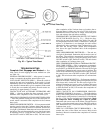
Figure 24 shows an Elliott tube plug and a cross-sectional
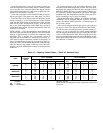
view of a plug in place. Table 13 lists the components for
plugging.
Use extreme care when installing plugs to prevent dam-
aging the tube sheet sections between holes.
Clean parts with Locquic ‘‘N’’solution (or equivalent) and
apply a few drops of Loctite No. 675 sealant (or equivalent)
to obtain a tight seal without using too much force to set the
pin.
Usually plugs can be removed by heating the projecting
end of pin to approximately 1000 F (538 C) and chilling quickly
with water. Apply heating flame to side of the pin to prevent
overheating tube sheet.
RETUBING (See Table 13) — When retubing is to be done,
obtain the service of qualified personnel experienced in boiler
maintenance and repair. Most standard procedures can be fol-
lowed when retubing the 10HA coolers. A 6% crush is rec-
ommended when rolling replacement tubes into the tube sheet.
A 6% crush can be achieved by setting the torque on the gun
at 48 to 50 in.-lb (780 to 815 N-m).
The following Elliott Co. tube rolling tools are required:
B3400 Expander Assembly
B3401 Cage
B3405 Mandrel
B3408 Rolls
Place one drop of Loctite No. 675 sealant (or equivalent)
on top of the tube prior to rolling.
Tube information:
in. mm
• Tube sheet hole diameter ............0.631 16.03
•TubeOD ......................0.625 15.87
• Tube ID after rolling ..............0.581 14.76
(includes expansion due to to
to clearance) 0.588 14.94
IMPORTANT: Tubes next to gasket webs must be flush
with tube sheet (both ends).
Tightening Cooler Head Bolts
GASKET PREPARATION — When reassembling, use
new gaskets. Compressed non-asbestos/neoprene gaskets
(Carrier Material Specification ZA00-32) are to be momen-
tarily dipped in compressor break-in oil prior to assembly.
Do not soak gaskets in oil, as gasket deterioration results.
Use dipped gaskets within 30 minutes to prevent deteriora-
tion.
BOLTTORQUES —Apply the following torques during bolt
tightening sequence described below:
5
⁄
8
-in. 16-mm) diameter flange
bolts .............150to170ft-lb (203 to 230 N-m)
1
⁄
2
-in. (13-mm) diameter center-stud
nuts ................70to90ft-lb (95 to 122 N-m)
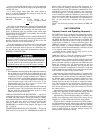
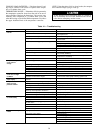
Bolt Tightening Sequence (Fig. 25) — The recommended
bolt tightening sequence is:
Step 1 — Tighten all
5
⁄
8
-in. (16-mm) flange bolts and
1
⁄
2
-in. (13-mm) center nuts finger tight.
Step 2 — Following sequence shown in Fig. 25, tighten the
bolts and nuts to approximately 50% of specified torque.
Step 3 — Starting at top (12 o’clock) tighten flange bolts to
specified torque (see Bolt Torques section on this page) con-
secutively in a clockwise direction.
Step 4 — Tighten center nuts to specified torque.
Step 5 — No less than one hour later, retighten center nuts.
Step 6 —After refrigerant is restored to cooler, check center
studs and exposed gasket edges for refrigerant leaks with
soap solution or a Halide device.
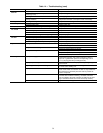
Table 13 — Plugs and Tubes
COMPONENTS FOR
PLUGGING
PART NUMBER
For Tubes
Brass Pin 853103-500*
Brass Ring 853002-570*
For Holes without Tubes
Brass Pin 853103-1*
Brass Ring 853002-631*
Loctite No. 675†
Locquic ‘‘N’’†
*Order directly from Elliott Tube Co., Dayton, Ohio.
†Can be obtained locally.
*
*
*
*
*Fourfixed tubes(cannot beremoved)identified byadjacent drillpoints.
Fig. 23 — Typical Tube Sheet
36


