


7
7
Dehydrating/Defrosting
The range can be used to dehydrate or
defrost foods at low heat settings in “Pure
Convection™” mode (ERD models only).
Follow these steps to dehydrate or defrost
foods:
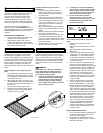
1. Position oven rack(s) at the proper
height(s).
2. Place the food onto the center of the oven
rack. (For dehydrating, prepare food as
recommended then place food onto a
drying rack.)
3. Press the “PURE CONVECTION™” pad.
4. Set the temperature to 135˚F. This is the
minimum temperature that can be set. (For
dehydrating, a higher temperature setting
may be required. Follow the recommended
temperature for the type of food being
prepared.)
5. It is recommended that the user set the
Minute Timer(s) to time the process.
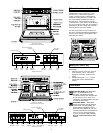
Broiling
Broiling is a quick and flavorful way to prepare
many foods, including steaks, chicken, chops,
hamburgers and fish. Broiling in the oven is
completed with the oven door completely
shut. It is normal and necessary for some
smoke to be present to give the food a broiled
flavor. The broil temperature may be adjusted in
5˚F increments from 135˚F up to the maximum
setting of “HI”. The “HI” setting is equivalent to
555˚F.
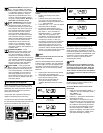
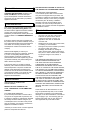
TIMER 1 CLOCK STOP TIME TIMER 2
BROIL
ON
BROIL
ON
Clock display in Broil
(ERD48 & ERDE48 Only)
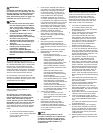
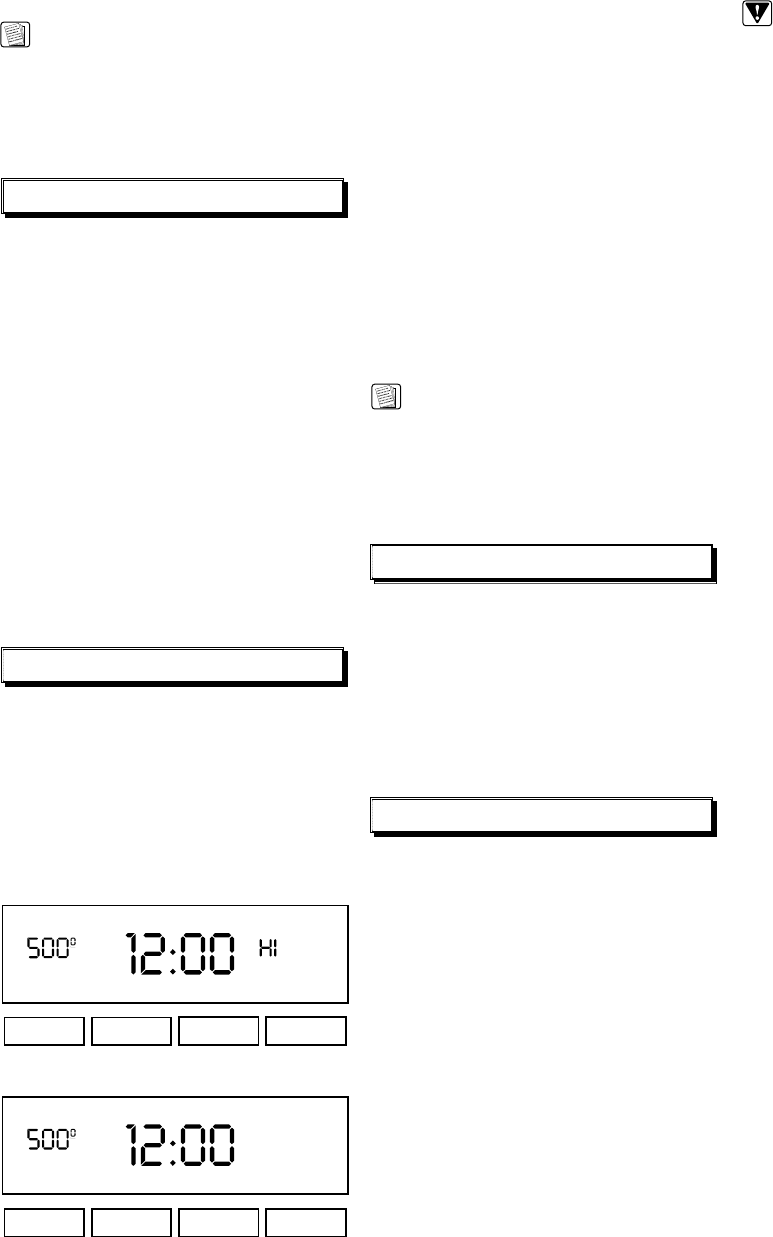
TIMER 1 CLOCK STOP TIME TIMER 2
BROIL
ON
Clock display in Broil
(ERD30, ERG30, ERD36, ERDE36 and ERG36)
Follow these steps to operate the oven in
Standard Broil (all models) or Convection
Broil (ERD48/ERDE48 left oven only) modes:
1. Close the door tightly.
2. Press the “BROIL” or “CONVECTION
BROIL” (ERD48 left oven only) pad.
3. Press the “TIME•TEMP” “+” or “–” pad and
the default temperature setting “HI” will be
displayed. “HI” is equivalent to 555˚F.
4. If a temperature other than “HI” is desired,
press the “TIME•TEMP” “–” pad to reduce
the temperature. Six seconds after setting
the temperature, the “ON” indicator will light
up in the clock display, the broiler element
will begin heating, and the cooling fan will
turn on.
5. It is recommended that the user set
the Minute Timer(s) to time the broiling
process.
6. When the Minute Timer expires
and/or the food is cooked, press the
“CANCEL•SECURE” touch pad to turn off
the oven. The cooling fan will continue to
run for 30 to 45 minutes depending upon
the length and temperature of the broiling
process.
NOTE:
For broiling and top grill tips refer to your
Dacor cookbook. Your complimentary
cookbook was packed with your range. If
you did not receive your cookbook, please
contact Dacor at (800) 793-0093 or at www.
dacor.com
Selecting the Proper Cookware
Utensils will affect the overall safety and
performance of cooktop cooking, so it is
important to select them carefully. An improperly
selected utensil will not cook efficiently or
evenly. For best results, follow these guidelines:
1. Use medium to heavy-gauge metal
cookware with flat and smooth bottoms for
greatest efficiency.
2. Use utensils with tight fitting lids to retain
heat, odors, and steam.
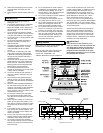
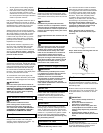
Burner Controls
Indicators have been placed on the control
housing, next to each control knob, to clearly
identify the burner controlled by each knob.
To indicate whether the knob controls burners
on the left or right, the knobs are grouped
accordingly. The burner being controlled is
indicated by a blue indicator light, while the
adjacent burner is illustrated by a flame icon on
the control panel.
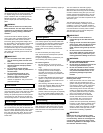
To light a particular burner, press in on the
corresponding control knob, then immediately
rotate the knob counterclockwise from the off
(ø) position to the “HIGH” position (larger flame
icon). All ignitors will spark continuously until
the gas ignites on the selected burner. Ignition
should occur within four seconds of turning to
this position. The ignitors will stop sparking as
soon as the burner ignites.
Once the burner is lit, reduce the flame
height by rotating the control knob further
counterclockwise, then place the utensil on the
grate. Progressively lower flame heights are
achieved as the knob is turned toward the small
flame icon (counterclockwise).
IMPORTANT:
1. If the gas does not ignite within four
seconds, then turn off the valve. Allow
at least five minutes for any gas to
dissipate, then repeat the lighting
procedure.
2. Burner ignitors must always be kept
clean and dry to function properly.
Due to the Perma-Flame re-ignition
feature, dirty or wet ignitors will result
in constant sparking, even if there is
a flame present. Additionally, ignitors
will spark automatically if the flame is
distorted by a draft or by a ventilation
system. Eliminate the draft or reduce
the ventilation blower speed in this
case.
3. Do not touch any burner cap, burner
base, or ignitor while the ignitors are
sparking. An electrical shock could
result.
4. When the cooktop is cool and/or more
than two burners are in use, the ignitors
may continue to spark if the control
knob is set to the “LOW” position. This
is normal until the burner warms up.
The tendency to spark under these
conditions can be reduced by operating
the burner at a higher flame setting
for a short period of time (normally
60 seconds or less), then adjusting
the control knob down to the “LOW”
setting. The burner will also warm up
faster if a utensil is placed on the grate.
5. The flame should be steady and blue in
color. Foreign material in the gas line,
especially in new construction, may
cause an orange flame during initial
operation. This will disappear with
further use.
6. The flame should burn evenly around
the perimeter of the burner, except
underneath each grate support finger,
where the flame height is reduced by
the Smart-Flame feature. If the flame is
uneven, ensure that the brass burner
ring and porcelain burner cap are
properly positioned, then check for any
foreign material in the burner ring or
on the burner cap. Remove any foreign
material with a straightened paper clip,
wire, or needle. Do not damage the
brass or distort the shape of the burner
ring ports.
7. Never light the burners with a match
or other open flame. If a burner does
not ignite, consult the Troubleshooting
section of this manual.
3. The time required to preheat the oven must
be included in the “COOK TIME.” Thus,
the “COOK TIME” should be increased by
about 8 to 12 minutes depending upon the
temperature setting. The broiler does not
come on to preheat in the Delay Mode, so
you will not pre-maturely brown foods.
NOTE:
The gas broilers (ERD model only), or
Electrical Glass Broilers (ERDE model only),
are not activated for Pre-heat in the Delay-
Time cooking mode, so Pre-Heat times are
increased - but dishes will not pre-maturely
brown.