17
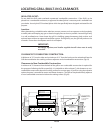
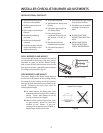
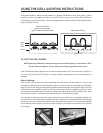
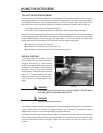
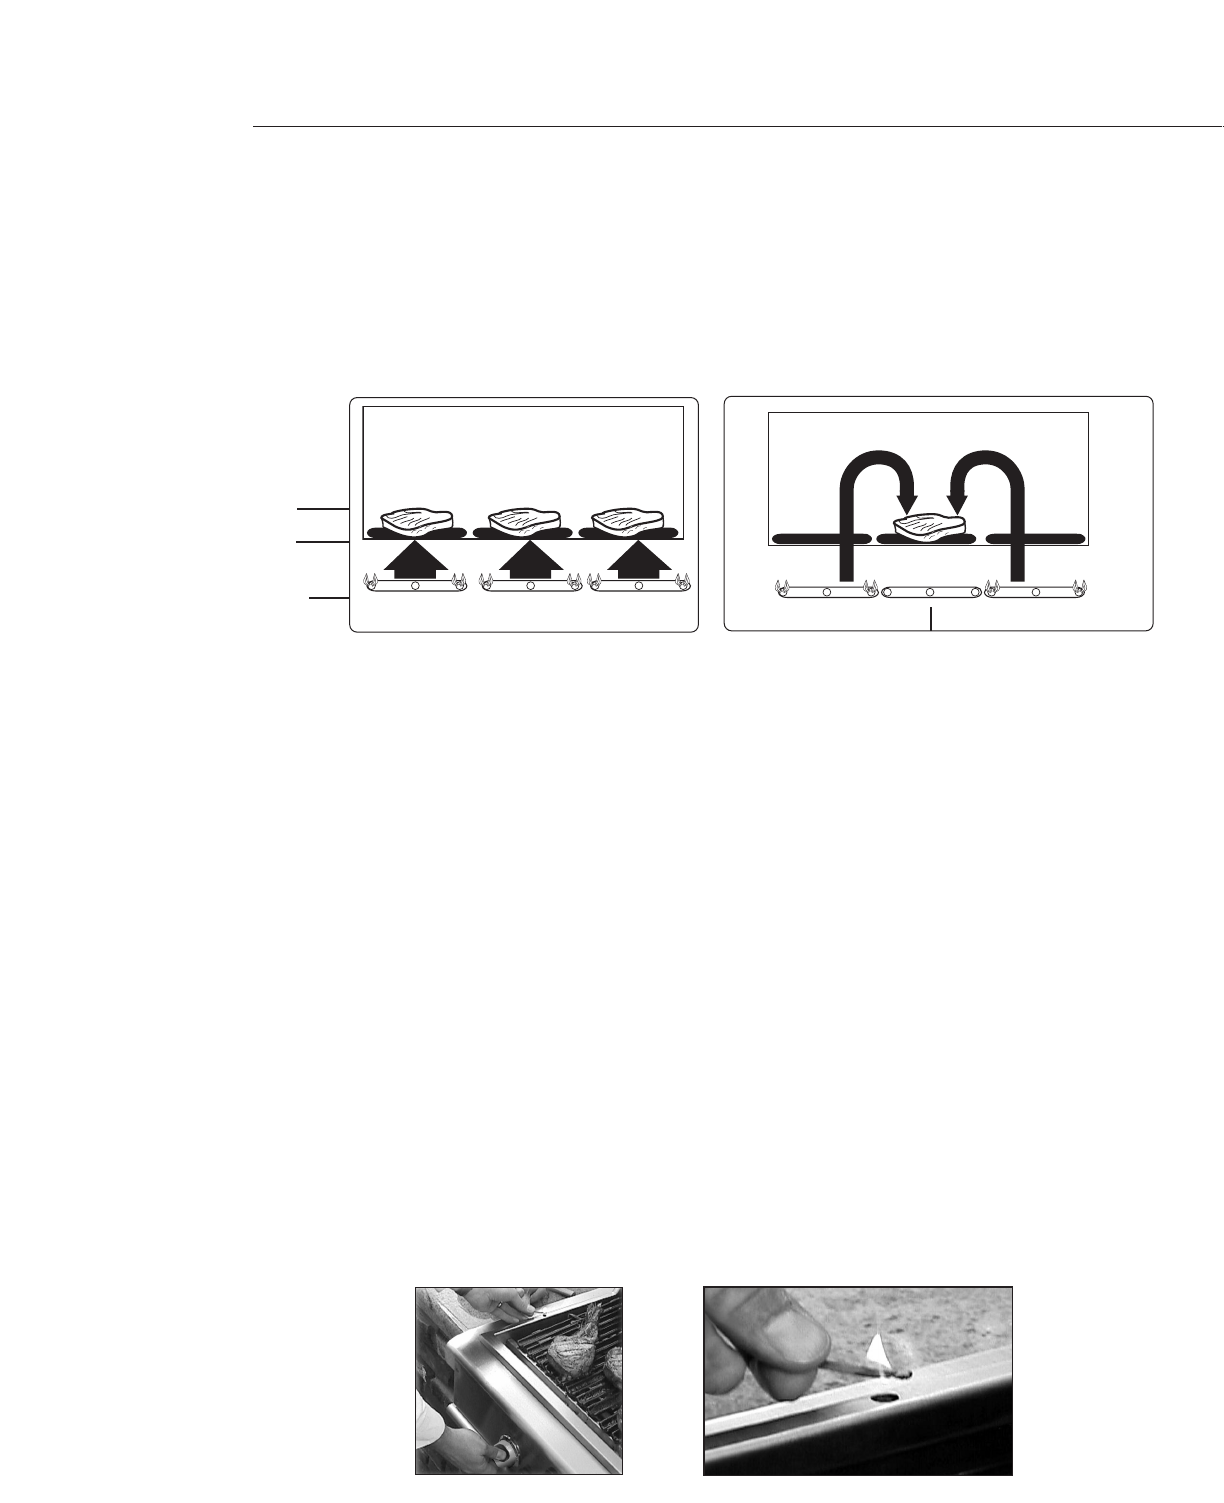
Grilling Method Note: Indirect cooking method is a popular alternative to direct heat grilling. Indirect
cooking uses heat from adjacent burners to cook food and in many cases, reduces the possibility of
overcooked or overly browned food. Foods most appropriate for indirect grilling included breads, thicker
pieces of chicken or steaks.
TO LIGHT THE GRILL BURNER:
NOTE: Open the grill lid and/or remove the top grate cover before lighting. Turn all knobs to “OFF”.
Turn the main gas supply on. If you smell gas,shut-off gas supply and call for service.
Push and hold the ignition button, turn the selected burner knob to “HI”.If burner does not light in 4
to 5 seconds, turn knob “OFF” and wait 5 minutes before trying again for any accumulated gas to
dissipate.
Match Lighting:
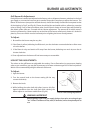
If the burner will not light after several attempts then the burner can be match lit. If you’ve just
attempted to light the burner with the ignition,allow 5 minutes for any accumulated gas to dissipate.
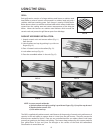
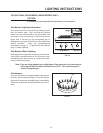
Keep your face as far away from the grill as possible and hold and pass a lit,long stem match over the
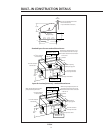
hole located on the top left for burner on the left, or the right hole for the right burner (Fig.17). Push
and turn the control knob which is centered on the burner where the lit match is located,to “HI”. If the
burner does not light in 4 seconds turn the knob off, wait 5 minutes and try again.
Once the left or right burner is lit, the adjacent burner(s) can be lit by the cross-lighting method. For
center burners to cross light,light the adjacent far left or right burner using the standard or match light
procedure. Push and turn the control knob for the desired center burner to “HI”.The gas will be ignited
by the adjacent burners flame. If the burner does not light in 4 seconds, turn knob off,wait 5 minutes
and try again.
HEAT HEAT
Burner Off
Indirect Heat Grilling
Food
Grill
Rack
Burner
Direct Heat Grilling
(Hot Dogs,Hamburgers,
Typical Thickness Steaks/Chicken)
HEAT HEAT HEAT
USING THE GRILL/LIGHTING INSTRUCTIONS
FIG.16
FIG.17


