


12
Air-2
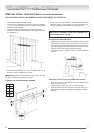
EUROCHEF - PRO WALL HOOD
ASSEMBLY AND INSTALLATION
OF THE DUCT COVERS &
RECIRCULATING KIT COVER
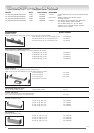
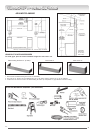
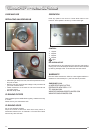
Optional duct covers shown in advance planning section may
be used to fill the space between the hood and ceiling in wall
mount installations. 6" and 12" high duct covers are available
and may be ordered separately.
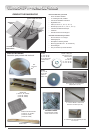
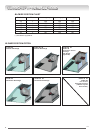
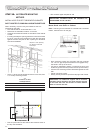
1. If multiple duct covers are used, connect the pieces together
using sheetmetal screws provided with duct covers.
Remove plastic film.
2. Attach the duct cover(s) to the hood using screws provided.
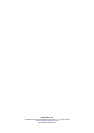
3. From inside of hood, insert screws supplied (3,5 x 9,5) through
holes in front and side of hood into covers.
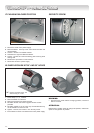
STEP 6: INSTALL DUCT COVERS
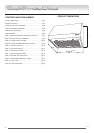
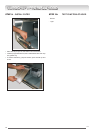
STEP 4: CONNECT DUCTWORK
• Install ductwork.
• Secure joints in ductwork and transition with sheetmetal
screws and duct tape for an airtight seal.
• ATTENTION: Be sure that screws do not hamper the
dampers movement.
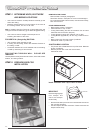
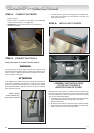
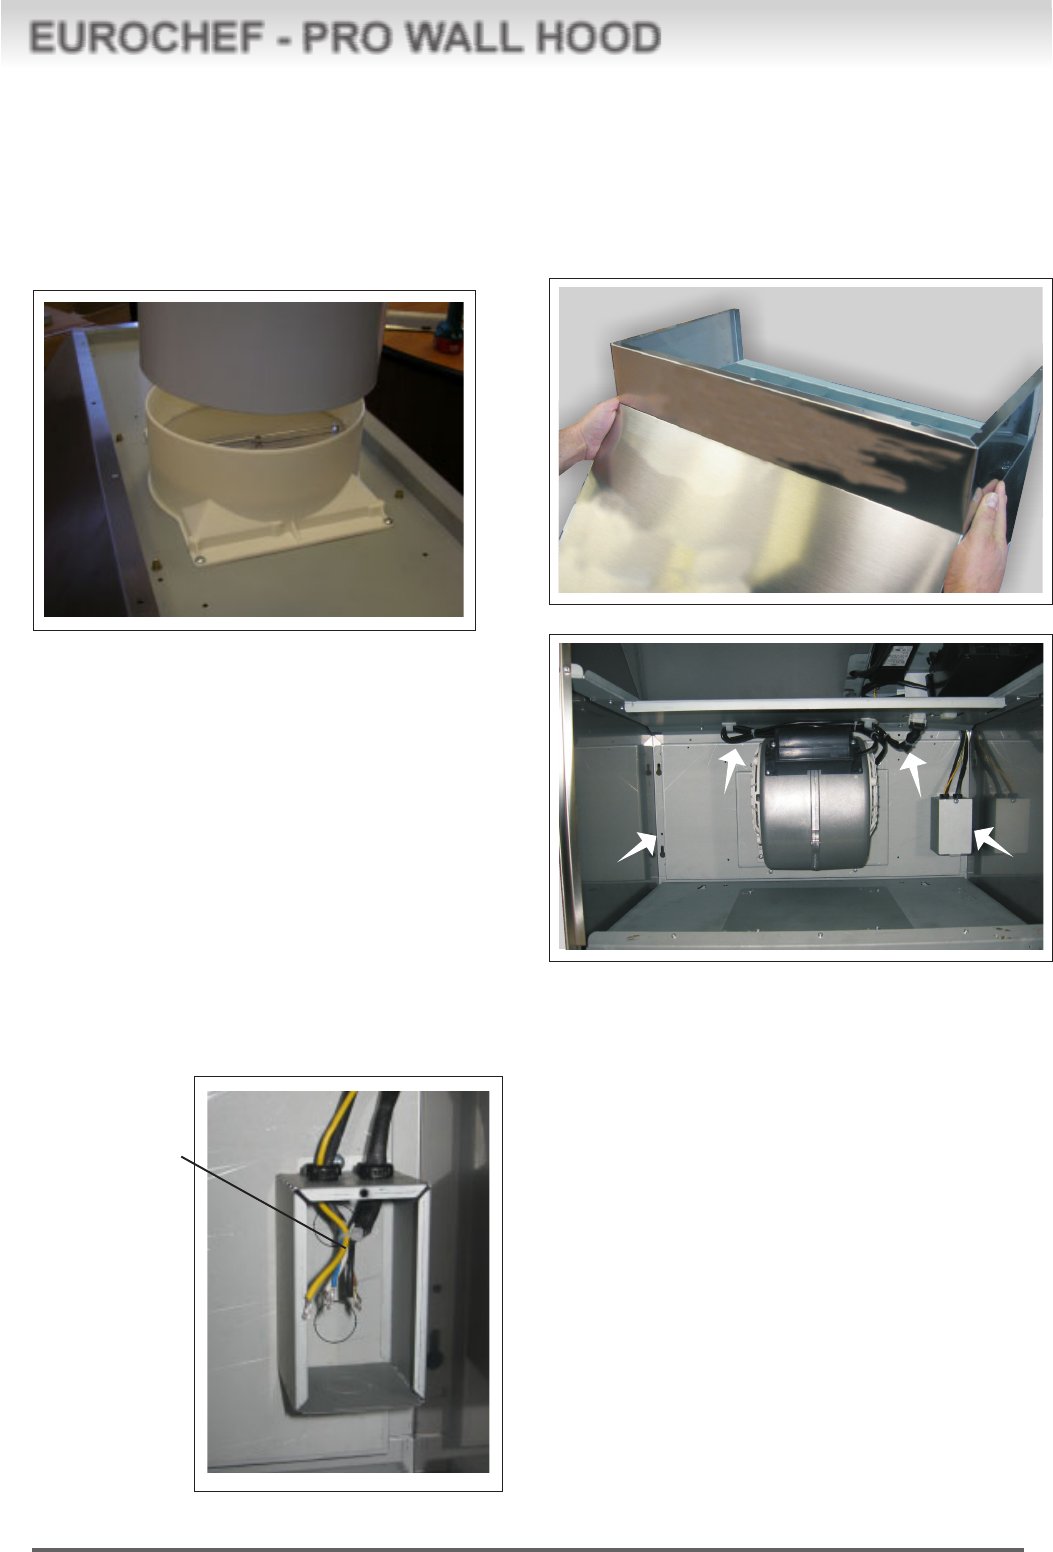
STEP 5: CONNECT ELECTRICAL
Verify that power is turned off at the source.
WARNING
If house wiring is not 2-wire with a ground wire, a ground must
be provided by the installer. When house wiring is aluminum, be
sure to use U.L. approved anti-oxidant compound and alumi-
num-to-copper connectors.
ATTENTION
Sí le câblage de la maison n’est pas du type a deux fils avec un
fil de terre, l’installateur doit fournir un circuit de terre. Quand
les fils de la maison sont en aluminium, il prendre soin d’utiliser
de la pâte antioxidation approuvée par UL et des connecteurs
pour l’aluminium-cuivre.
• Use wire nuts to connect incoming ground, neutral and hot.
• Push wires into junction box and replace cover. Be sure
wires are not pinched.
GREEN = GROUND
BLACK & BROWN = HOT
BLUE & WHITE = NEUTRAL