


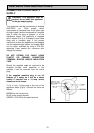


As the colours of the wires in the mains lead of
this appliance may not correspond with the
coloured markings identifying the terminals in
your plug, proceed as follows:
The wire which is GREEN and YELLOW must
be connected to the terminal in the plug which
is marked with the letter 'E' or by the earth
symbol or coloured GREEN or GREEN and
YELLOW.
The wire which is coloured BLUE must be
connected to the terminal which is marked with
the letter 'N' or coloured black.
The wire which is coloured BROWN must be
connected to the terminal which is marked with
the letter 'L' or coloured RED.
FIT A 3 AMP FUSE TO THE PLUG FUSE
HOLDER
Turn on Gas and Electric supplies
Carry out a soundness test.
Switch off electric supply.
INSTALLATION BETWEEN
CABINETS
Lift the appliance into the cabinet making
sure the hose and cable are not trapped.
Push the appliance as far back as it will go.
N.B. Two people will be required to carry
out the lifting procedure.
Warning: Do not attempt to lift this
appliance by the handle(s).
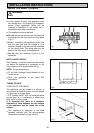
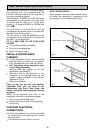
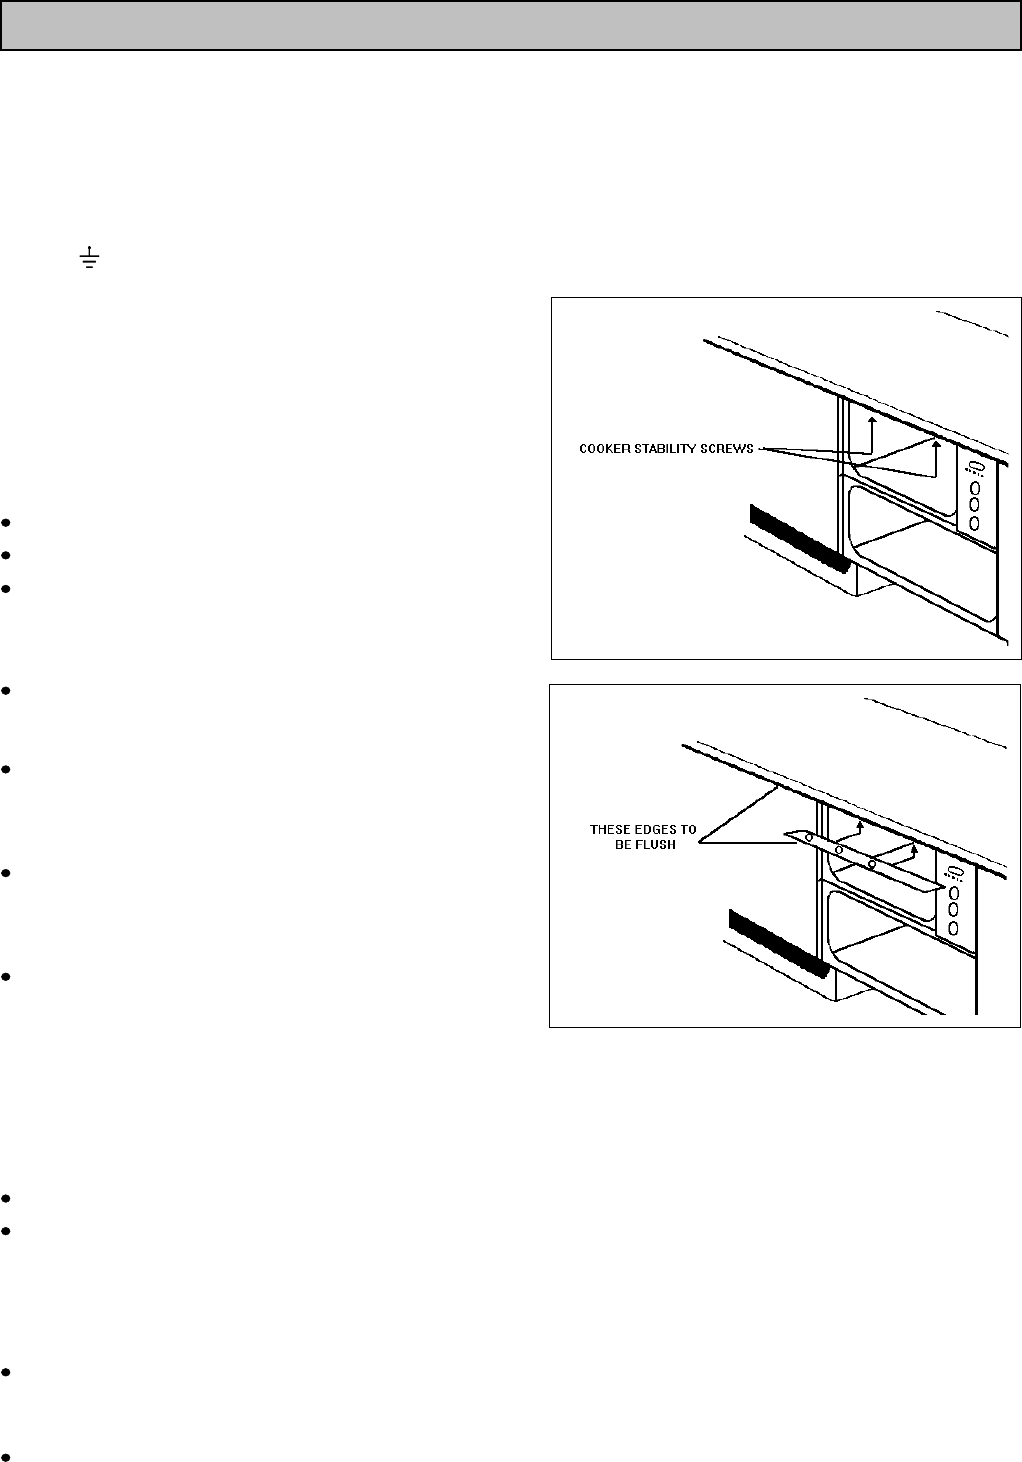
Centralise and fix the appliance to the
underside of the worktop using the two
stability screws provided, in the position
indicated in Fig.10.
Refit the plinth board.
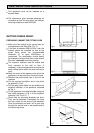
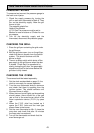
Place the top trim with the cork washers
uppermost flush with the edge of the
worksurface (see Fig.11) and screw into
position using the screws supplied with the
appliance.
Switch on the appliance then refer to the
operating instructions in the following pages.
Carry out gas soundness check.
Ensure the owner is given these operating
instructions.
CHECKING ELECTRICAL
CONNECTIONS
Confirm the appliance is correctly connected
by switching on and observing the various
oven functions .
The electronic timer will flash on and off.
NOTE: HOUSE CIRCUIT
Earth leakage / continuity tests must be carried
out before the appliance is connected to the
mains supply and re-checked after fitting.
42
INSTALLATION INSTRUCTIONS
Fig.10
Fig.11