


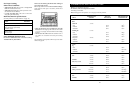

General Broiling Tips
1. The surface of the food should be at least 3" (7.4 cm)
away from the broil element.
2. For steaks and chops, slash fat evenly, at 2" (5 cm)
intervals, around the outside edges of meat to prevent
curling.
3. Meats and poultry can be marinated before broiling.
Brush foods with barbecue sauce only during the last 5
to 10 minutes of broiling.
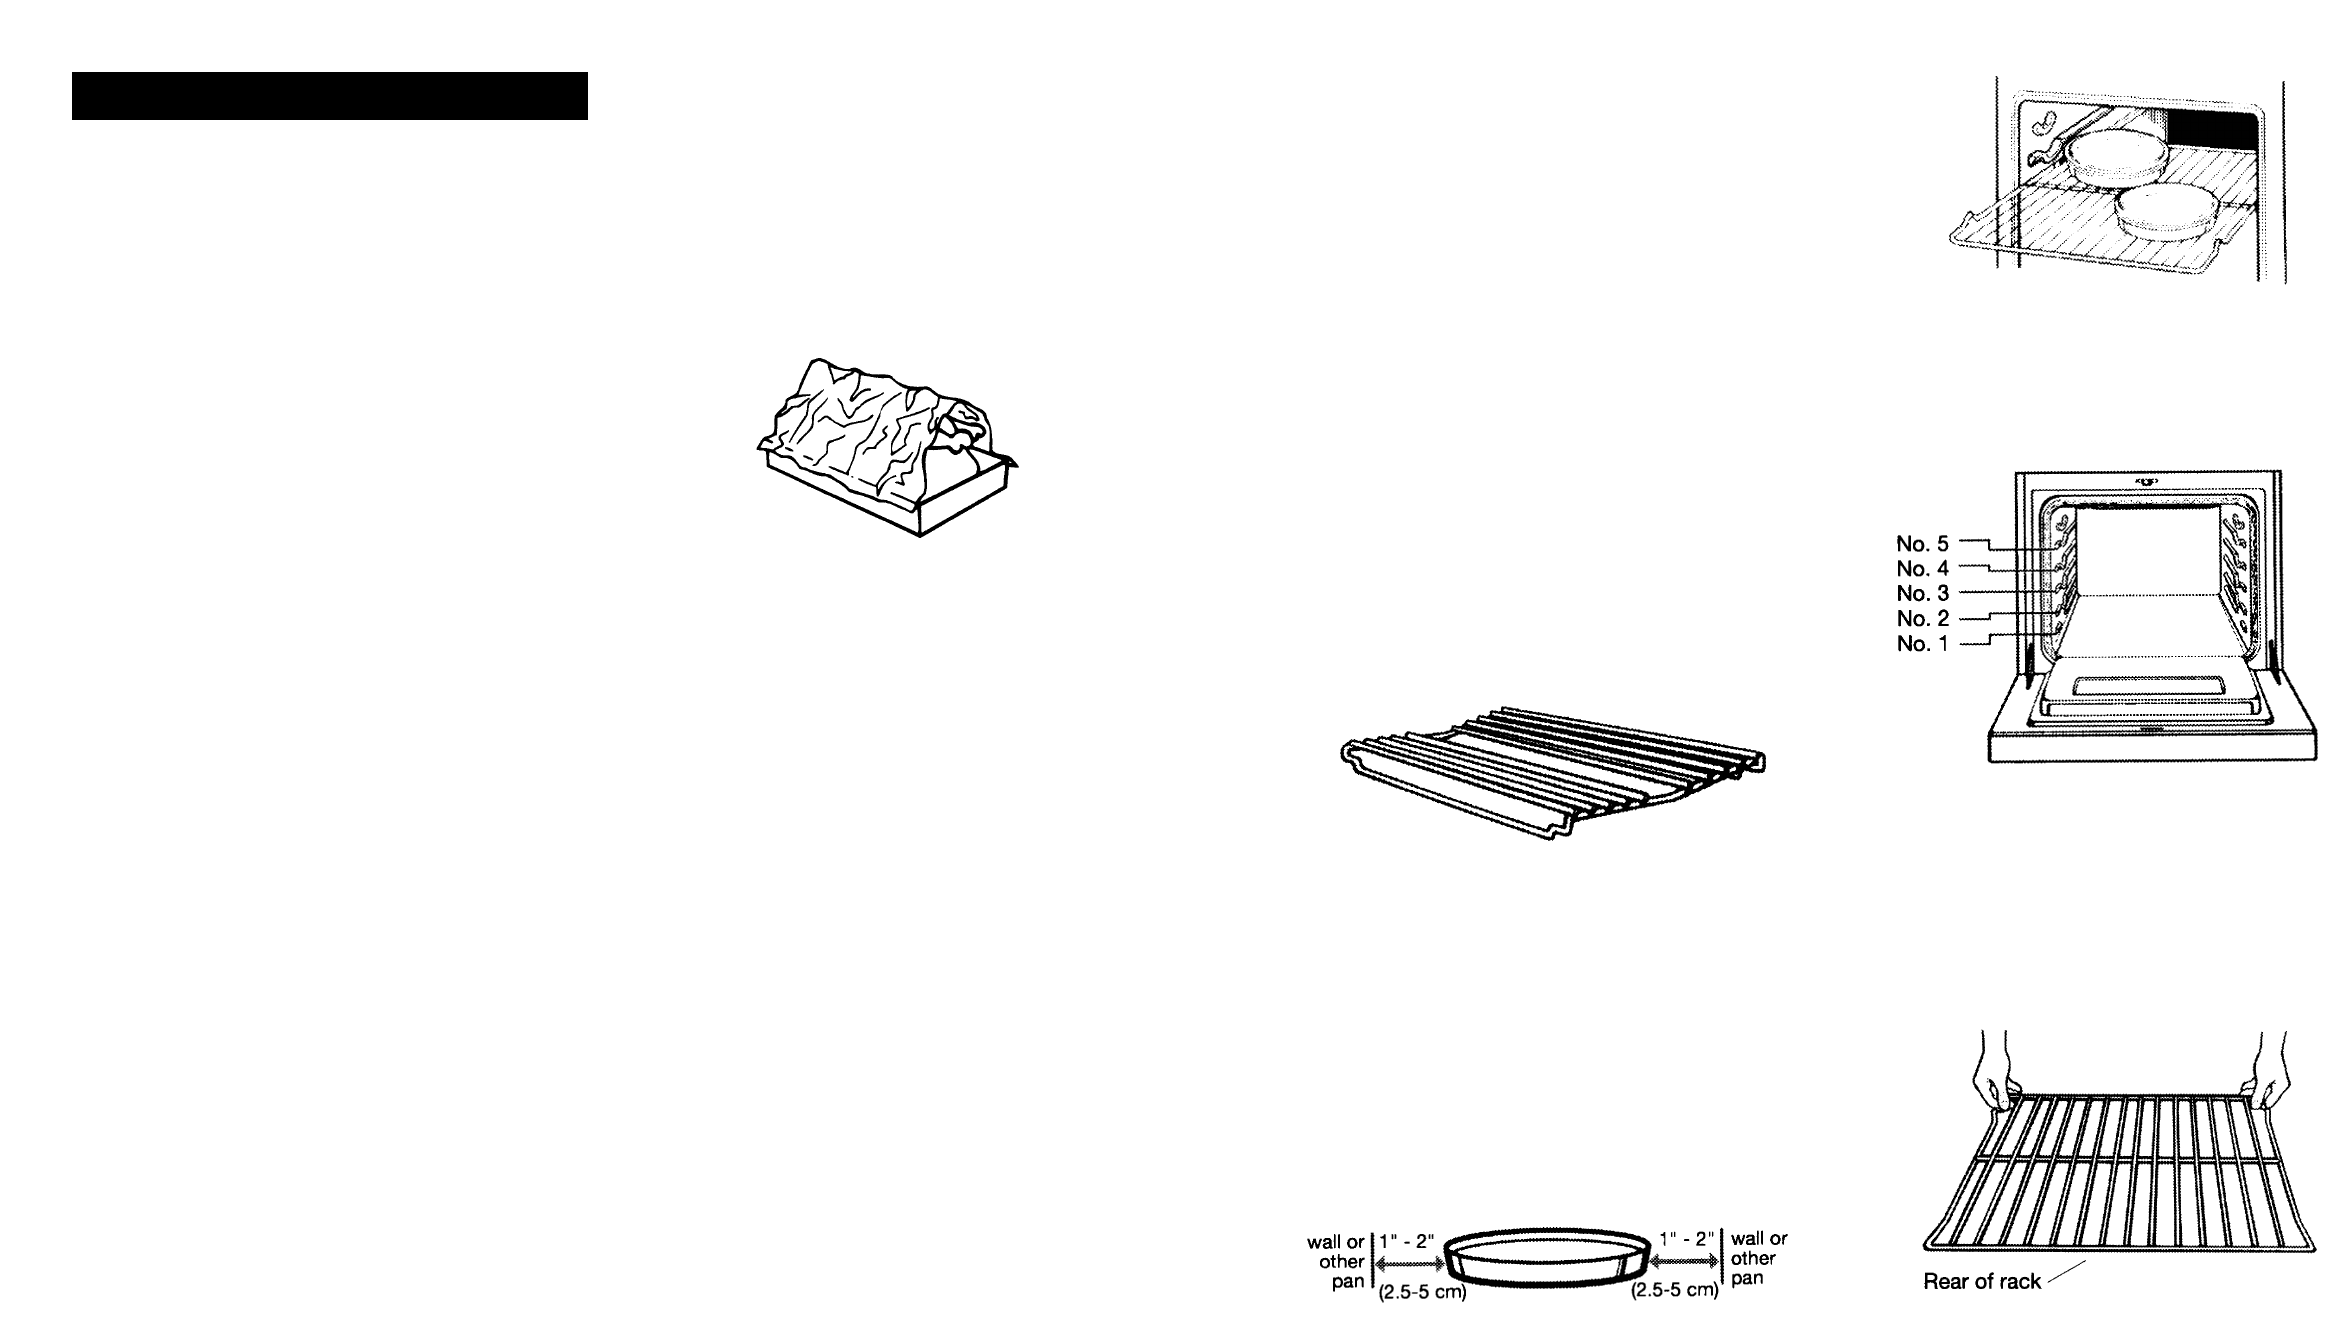
4. Place food on a cold pan to prevent sticking. If the
rack is hot, grease it or grease the food.
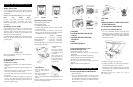
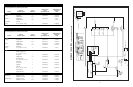
Convection Roasting Rack
(On Convection Models)
The Convection Roasting Rack is a specially designed
rack, ideal for use when roasting and broiling meats using
the
Con
vection Bake
and Con
vection Broil
functions.
Place it in the broiler pan instead of the regular grid. It
raises the meat for better airflow to all sides for more even
roasting and broiling.
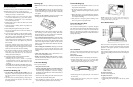
Air Circulation
The hot air must circulate around the pans in the oven for
even heat to reach all parts of the oven. This results in
better baking.
F
or best air cir
culation:
•
Place the pans so that one is not directl
y o
v
er the other.
•
F
or best results, allo
w 1-1/2" to 2" (3.7-5 cm) of space
around each pan and between pans and oven walls.
There must be a minimum space of 1" (2.6 cm).
• When baking with one pan, place pan in the center of
the oven rack.
• When baking with two pans, place pans in opposite
corners of the oven rack.
NOTE: Opening the oven door will cause heat loss,
longer cooking times and unsatisfactory baking or
roasting results. Rely on your timer.
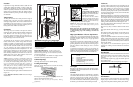
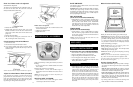
Oven Rack Positions
Your oven has five rack positions. Rack position 1 is the
lo
west position, or closest to the bottom of the oven. Rack
position 5 is the highest position, or farthest from the
bottom of the o
ven.
There are three straight racks. Be sure to position the oven
rack(s) before putting food into the oven or turning the
oven on.
T
o r
emo
v
e o
v
en r
acks:
Lift rack at front and pull out.
To replace oven racks:
1.
Place rear of rack on rack guides.
2. While lifting front of rack, push in all the way. Lower
front.
19
CONVECTION COOKING TIPS
(
For Convection Models)
To learn how to use your convection oven to the best
advantage, refer to
Convection Cooking on page 23.
1. The fan-forced hot air movement permits baking and
roasting on as many as 3 levels at once.
2. The Delay feature can not be used when using
Convection for baked items e.g.…pies, cakes, cookies.
3. There should be a minimum of 1" (2.5 cm) between
the walls and the pans used.
4. Position food in oven to allow free flow of air around
the convection fan.
5. Uniform spacing of baking dishes will produce the
most even results.
6. Place bread pans lengthwise facing the oven door.
7. Do not use aluminum foil for convection baking. It
may block airflow.
8. True convection cooking is used for baking breads,
cakes and other foods which require gentle heating.
This setting is also recommended when baking large
quantities of food on more than one rack.
Note: During convection cooking, the oven door must
remain closed. The f
an will operate only when the
door is closed.
Convection cooking creates more moisture in the
kitchen than normal, usually because more food is
being cook
ed at one time.
We suggest that the e
xhaust
blower be set on low when convection cooking.
9. For convection roasting, do not use a roasting pan with
high sides, as it cuts down the free flow of air
circulating around the food. Use the convection
roasting rack on the broiler pan.
10. Convection cooking of frozen convenience foods:
•
Preheating the o
v
en is not necessar
y
.
• Cooking times will be similar to package
recommendations. Follow suggestions for oven
temperatures and use of cookie sheets and foil
coverings.
• Most foods are best placed in the middle of the oven.
•
If more than one item is being cooked, stagger foods
on multiple racks for proper air circulation.
Closed Door Broiling only
2. Use the broiler pan and grid f
or broiling.
The
y are
designed to drain excess liquid and fat away from
the cooking surf
ace to help pre
v
ent spatter
, smoke
and fire.
3. Turn food only once during broiling. Using tongs to
turn meats prevents loss of juices. Use
Minute Timer
for timing each side.
Roasting tips
• Roast meats fat-side up in a shallow pan using a roasting
rack.
•
Use a roasting pan that fits the size of the food to be
roasted. Meat juices may overflow the sides of a pan that
is too small. Too large of a pan will result in increased
over spatter.
•
Spatter can be reduced by lining the bottom of the
roasting pan with lightly crushed aluminum foil.
• A foil tent will slow down surface browning for long-
term roasting, as when roasting a turkey. Place tent-
shaped foil loosely over meat to allow for air circulation.
Do not seal foil or meat will be steamed.
•
Use an accurate meat thermometer to determine when
meat has reached desired degree of doneness. Insert the
thermometer into the center of the thickest portion of the
meat or inner thigh or breast of poultr
y. For an accurate
reading, the tip of the thermometer should not touch fat,
bone or gristle.
•
After reading the thermometer once, push it further
into the meat 1/2 inch or more and read again. If the
temperature drops, return the meat to the oven for more
cooking.
•
Check pork and poultry with a thermometer in 2-3
places to ensure adequate doneness.
•
Poultry and roasts will be easier to carve if loosely
covered with foil and allowed to stand 10-15 minutes
after removal from the oven.
Convection Broiling
(On Convection Models)
1. K
eep the oven door
closed.
2. Use the convection roasting rack and broiler pan
for convection broiling.
Convection broiling is
essentiall
y high-temperature convection cooking,
combining fan-circulated hot air with the direct heat of
the broiler element.
3.
Do not cover the roasting rack with tin foil as this will
block air flow and extend cooking time.
4. The circulating air creates a seal on all sides of the
food so that turning of foods is often not necessary.
18