


BAKE OR BROIL
Turn Selector switch to bake or broil. Set oven thermostat
to desired temperature.
P
reheating oven
o
n bake normally takes about 15 minutes,
indicator cycle light will go out when oven has reached
temperature. The Broiler takes about 3 minutes to preheat.
After preheating, broiler may be set to variable tempera-
tures by adjusting the thermostat.
DELAYED BAKE
(Oven turns on and off automatically:
1. Touch SELECT 2 times. Current time will flash. Press
UP until the correct START TIME has been reached.
Wait 3 seconds. Touch SELECT once. COOKTIME
will appear. Press UP until the proper cooktime has
been reached. Set the oven selector to AUTO and
thermostat to the correct temperature.
TIMED BAKE
(Oven turns off automatically):
1. Touch SELECT 3 times. COOKTIME will appear.
Press UP until the proper cooktime has been reached.
Set the oven selector to AUTO and the thermostat to
the correct temperature.
NOTE: On delayed bake and time bake allow an extra
12 minutes for oven to preheat.
OVEN LIGHT
Press LIGHT. Oven lights will turn on or off.
vs.
CLOCK vs. DIGITAL DISPLAY
If Clock does not agree with Digital Display
1. Press SELECT 5 times. Clock indicator will illuminate.
2. Press UP and DOWN arrows at the same time.
3. Adjust analog hands UP or DOWN to correct time.
4.
12:00 will appear on the displa
y after 3 seconds.
5. Adjust digital time UP or DOWN to match the clock
hands. (start within 3 seconds)
SELF CLEAN
1.
T
ouch SELECT
4 times. CLEAN will appear and 3:00
will be displayed on clock. Although we recommend
3:00 for most o
v
en cleaning, b
y selecting UP or
DOWN you can change the length of the clean cycle.
Set the oven selector and thermostat to CLEAN.
Within 10 seconds the door will lock and the oven will
start to clean. If you want to cancel oven cleaning
press cancel. If the oven has reached 575°F the oven
door can onl
y be opened after a 30 minute cool do
wn
as sho
wn on the clock. It is a good idea to remo
v
e
o
v
en racks before cleaning oven as they will become
discolored.
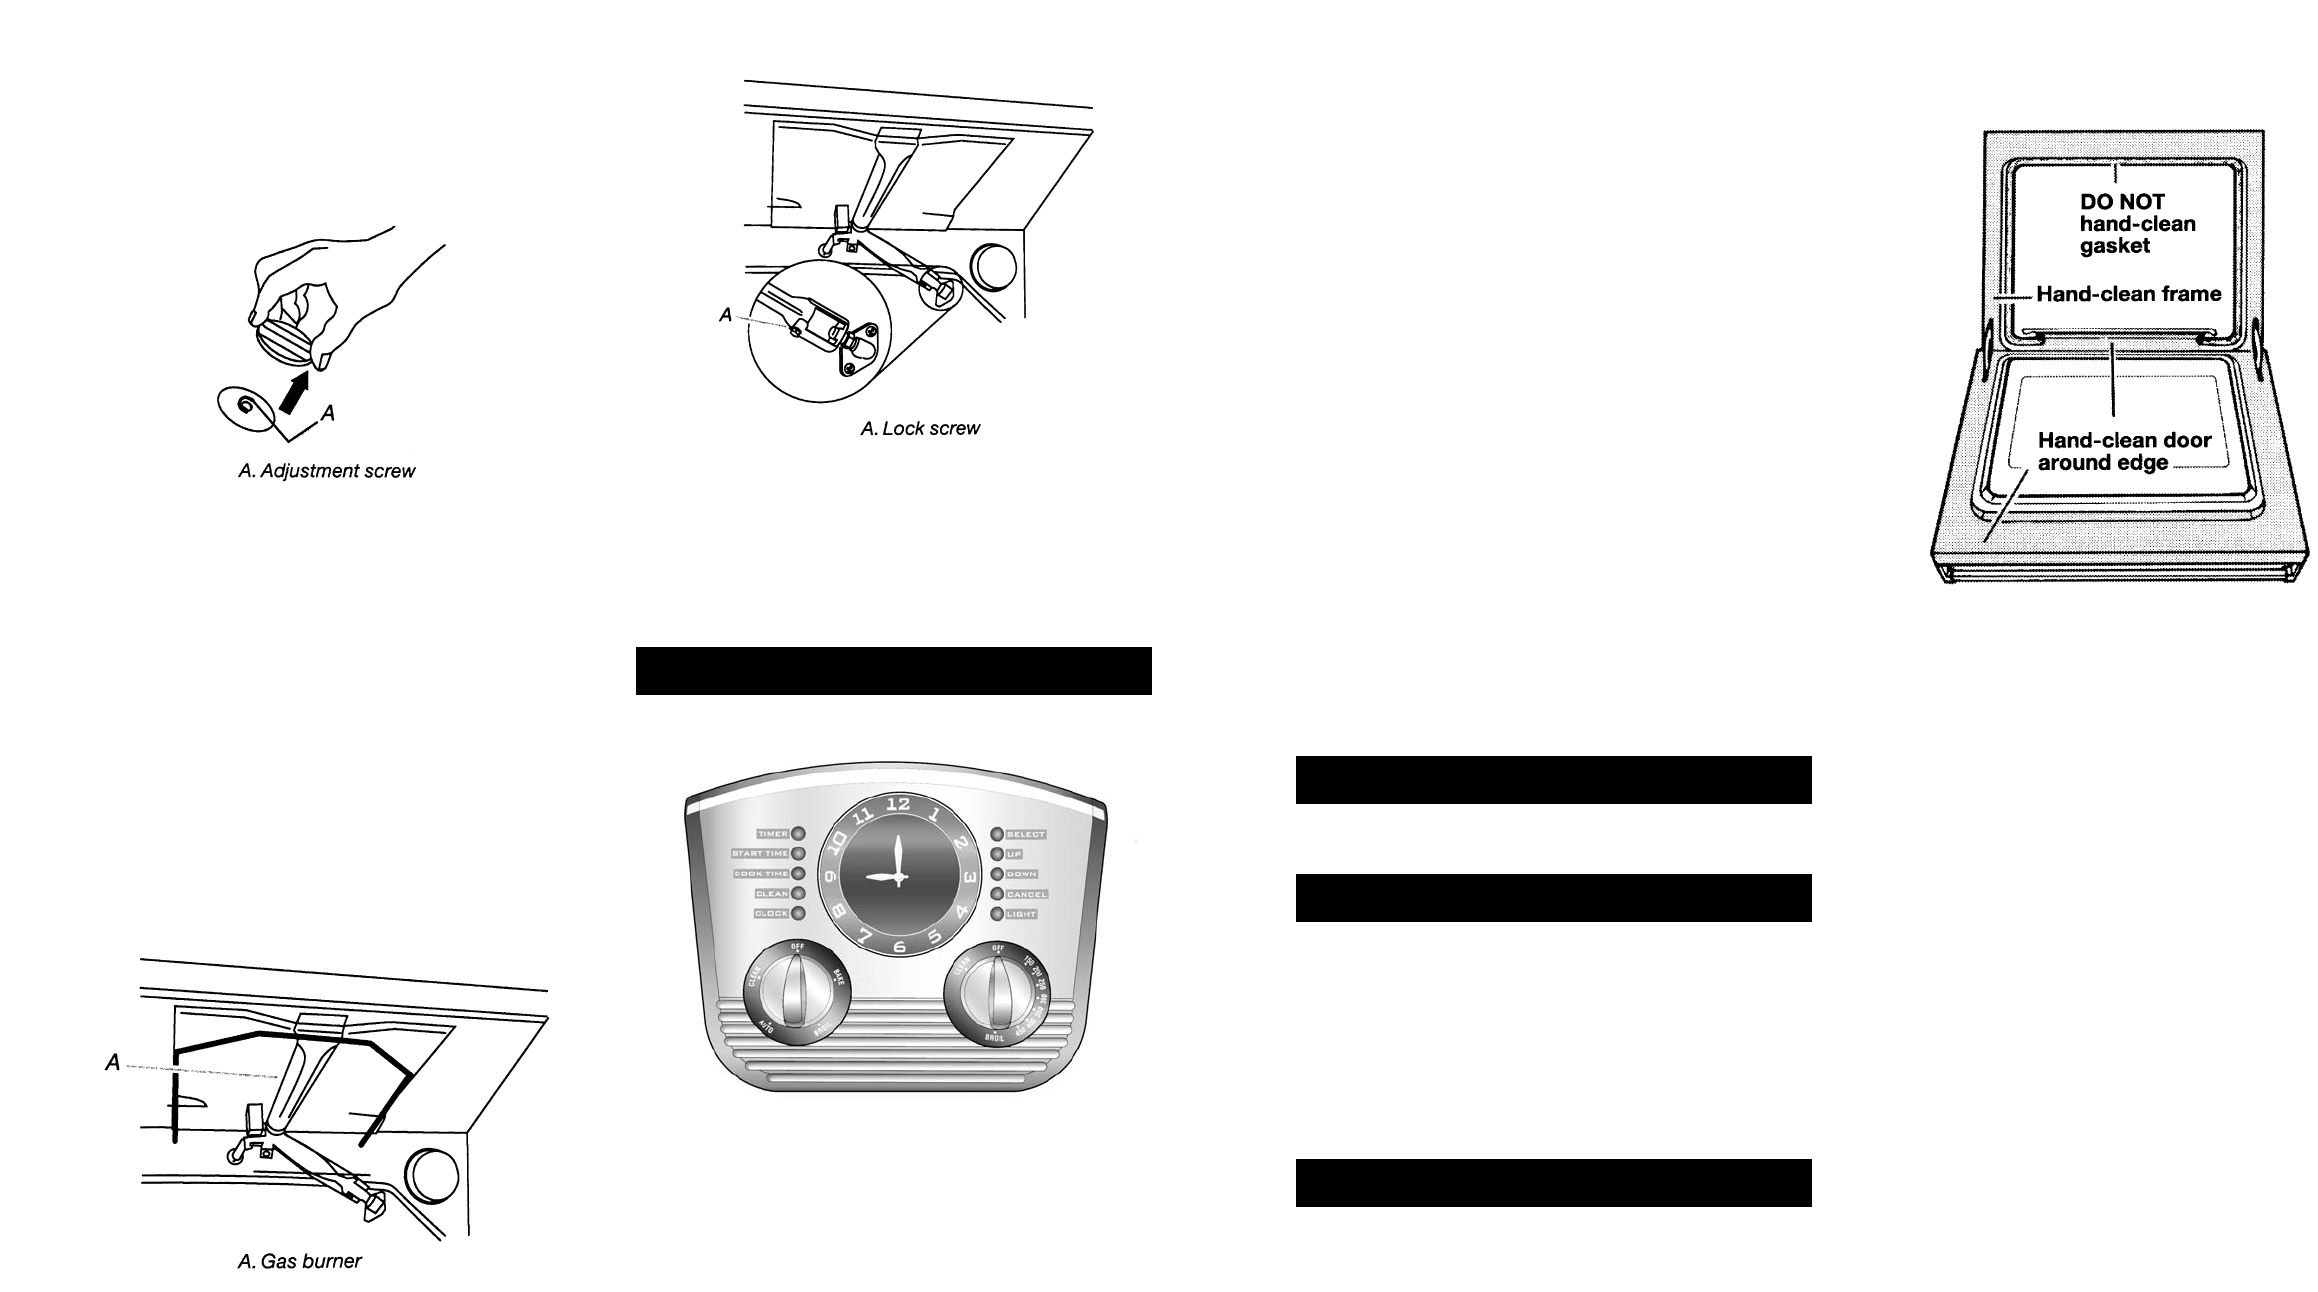
Before You Start Self Cleaning
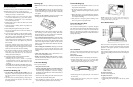
Before you start the self-cleaning cycle, make sure you:
•
Hand-clean the areas sho
wn. They do not get hot enough
during the cleaning cycle for soil to bur
n away, and could
get baked on during cleaning. use hot water and detergent
or a soapy steel-wool pad for cleaning. Oven cleaners
may be used in oven but must be completely removed
before self-cleaning cycle begins.
NOTE: Do not clean, move or bend the gasket. P
oor
cleaning, baking and roasting may result.
•
Wipe out an
y loose soil or g
rease. This will help reduce
smoke during the cleaning cycle.
•
Remove the broiler pan grid and anything else being
stored in the oven.
NOTE: If oven racks are cleaned in the self-cleaning cycle,
they will become discoloured and more difficult to slide.
If you clean racks in the self-cleaning cycle, place them on
the 2nd, 3rd and 4th rack guides.
For Best Cleaning Results
• Clean the o
v
en before
it gets hea
vil
y soiled. Cleaning a
very soiled oven takes longer and results in more smoke
than usual.
•
After the o
v
en is cool,
wipe up
an
y residue or ash with
a damp cloth or sponge. If any spots remain, clean with a
mild abrasi
v
e cleaners or mildl
y abrasi
v
e pad.
•
If the self-cleaning cycle does not get the oven as
clean as you expected,
the cycle may not have been set
long enough or you may not have prepared the oven
properl
y. Set the self-cleaning cycle longer the next time
and hand-clean areas noted above.
By tur
ning e
xhaust f
an on w
hile self-cleaning most
smoke and odor in kitchen will be eliminated.
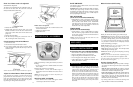
If the “low” flame needs to be adjusted:
Standard Burner Adjustment
The flame can be adjusted using the adjustment screw in
the center of the valve stem. The valve stem is located
directly underneath the control knob.
1. Remove the control knob.
2. Hold the knob stem with a pair of pliers. Use a small
flatblade screwdriver to turn the screw located in the
center of the control knob stem until the flame is the
proper size.
3. Replace the control knob
.
4. Test the flame by turning the control from “LO” to
“HI,
” checking the flame at each setting.
Check Operation of Oven Broil Burner
1. Close the oven door.
2. Set selector to broil, and thermostat to broil.
The oven burner should light within 8 seconds, under
cer
tain conditions it ma
y tak
e the burner up to 50 to 60
seconds to light.
NOTE: Oven door must be shut for broil burner to operate.
Adjust Oven Broil Burner Flame (if needed)
Look through oven windo
w to check broil burner for
proper flame. This flame should have a 1/2" (1.3 cm) long
inner cone of bluish-green, with an outer mantle of dark
blue, and should be clean and soft in character
. No y
ellow
tips, blowing or lifting of flame should occur.
If flame needs to be adjusted:
1. Loosen the lock screwon the air shutter located at the
rear of the broil burner.
2. Adjust the air shutter as need.
3. Tighten lock scre
w.
SETTING CLOCK – ALL MODELS
Setting clock initially or after power failure (if control is
flashing)
1. To set time: Touch UP or DOWN button until correct
time is shown.
Resetting time (if control is not flashing)
2. Push SELECT 5 times until CLOCK light is
illuminated. Push UP
or DOWN until correct time is
sho
wn.
NOTE: You must act within 3 seconds or the function you
ar
e trying to set will cancel.
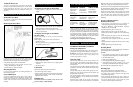
SETTING MINUTE TIMER:
1. Touch SELECT once. 00:00 will appear. Within
3 seconds press UP for time in minutes.
14 15