


10
English
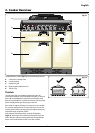
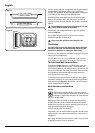
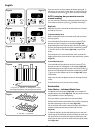
A - Top view, B - Side view, C - Shelf guard, D - Front
The shelf guard should be at the back pointing upwards
If you are out, do not worry about the beeper going off – it
will stop on its own after a while. When you return, turn the
Timer knob to the vertical (
) to return to manual cooking.
AUTO is showing, but you want to revert to
manual cooking
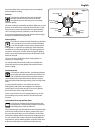
You can cancel any automatic settings by briefly turning the
Timer knob to the clock symbol (
) and then releasing it.
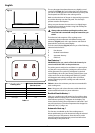
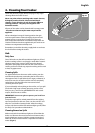
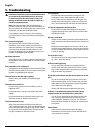
Key Lock
When the key lock is activated, the left-hand oven is locked
and will not come on.
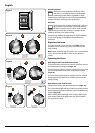
To activate the key lock
Make sure that the clock is in manual mode and cancel any
active programs.
Turn and hold the Timer knob to the clock symbol (
) for
about 8 seconds. ‘On’ appears on the display (Fig.2-25).
Keep holding the Timer knob turned to the clock symbol (
)
and turn the Adjusting knob clockwise until the key symbol
(
) and ‘OF’ shows on the display (Fig.2-26). Let go of the
knobs.
The left-hand oven is now locked. After a few seconds the
display will revert to show the time of day and the key symbol
(Fig.2-27).
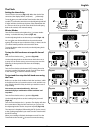
To turn off the key lock
Turn and hold the Timer knob to the clock symbol (
) for
about 8 seconds. ‘OF’ will appear on the display (Fig.2-28).
Keep holding the Timer knob turned to the clock symbol (
)
and turn the Adjusting knob clockwise until the key symbol
(
) goes out on the display and ‘On’ shows (Fig.2-29). Let go
of the knobs.
After a few seconds, the display reverts to showing the time
of day.
The left-hand oven can now be used normally.
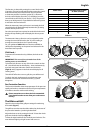
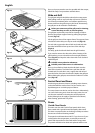
Accessories
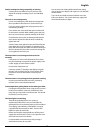
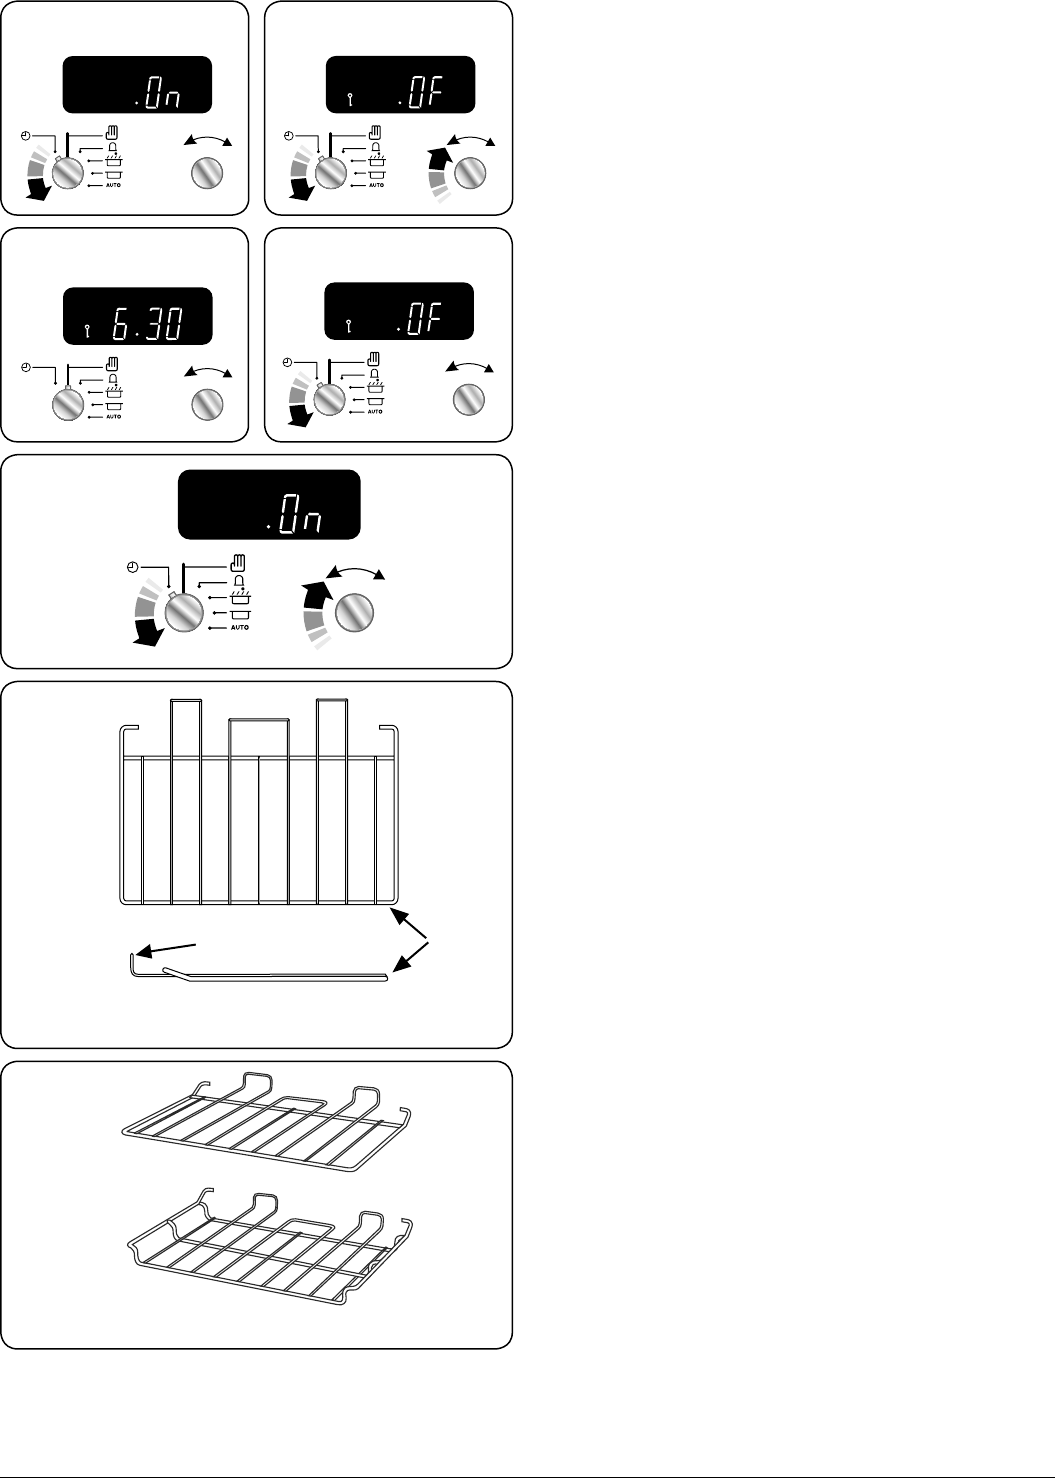
Oven Shelves – Left-hand (Main) Oven
In addition to the flat shelves (Fig.2-30), some models are
supplied with a drop shelf (Fig.2-31). The drop shelf increases
the possibilities for oven shelf spacing.
The oven shelves can be easily removed and refitted.
Pull the shelf forward until the back of the shelf is stopped by
the shelf stop bumps in the oven sides (Fig.2-32).
Lift up the front of the shelf so the back of the shelf will pass
under the shelf stop and then pull the shelf forward
(Fig.2-33).
To refit the shelf, line up the shelf with a groove in the oven
side and push the shelf back until the ends hit the shelf stop.
Lift up the front so the shelf ends clear the shelf stops, and
then lower the front so that the shelf is level and push it fully
back (Fig.2-34).
ArtNo.320-0010 Flat & drop shelves
Fig.2-31
A - Flat shelf, B - Drop shelf
ArtNo.320-0009 Oven shelf
Fig.2-30
Art No. 301-0011 2BC
Activating the key lock 1
ArtNo.301-0012 2BC
Activating the key lock 2
ArtNo.301-0013 2BC
Activating the key lock 3
ArtNo.301-0014 2BC
Deactivating the key lock 1
Fig.2-25
Fig.2-26
Fig.2-27 Fig.2-28
Fig.2-29