


INSTALLATION
Check the appliance is electrically safe when you have finished.
20
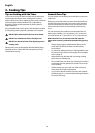
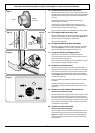
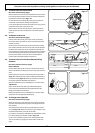
Lower the Two Rear Rollers
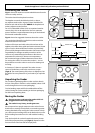
First fit the levelling tool on the hexagonal adjusting nut
(Fig.6-5).
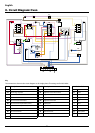
Make 10 complete (360°) turns clockwise (Fig.6-6). (This
means turning and removing the levelling tool 20 times.)
Make sure you lower BOTH REAR ROLLERS. There are two
adjusting nuts, one for each roller, at both the front bottom
corners of the cooker.
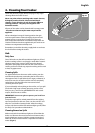
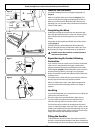
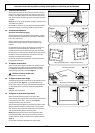
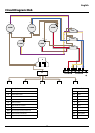
Completing the Move
Unfold the rear edge of the pack base tray. Open the grill
door and right-hand oven door so that you can get a good
grip on the bottom of the fascia panel as you move the
cooker.
Grip under the fascia panel and lift the front of the cooker
slightly (Fig.6-7).
Carefully push the cooker backwards off the pack base.
Remove the pack base tray. Position the cooker close to its
final position, leaving just enough space to get behind it.
DO NOT use the door handles or control knobs to
manoeuvre the cooker.
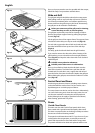
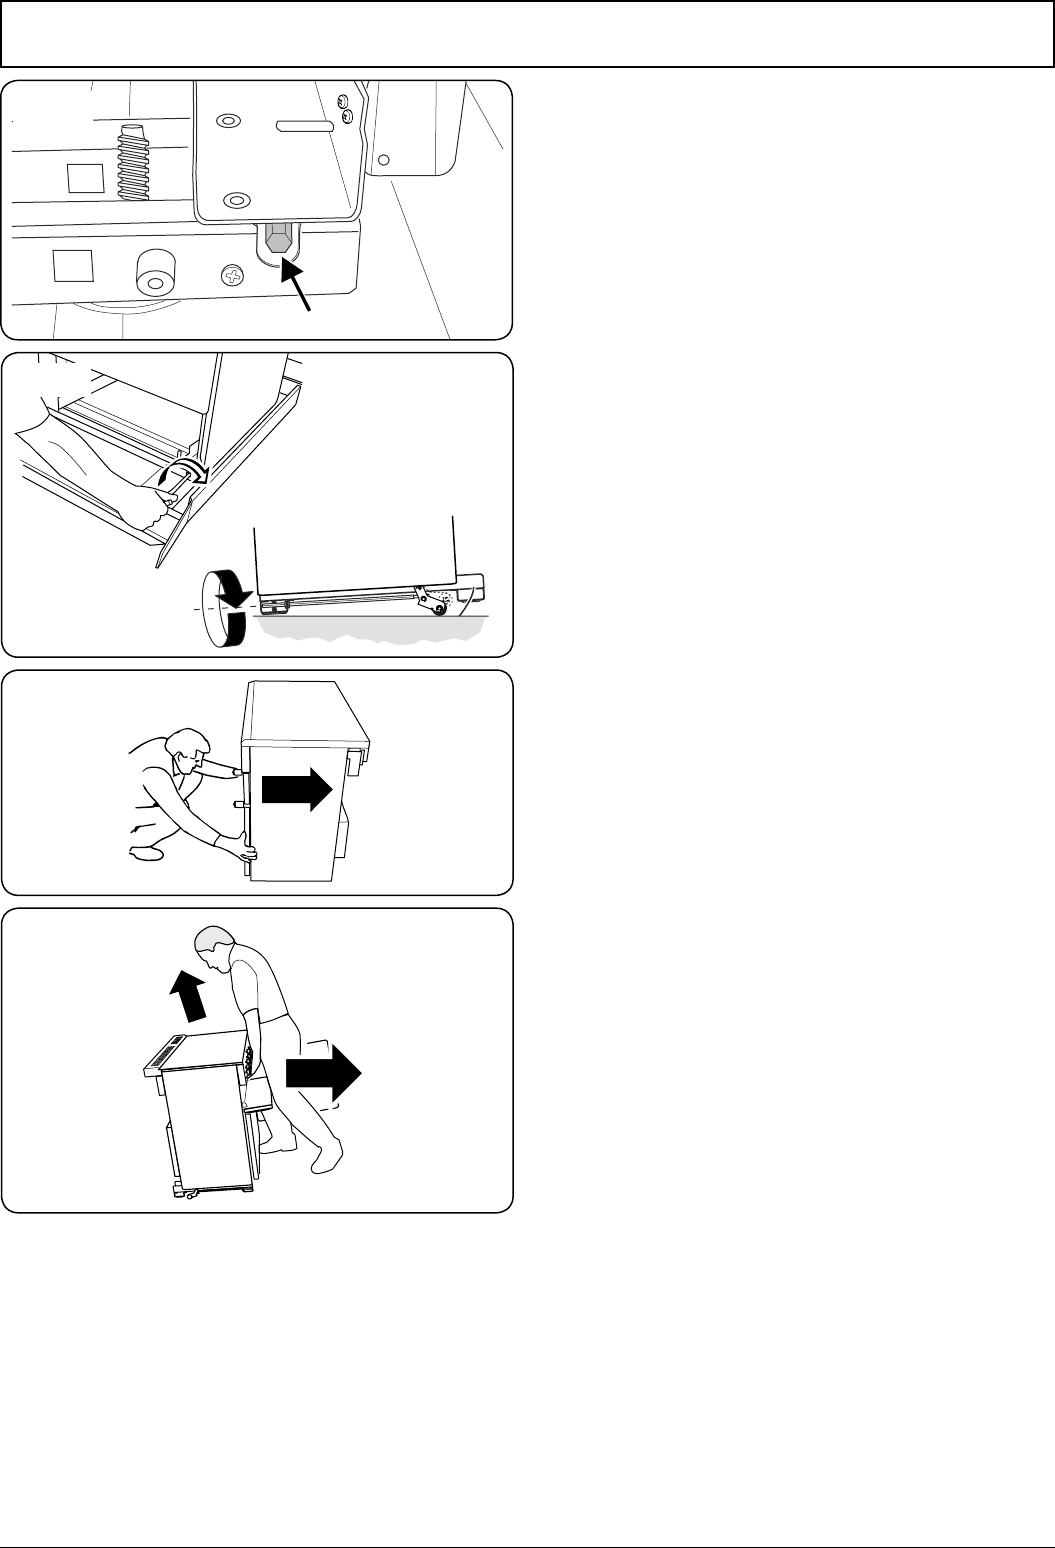
Repositioning the Cooker following
Connection
If you need to move the cooker once it has been connected,
make sure it is switched off at the supply switch before
gripping under the fascia panel and lifting the front of the
cooker slightly (Fig.6-8). Check behind the cooker to ensure
that the electricity cable is not caught. As you progress,
always ensure that the cable has sufficient slack to allow the
cooker to move.
If a stability chain is fitted, release it as you ease the cooker out.
Do not forget to refit it when you replace the cooker.
When you replace the cooker, check behind it again once
more to ensure that the electricity cable is not caught or
trapped.
Levelling
It is recommended that you use a spirit level on a shelf in one
of the ovens to check for level.
Place the cooker in its intended position. Take care not
to twist it within the gap between the kitchen units, as
otherwise, damage may occur to the cooker or units.
The front feet and rear rollers can be adjusted to level the
cooker. To adjust the height of the rear of the cooker, use the
levelling tool supplied to turn the roller adjusting nuts at the
front bottom corners of the cooker. To raise or lower the feet,
simply turn the disks that are fitted onto them.
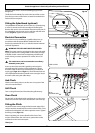
Fitting the Handles
To fit the handles, first remove the 4mm Allen screws from
the doors. Locate the door handles to the doors, making sure
that the handles are above the fittings, and secure in position
ArtNo.010-0010 Lowering the rear rollers (90)
x10
Fig.6-6
ArtNo.010-0002 Rear roller nut
Fig.6-5
ArtNo.010-0004 Moving the cooker
Fig.6-8
ArtNo.010-0009 Pushing the cooker
Fig.6-7