


Page DD_09
3.1.8
Ensure there is a power outlet in reach of the
supplied flex. If there is not a suitable outlet
available then have one installed by a
qualified electrician.
DO NOT modify the power plug supplied
with the DishDrawer or use an extension
cord, adaptor plug or multiple outlet box.
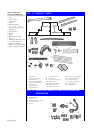
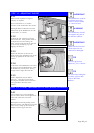
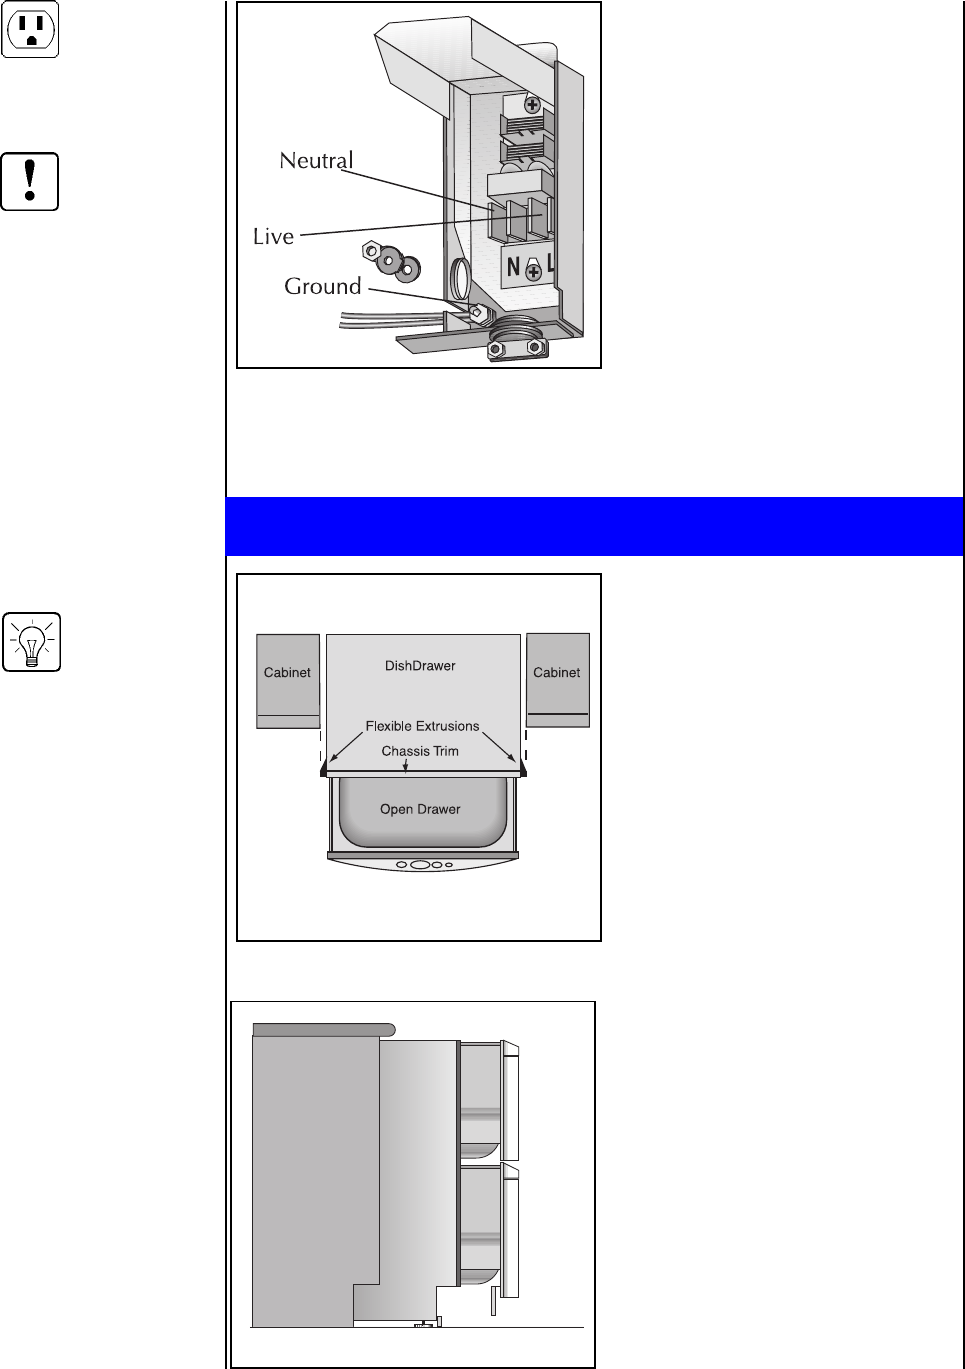
3.1.9
Alternatively, the DishDrawer may be
permanently connected to flexible conduit.
Remove the flex and cable clamp. Fit
suitable cable clamp for the conduit and
terminate the wiring as shown.
Use the solderless lug and washer supplied
with the product parts to terminate the
ground wire.
The Product must not be
plugged in at this stage.
WARNING
WARNING
If permanently
connecting, ensure
power is isolated.
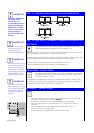
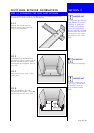
3.2.1
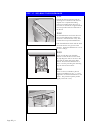
Flexible Extrusions are supplied to enable
the installer to help fill any excess space
between the sides and top of the
DishDrawer and the cavity. The three
lengths of Flexible Extrusion (supplied)
should be attached before pushing the
DishDrawer into the cavity for final
installation. The Extrusions are designed
to fit a 24 width by 34
1
/
2
high cavity
(610mm x 876mm).
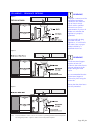
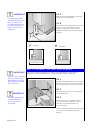
3.2.2
Open the drawers, exposing the chassis
trim.
3.2.3
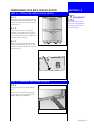
Remove backing from adhesive tape on
Flexible Extrusion. The larger of the
Extrusions is used to fill the gap at the top
of the product.
3.2.4
Apply as per drawings, ensuring the
curved edge of the Flexible Extrusion fits
around the corner of the chassis trim.
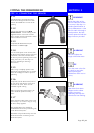
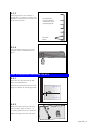
3.2.5
When checking final fit, ensure the
DishDrawer is centered and there are
even tolerances between the DishDrawer
and cavity.
Wiring, Plumbing and
Services should be
completed before
attaching the flexible
extrusion.
TIP
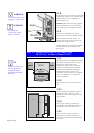
STEP 3.2 FLEXIBLE EXTRUSION ATTACHMENT FOR
24 BY 34
1
/
2
(610mm x 876mm) CAVITY
Cabinet
DishDrawer
Cabinet
DishDrawer