


Page DD_08
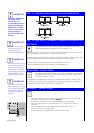
3.1.1
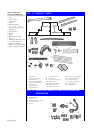
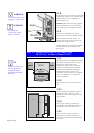
Feed the Power Cord, Inlet Hose and
Drain Hoses through the Services Hole.
Position the DishDrawer in front of the
opening.
3.1.2
Connect the Inlet Hose to the HOT
WATER SUPPLY. Ensure sealing washer
supplied with the accessories is fitted.
Hose coupling must be tightened a further
half turn after seal contact.
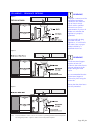
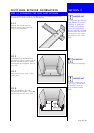
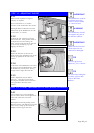
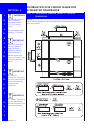
3.1.3
If required, the Drain Hose may be
trimmed to a suitable length.
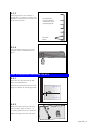
3.1.4
If an air break option is not chosen, then
the Drain Hose Support must be used and
positioned at least 30" (750mm) above
the floor to prevent siphoning of the water
during the wash cycle. (See Step 1.4 -
Electrical, Plumbing & Drainage
Information.)
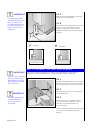
3.1.5
When using a standpipe option, hoses
should not extend further than 2 (50mm)
down the standpipe in order to prevent
siphoning.
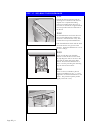
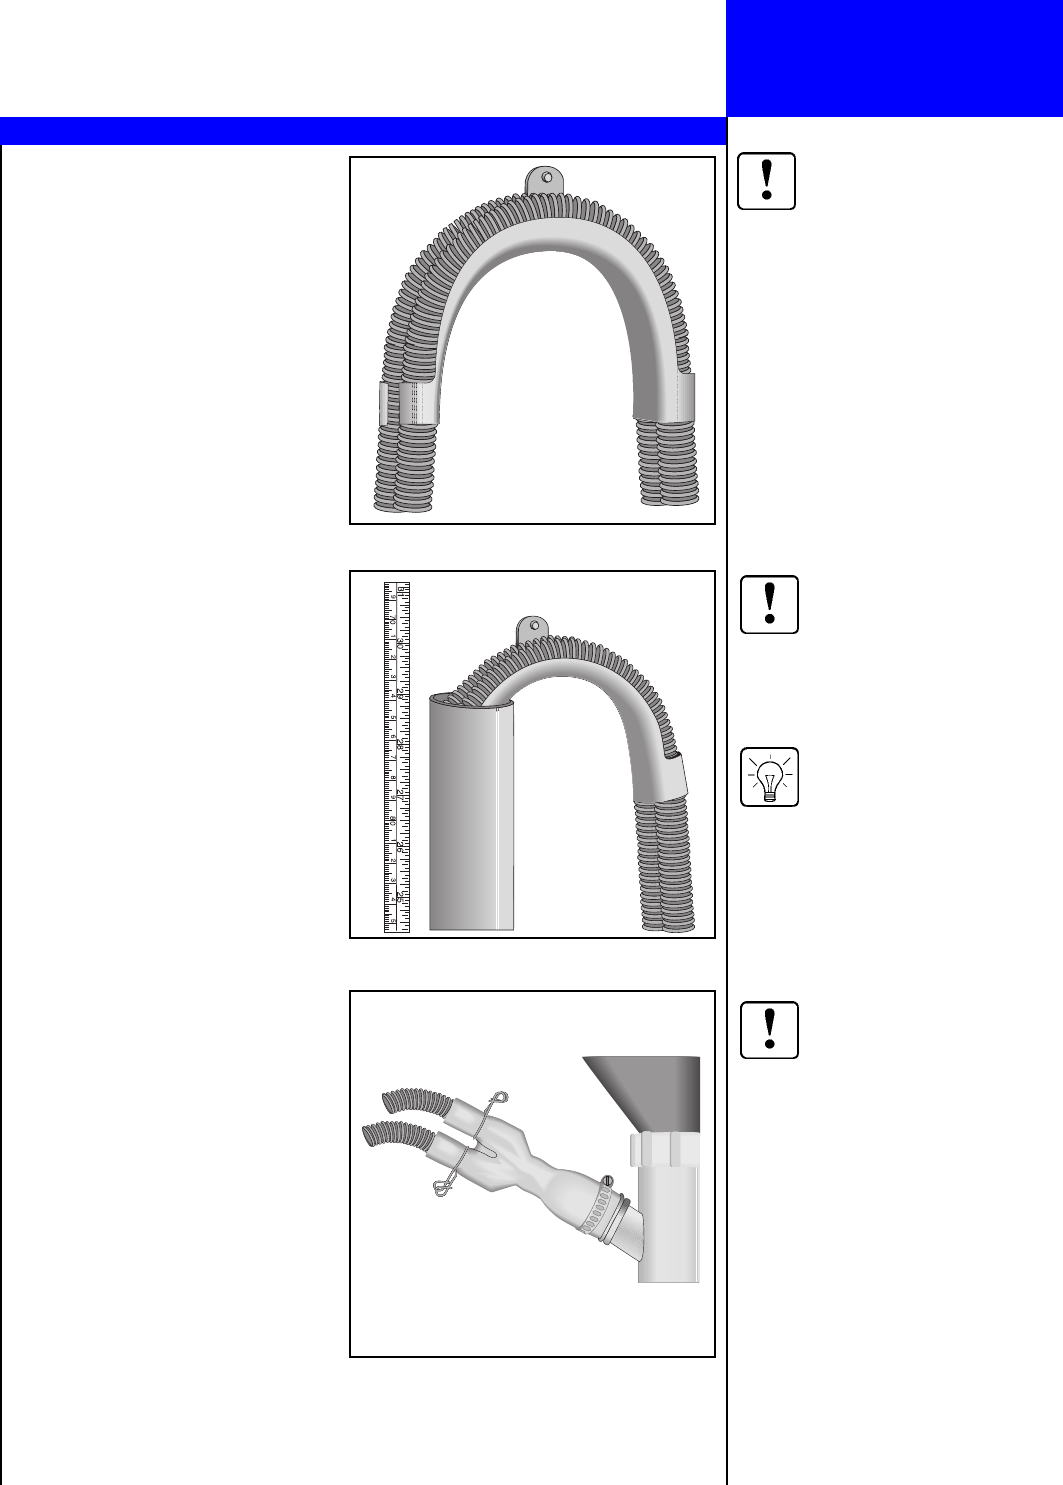
3.1.6
If required, trim the Drain Hose Joiner to
the size which matches the waste tee or
air break to be used. There are ribs
provided to guide cutting.
When using the Drain Hose Joiner, the
hoses should be pushed in firmly, 5
clicks.
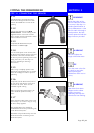
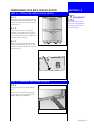
3.1.7
Attach the Drain Hose Joiner to the waste
tee(see Step 1.4). Ensure a snug fit, using
the hose clamp supplied.
The supplied Wire Clips should be
installed between the two positioning ribs
on the Drain Hose Joiner.
Remember to slip the Wire Clips over the
Drain Hoses before connecting to the
Drain Hose Joiner.
SECTION 3
FITTING THE DISHDRAWER
STEP 3.1 CONNECTING THE SERVICES
DO NOT adjust the
length of the Inlet Hose.
Ensure the edges of the
Services Hole are smooth
or covered. (See Step 1.2 -
Product Specifications &
Cavity Dimensions.) If the
Services Hole is through a
metal partition, the hole
must be protected with the
Edge Protector provided.
Turn the water valve ON
to check for any leaks,
before pushing the
DishDrawer back into its
cavity.
Attach the Drain Hose
Support to the cabinet
joinery to prevent
siphoning and keep the
drain hoses from kinking.
WARNING
WARNING
WARNING
TIP