


1-5
12. Close the fryer control panel and replace the screws in the upper corners.
13. Reinstall the thermostat knob with its pointer aligned with the 325ºF (162ºC) index mark on the
temperature dial.
14. Reconnect the fryer to the electrical power supply.
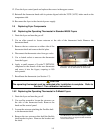
1.8 Replacing Fryer Components
1.8.1 Replacing the Operating Thermostat in Standard MJ35 Fryers
1. Drain the fryer and turn the gas off.
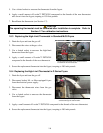
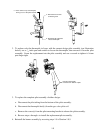
2. Use an allen wrench to loosen setscrew at the side of the thermostat knob. Remove the
thermostat knob.
3. Remove the two setscrews on either side of the
thermostat shaft and remove the dial plate.
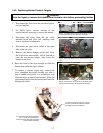
4. Disconnect the thermostat wires from gas valve.
5. Use a slotted socket to unscrew the thermostat
from the frypot.
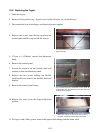
6. Apply a small amount of Loctite™ PST56765
compound to the threads of the new thermostat
and screw it into the frypot, torquing to 180
inch-pounds.
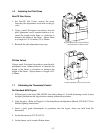
Setscrews hold the knob and dial plate to the
thermostat. Use an allen wrench to remove both.
7. Recalibrate the thermostat (see Section 1.7).
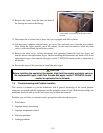
CAUTION
The operating thermostat must be calibrated after installation is complete. Refer to
Section 1.7 for calibration instructions.
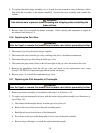
1.8.2 Replacing the Operating Thermostat in G-Model Fryers
1. Drain the fryer and turn the gas off.
2. Use an allen wrench to loosen the setscrews on
the side of the thermostat knob. Remove the
knob and the control panel.
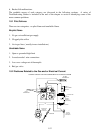
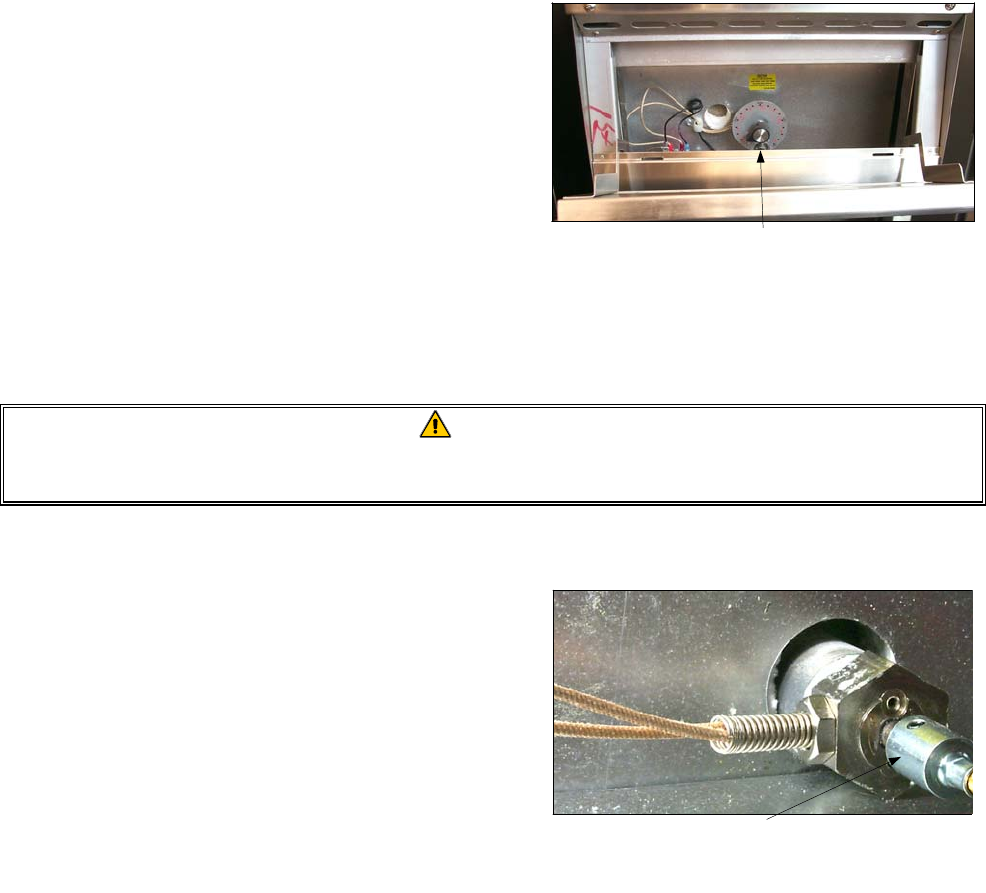
3. Loosen the setscrew attaching the flexible shaft
to the thermostat shaft.
4. Remove the two setscrews that hold the flexible
shaft bracket in place. Remove the bracket and
the shaft.
On G-Model fryers, the shaft connecting the exterior
thermostat knob to the frypot-mounted thermostat
must be disconnected.