


Customer ServiceTroubleshooting Tips
Operating InstructionsSafety Instructions
Installation Instructions
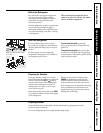
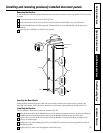
Installing and removing previously installed decorator panels.
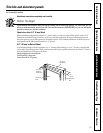
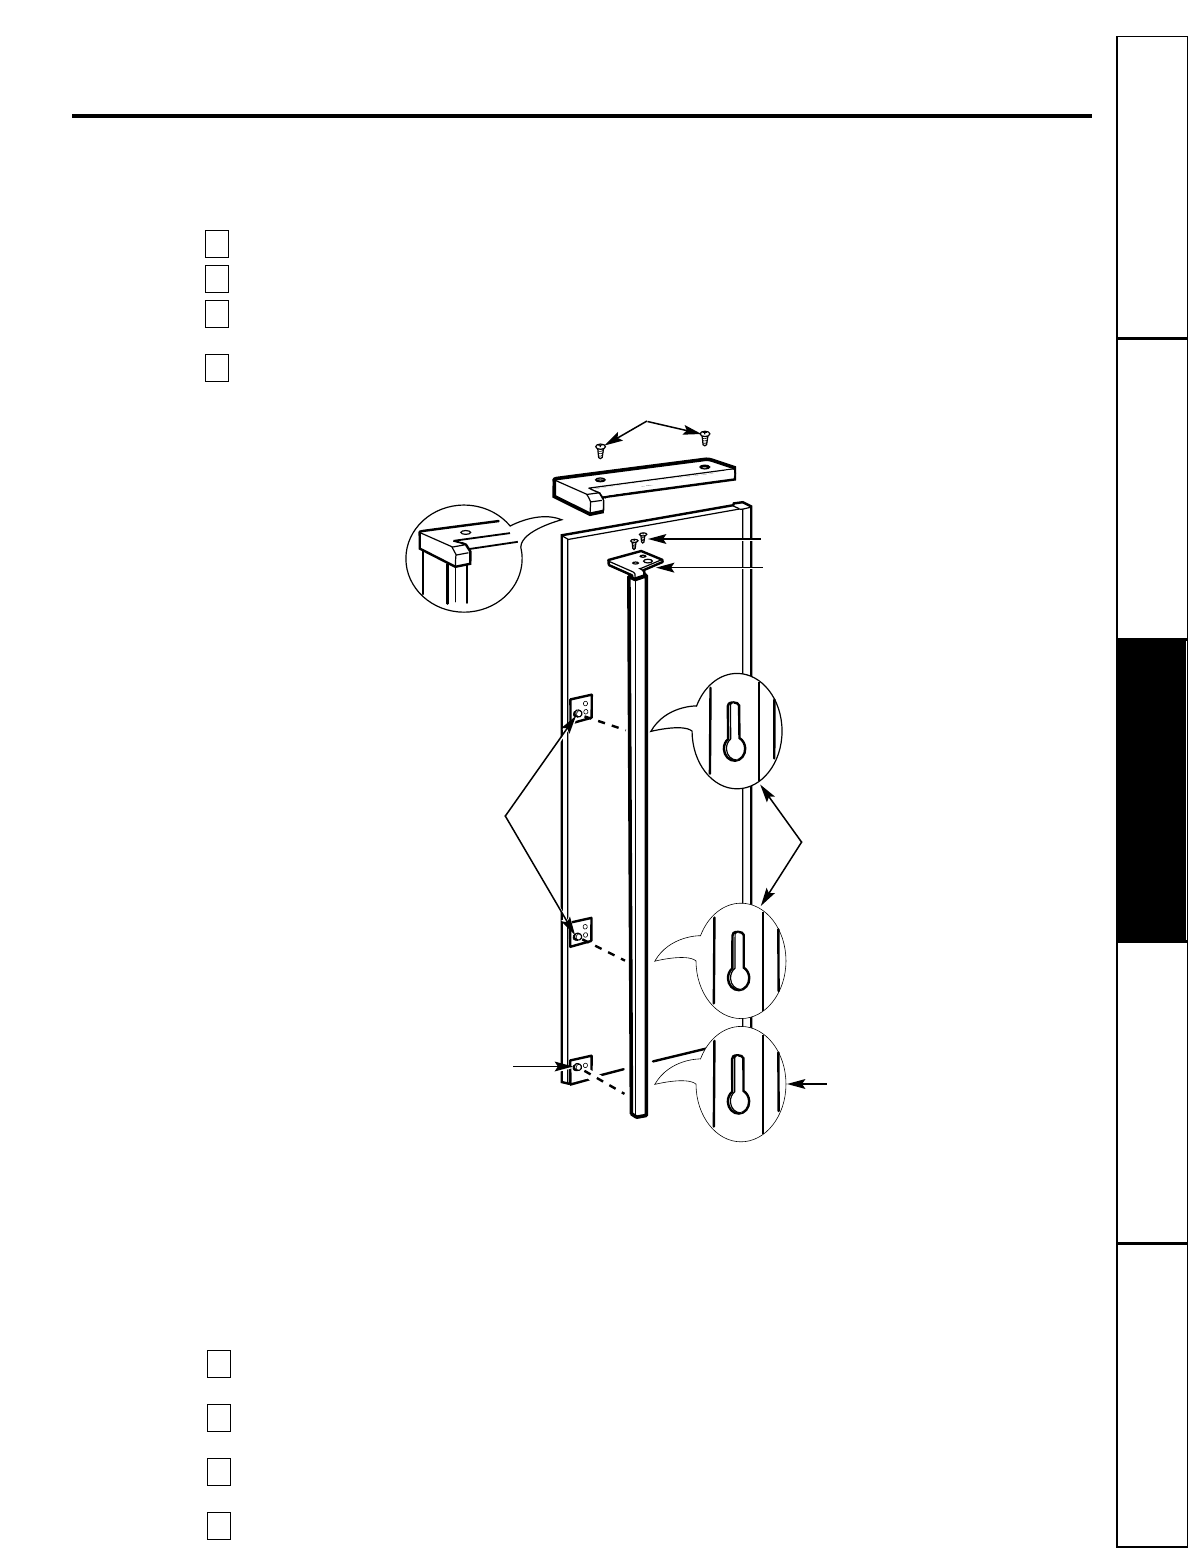
Removing the Handles
In order to remove the decorator panels and replace with new panels you need to remove the handles. A T-20 Torx driver
is needed.
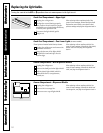
Loosen and remove the 2 screws in the Top Trim.
Loosen and remove the 2 screws in the bracket that attaches the Handle to the top of the Door.
Grip the Handle firmly and slide upwards. The keyhole slots on the Handle slide off the buttons on
the door.
Open the door and slide out the decorator panels.
4
3
2
1
Top Trim Screws
Bracket Screws
Slots
Slot
Button
Buttons
Bracket
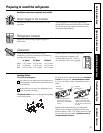
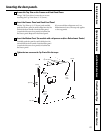
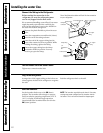
Inserting the Door Panels
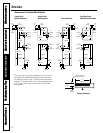
Before installing the decorator panels, make sure they have been routed out in the proper areas as shown in the
beginning of this section. Slide in the panels to perform a trial fit before fastening down the Handle and Top Trim.
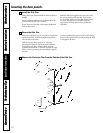
Installing the Handles
Once the panels are fitted properly, install the Handle and Top Trim.
Slide the keyhole slots on the Handle down onto the buttons mounted to the face of the door. Slide the
Handle downward until the bracket at the top of the Handle fits flush on the top of the door.
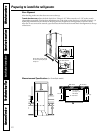
Replace the two screws in the bracket that attach the Handle to the top of the Door and tighten the
screws to 45 in-lbs torque.
Replace the Top Trim making sure it fits over the Side Trim and that the locating tabs fit the inside of
the Handle profile.
Replace the Top Trim screws and tighten to 30 in-lbs torque.
4
3
2
1
25