Installation Instructions.
System Startup Procedure
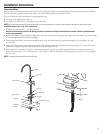
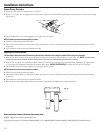
1. Slowly turn on cold water supply valve (A) in Fig. 1.
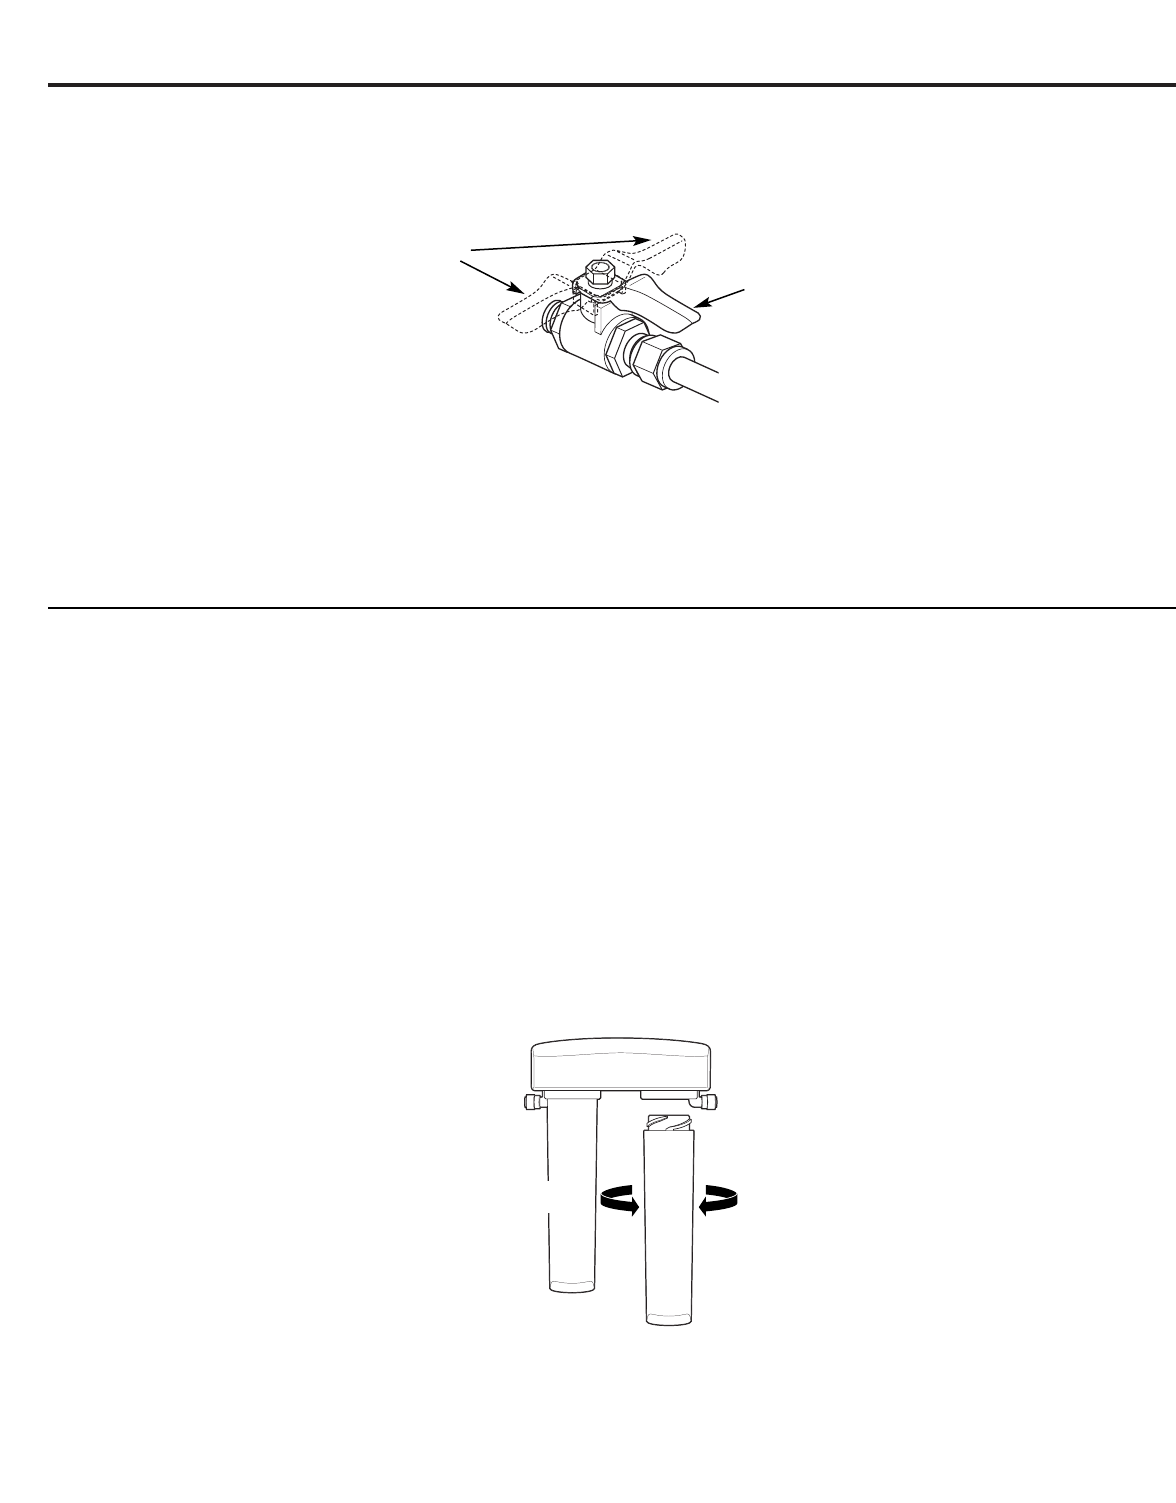
2. Turn on 1/4″ inlet valve to supply water to the system. (Valve is on when handle is pointing in same direction as water line coming
out of valve).
3. Turn handle on faucet to allow trapped air to purge from the system.
NOTE: System may make noise during this procedure.
4. Check for water leaks around the system.
5. Once water starts to flow out of the faucet, allow the system to run for 5 minutes to flush out any harmless carbon fines that may
be present.
6. Turn off faucet and check around system for leaks.
Replacing the Filter Canisters
The blue light in the faucet base will flash every 30 seconds to indicate a filter change is needed. This occurs every 6 months.
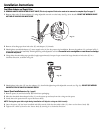
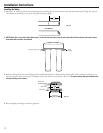
1. Remove the filter canisters from the manifold by rotating the canisters to the left about 1/3 turn (Fig. 13). NOTE: A small amount
of water from the tubing between the filter and the faucet may come out. A small towel should be able to catch it.
2. Remove foil on top of new replacement filter canisters. Install the new canisters into the manifold by turning to the right about
1/3 turn until the alignment marks line up and the filter stops. DO NOT OVERTIGHTEN. The filter will rise up as it is turned.
3. Turn handle on faucet to allow trapped air to purge from the system.
NOTE: System may make noise during this procedure.
4. Check for water leaks around the system.
5. Once water starts to flow out of the faucet, allow the system to run for 5 minutes to flush out any harmless carbon fines that may
be present.
6. Turn off faucet and check around system for leaks.
7. Remove battery tray and replace battery to reset timer. (See Battery Installation for proper procedure).
Replacement Filter Canisters/Estimated Replacement Costs
FQSVF—Replacement filter canister $35–40
For replacement parts, call toll-free 800.626.2002 (U.S.), 800.663.6060 (Canada–English), 800.361.3869 (Canada–French).
ON
OFF
To install
To remove
Fig. 13
14


