8
Installation Instructions.
Feed Water Adapter and Supply Valve
D. REMOVAL AND RE-INSTALLATION OF INLET VALVE (This is only required if inlet valve needs to be removed to complete Step 5 on page 7.)
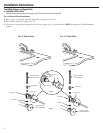
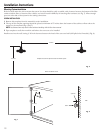
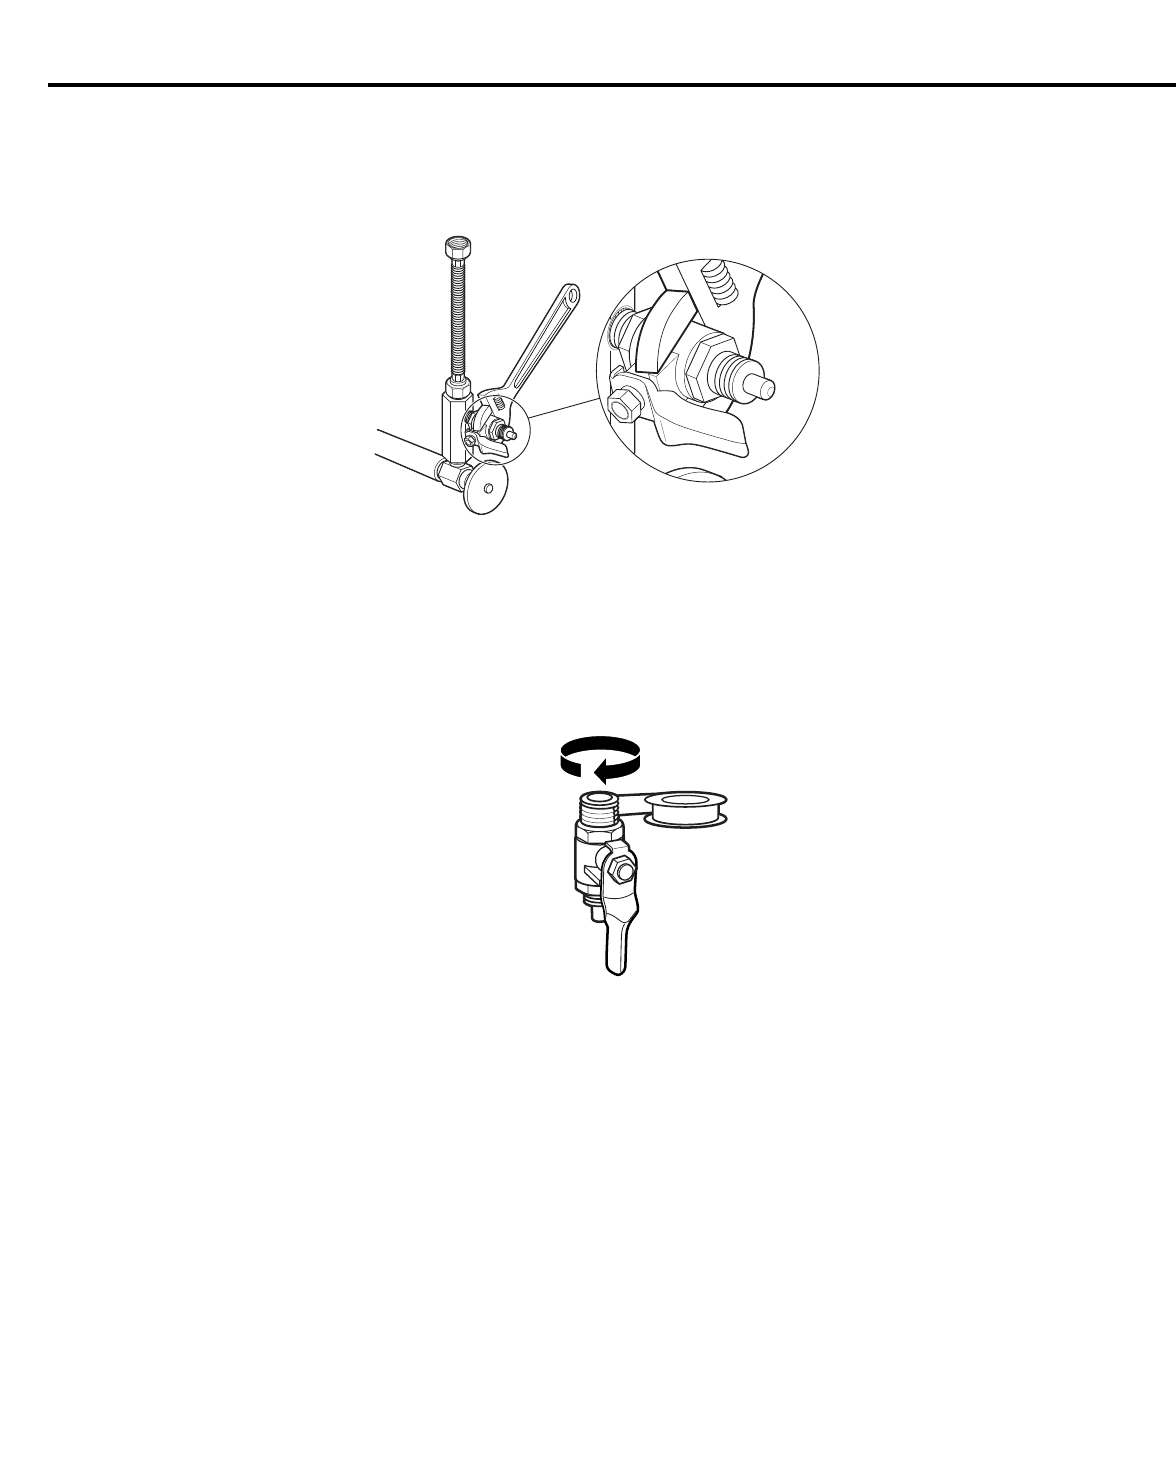
1. Remove inlet valve (F) from adapter (C) using adjustable wrench on valve body. See Fig. 3a for details. DO NOT USE WRENCH ON HEX
NUT END OF VALVE AS LEAK MAY OCCUR.
2. Remove all sealing tape from inlet valve (F) and adapter (C) threads.
3. Hand tighten assembled adapter (C) onto supply valve (A) for the proper size installation. Be sure the gaskets (G), as shown in Fig. 1,
are in place before final assembly. Finish tightening with adjustable wrench. Be careful not to overtighten or cross thread as damage
to threads may occur.
4. Using white thread sealing tape provided, apply approximately 9 wraps of tape around the large threads on inlet valve (F) in a
clockwise direction, as shown in Fig. 3b.
5 Hand tighten inlet valve (F) into the adapter (C), then finish tightening with adjustable wrench (see Fig. 3a). DO NOT USE WRENCH
ON HEX NUT END OF VALVE AS LEAK MAY OCCUR.
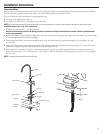
Faucet Spout Installations (see Fig. 4, page 9)
1. Remove spout (A) and faucet body (B) from faucet packaging.
2.
Move the threaded dome-shaped collar (C) on the spout up and away from the o-rings on the spout.
3. Gently insert the spout into the top of the faucet body.
NOTE: Turning the spout left to right during installation will help the o-rings to slide in easily.
4. Once the spout (A) has been installed and fully seated, slide the threaded collar (C) down to the faucet body (B).
5. Tighten the collar by hand to the faucet body by turning in a clockwise direction.
Fig. 3a
Fig. 3b


