


Safety Instructions Operating Instructions Care and Cleaning Installation Instructions Troubleshooting Tips Customer Service
11
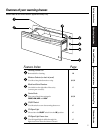
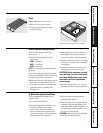
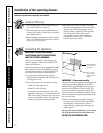
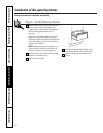
Installation of the warming drawer.
Read these instructions completely and carefully.
Before You Begin
IMPORTANT: Save these instructions for the
local electrical inspector’s use.
IMPORTANT: OBSERVE ALL GOVERNING CODES
AND ORDINANCES.
NOTE TO INSTALLER: Leave these instructions
with the appliance after installation is completed.
NOTE TO CONSUMER: Keep this Owner’s
Manual and Installation Instructions for
future use.
NOTE: This appliance must be properly
grounded.
NOTE: Insure that the power cord does not
contact the hot surfaces on the bottom of
ovens, cooktops, or any other appliance.
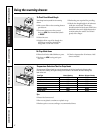
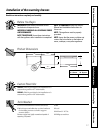
Tools Needed
■ 2 x4 or 2 x 2 lumber for runners and brace
■ Wood screws and adhesive or other hardware
for installing runners or shelf to support
warmer drawer.
Runners must be level, rigidly mounted and capable of
supporting 150 pounds.
■ Saw
■ Level
■ Drill and 1/16″ bit
■ Phillips screwdriver
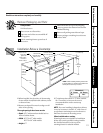
Custom Panel Kits
ZXD27B—
This kit provides for the installation of a
custom front panel on 27″ wide models.
ZXD30B—
This kit provides for the installation of a
custom front panel on 30″ wide models.
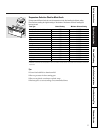
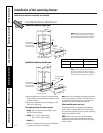
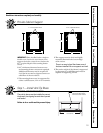
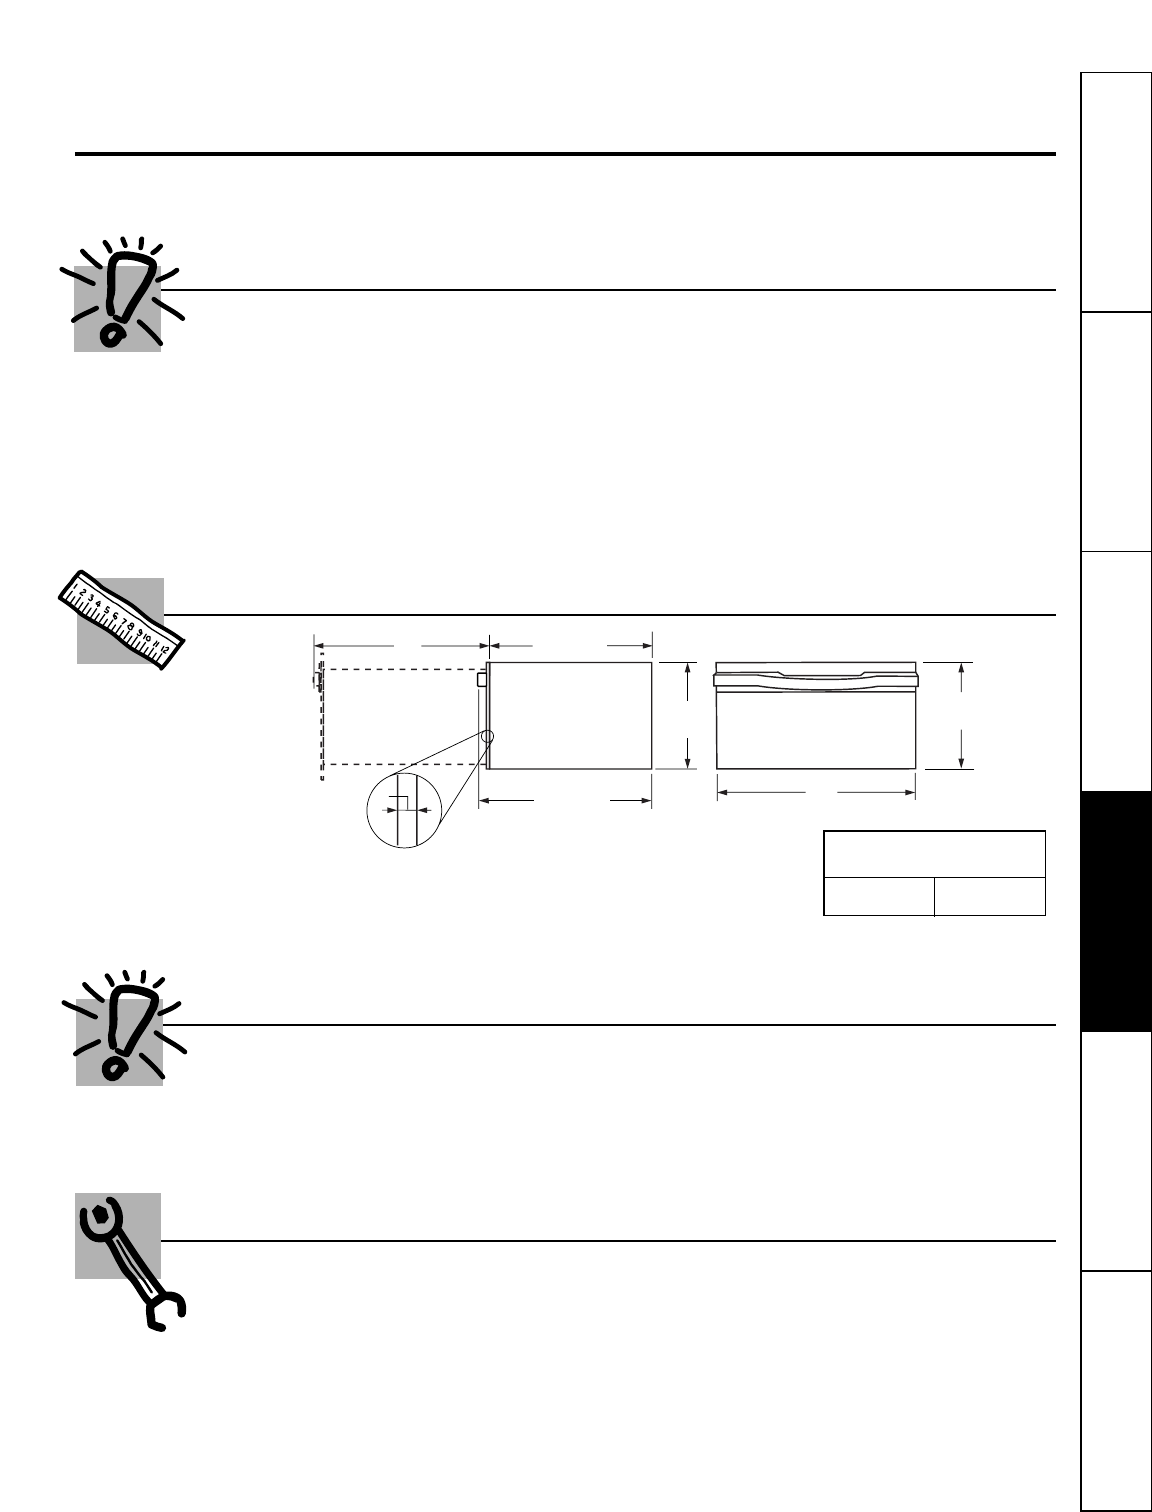
Product Dimensions
27″ 23
1
⁄4″
9″
1″
A
10
1
⁄2″
26
1
⁄4″
Including handle
Dimension A
27
″
Drawer 30
″
Drawer
26
3
⁄
4
″
30
″