


Cooking by Temperature
Internal temperature is the best
test of doneness for many foods.
Use Temp Cook/Hold to cook
a variety of foods to the desired
finished food temperature. The
Time Cook I &II setting is
recommended for batters,
doughs, frozen foods and foods
which are difficult to cook
precisely with the probe.
Temp Cook/Hold takes the
guesswork out of cooking, because
the oven automatically switches
to “Hold” setting after reaching
the preset food temperature, and
maintains that temperature for up
to one hour or until you touch
the CLEAR/OFF pad.
Note: Oven automatically switches
to “Hold” when preset food
temperature is reached.
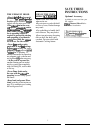
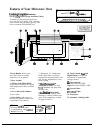
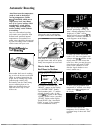
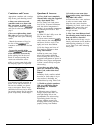
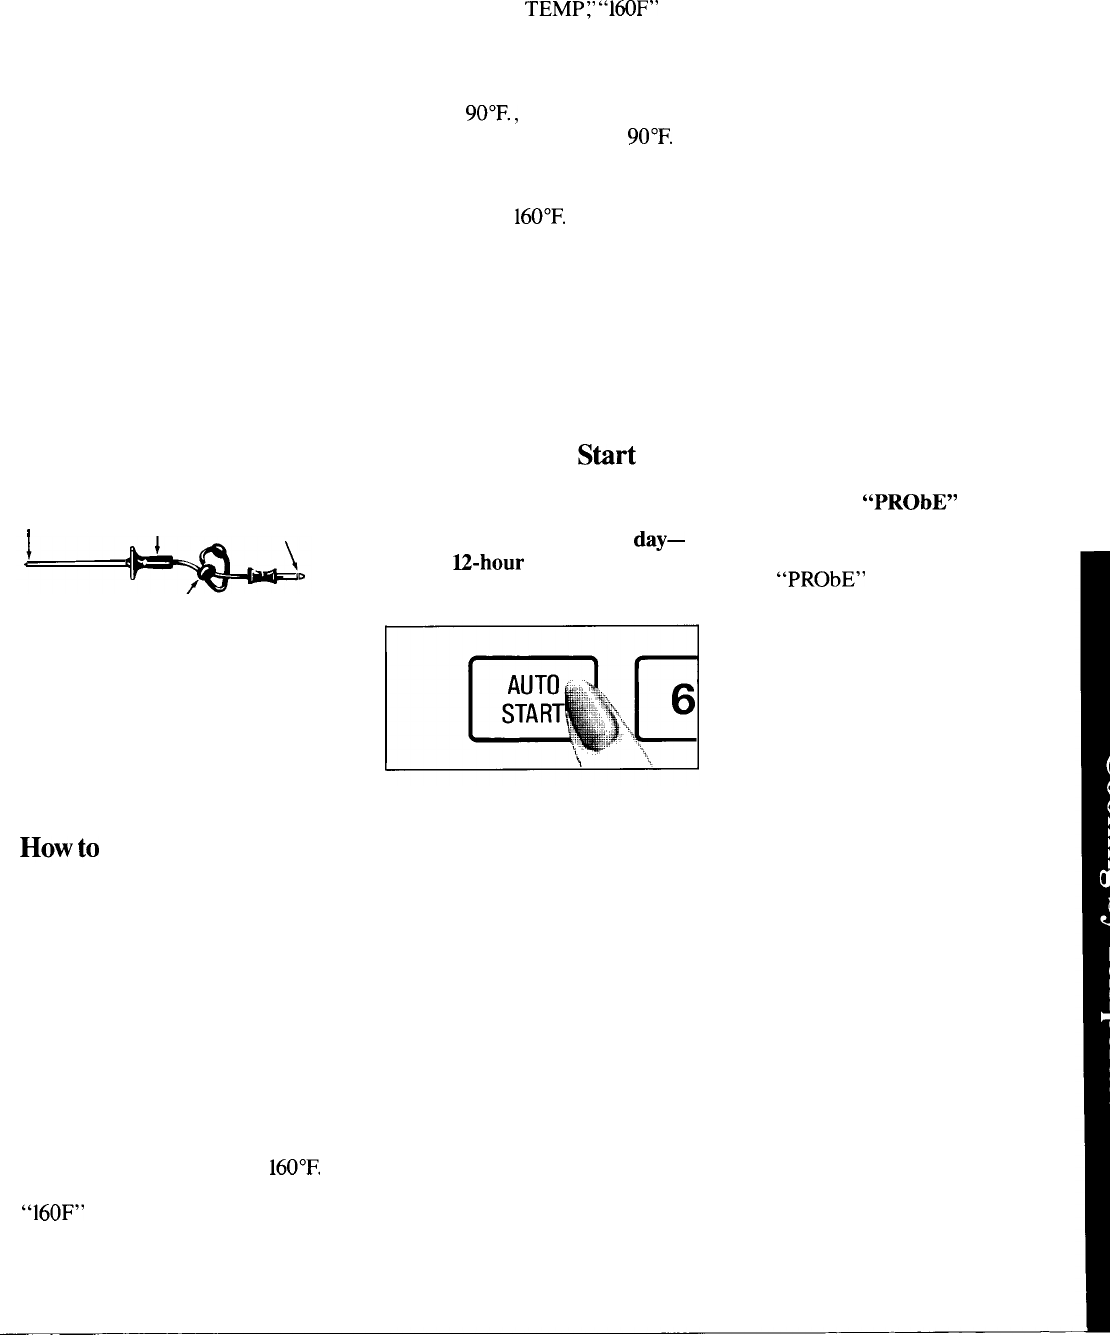
The Temperature Probe
Sensor
Handle
Cable
End
I
1
Clip
The temperature probe is a food
thermometer that gauges the
internal temperature of the food.
The probe must be used when
using Temp Cook/Hold or Auto
Roast functions. To use the probe
properly, follow directions on
page 12.
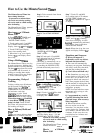
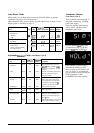
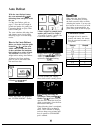
Howto
Temp Cook a Rolled
Beef Rib Roast to Medium
Step 1:
Insert temperature probe
into roast and seat the cable end
of the probe securely into the
receptacle in the oven wall. Close
the door.
Step 2: Touch TEMP COOK/
HOLD pad. The display panel
shows “F” and “POWER 10.”
“ENTER FOOD TEMP” flashes
on the display.
Step 4: Touch the POWER LEVEL
pad. “ENTER POWER” flashes
on the display. Touch 5 for medium
power. “FOOD
TEMP~’
“160F”
and
“POWER 5“ show on the display.
Step 5: Touch START pad. If
internal temperature of the roast is
less than
90°F.,
display will show
“COOL”; if temperature is
90°F.
or above, display will show
temperature counting up.
Step 6: When
160°F.
is reached,
the oven will sound and display
will show “Hold?’ The oven will
then hold the temperature.
Step 7: Touch the CLEAR/OFF
pad to stop the cycle.
Step 8: Remove probe and food
from the oven.
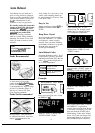
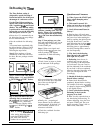
How to Use Auto
Stirt
The Auto Start feature allows you
to program your oven to begin
cooking at a preset time of
day—
up to a
U-hour
delay.
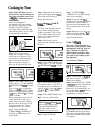
To Use Auto Start
Step 1:
Touch AUTO START pad
(instead of START pad).
Step 2: Enter the time you want
the oven to start. (Be sure your
microwave oven clock shows the
correct time of day.)
Step 3: Enter your desired cooking
program.
Step
4: Touch START pad. The
oven will automatically start at the
desired time.
Cooking Tips
●
Use a lower power level; foods
will heat more evenly though
requiring more time.
● Be sure frozen food has been
completely defrosted before inserting
probe. Probe may break off if used
in frozen foods.
● Cover foods loosely for moisture
control and quick, even heating.
Questions and Answers
Q. Are there any foods I can’t
Temp Cook?
A. Yes.
Delicate butter icings, ice
cream, frozen whipped toppings,
etc. soften rapidly at warm
temperatures. Batters, doughs and
frozen foods are also difficult to
cook precisely with the probe. It’s
best to Time Cook these foods.
Q. Why did
“PRObE”
flash on
the display after I touched the
START pad?
A. “PRObE” will flash if you
don’t seat the cable end of the probe
securely into the receptacle in the
oven wall or if you touch the TEMP
COOK/HOLD pad and forget to
use the probe.
Q.
Can I leave my probe in the
oven if it’s not inserted in food?
A. No,
if it touches the oven wall,
it may damage the oven.
Q.
Can I Temp Cook different
portions of food at different
temperatures?
A. Yes. The temperature probe
gives you the freedom to cook
different portions of food at
different temperatures to suit
individual eating styles. Simply
place probe in food and change
temperature setting as needed.
Step
3: Touch 1,6 and O for
160°F.
“FOOD TEMP” flashes and
“160F”
and “POWER 10” show
on the display.
11