


When the timer is counting down, use the + and –
pad to change the remaining time, or press the
TIMER ON/OFF pad to stop the timer. The timer
cannot be cancelled unless you have fully completed
“set timer” instructions above.
Pressing the CLOCK pad while the timer is operating
will not interfere with the timer’s operation; the
display will change to show the clock, but the timer
will continue to count down and will still signal when
time is up. Press the TIMER ON/OFF pad again to
change the display back to show the timer.
10
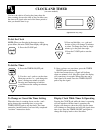
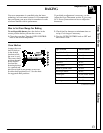
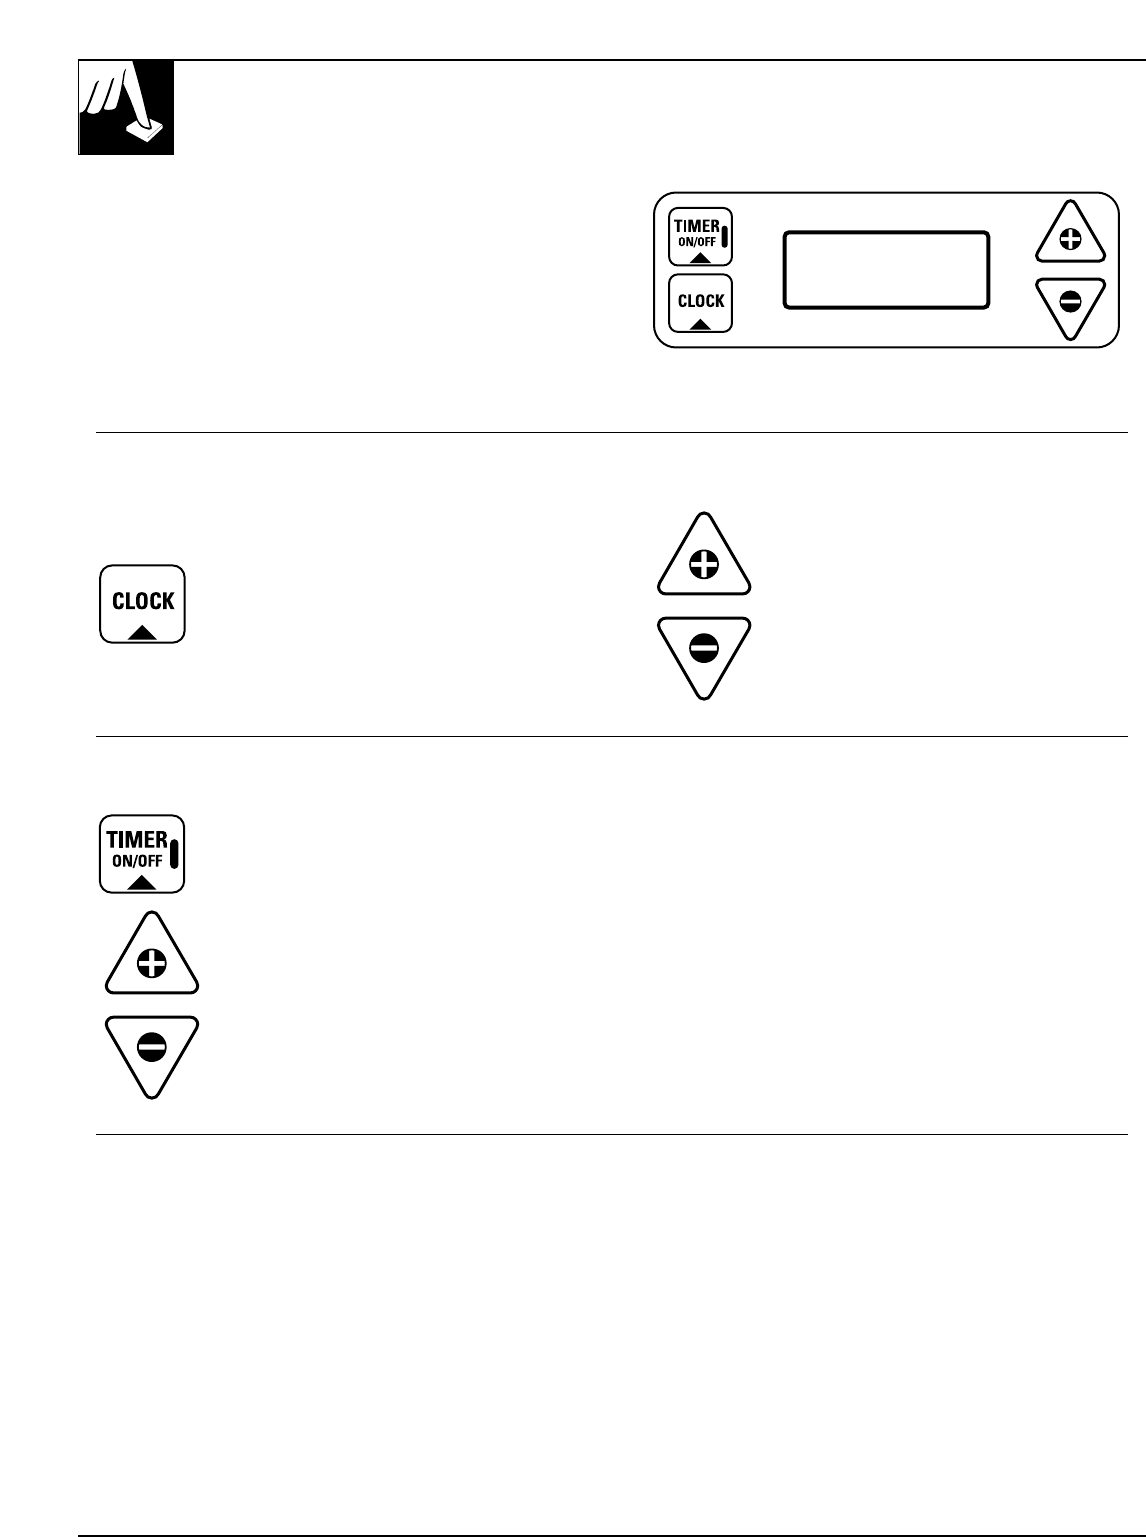
CLOCK AND TIMER
(on some models)
You have the choice of having the timer show the
time counting down or the time of day. In either case,
the timer will signal at the end of the timer period to
alert you that the time is up.
(appearance may vary)
To Change or Cancel the Timer Setting
Display Clock While Timer Is Operating
To Set the Clock
NOTE: When you first plug in the range or after a
power failure, the entire Clock/Timer display will light up.
1. Press the CLOCK pad.
2. Press and hold the + or – pad and
the time of day will change 10 minutes
at a time. To change the time by single
minutes, give the pads short taps.
3. Press the CLOCK pad to start the
clock.
To Set the Timer
1. Press the TIMER ON/OFF pad.
2. Use the + and – pads to set the timer.
Short taps on the + or – pad change the
timer’s setting one minute at a time.
Pressing and continuing to hold the
+ pad increases the setting ten minutes
at a time.
3. Once you have set your timer, press the TIMER
ON/OFF pad to start timing.
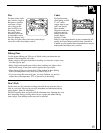
As the timer counts down, a signal will indicate
when one minute is left. After this signal, the display
will count down in seconds. When time runs out, a
final signal will sound. Press the TIMER ON/OFF
pad to stop the signal.