


-18-
G9922
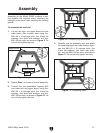
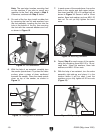
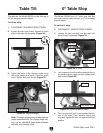
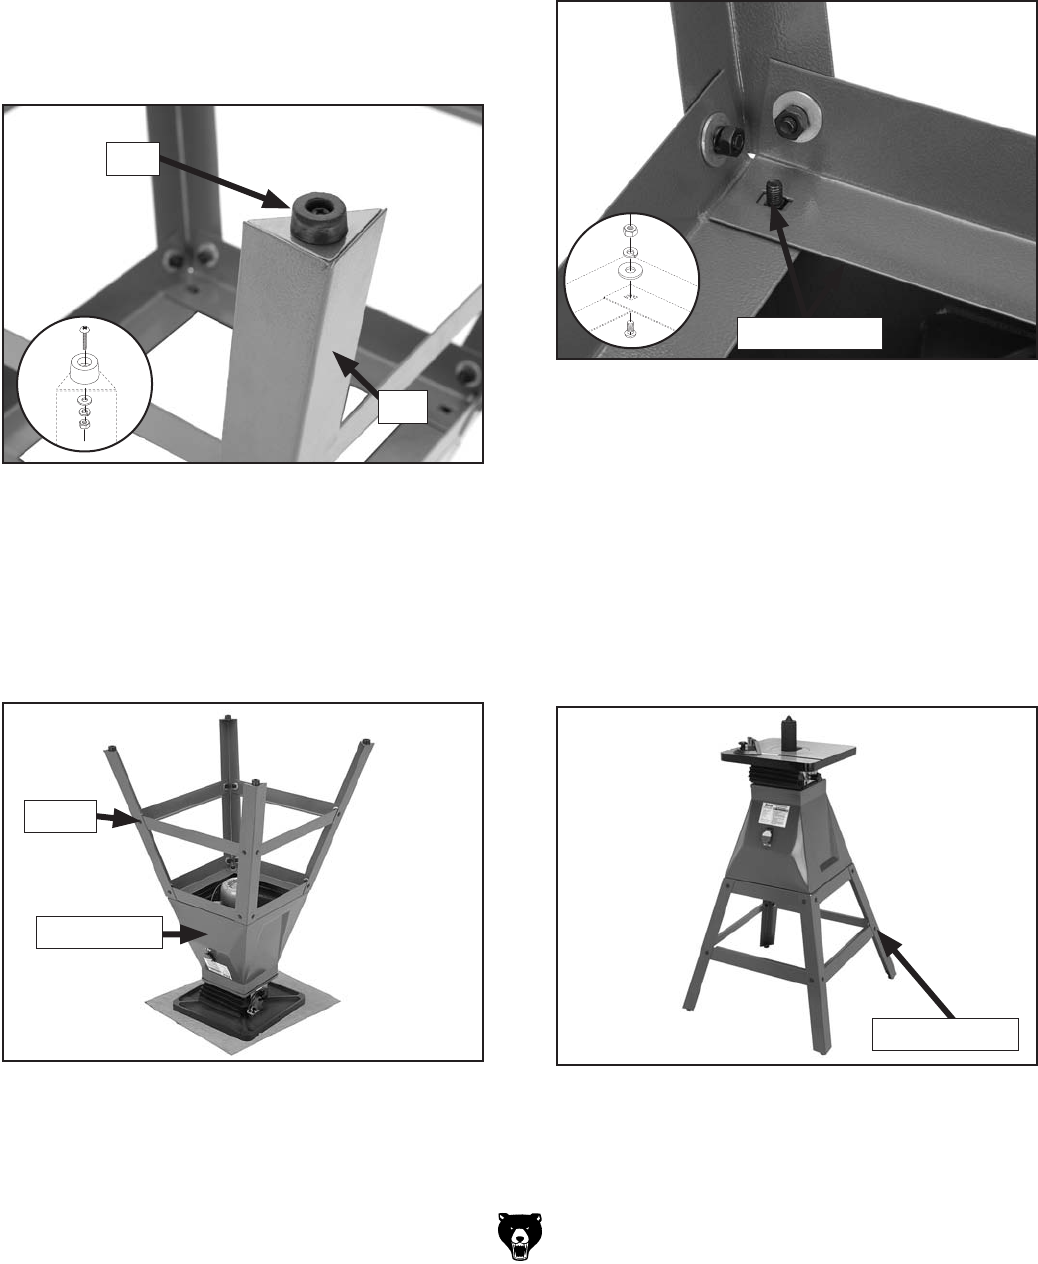
7. In each corner of the sander base, line up the
holes in the sander and both upper braces,
then insert one M8-1.25 x 16 carriage bolt, as
shown in Figure 14. Secure it with a 10mm
washer, 8mm lock washer, and one M8-1.25
hex nut. Do not yet fully tighten the hard-
ware.
Figure 14. Mounting hardware.
8. Repeat Step 6 for each corner of the sander,
using the remaining three M8-1.25 x 16 car-
riage bolts, 10mm flat washers, 8mm lock
washers and M8-1.25 hex nuts.
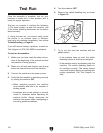
9. With the help of an assistant, turn the entire
assembly right-side-up and place it in the
location where it will be used. Level the
machine as you fully tighten all 20 hex nuts
(Figure 15).
Note: The next step involves mounting feet
on the machine. If you plan to mount your
machine to the floor, skip ahead to Step 6.
Otherwise, continue with Step 5, below.
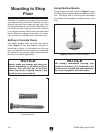
5. On each of the four legs, install a rubber foot
by removing the hex nut and washers from
the foot assembly, inserting the foot into the
hole at the bottom of the leg, then securing
the foot with the removed washers and nut,
as shown in Figure 12.
Figure 15. Tightening hardware.
Tighten (x20)
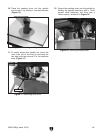
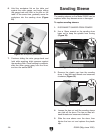
6. With the help of an assistant, carefully turn
the sander upside-down. To protect the table
surface, place a piece of clean cardboard
beneath the sander. Place the stand upside
down on top of the sander, as shown in
Figure 13.
Figure 13. Placing stand on machine.
Figure 12. Foot attachment.
Foot
Leg
Stand
Sander Unit
Upper Braces