


Model OFE/OFG/OEA/OGA-341, 342
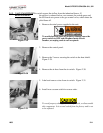
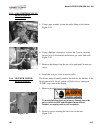
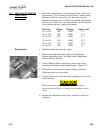
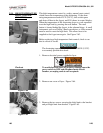
2-17. HEATING ELEMENTS 4. Perform an ohm check on one element at a time, with wires
(ELECTRIC)
disconnected. The 2 elements actually have 3 small heating
(Continued)
elements inside the outer plate. It’s important to check
between the correct wires to obtain an accurate ohm reading.
The wires are labeled for your convenience. If the resistance
is not within tolerance, replace the element.
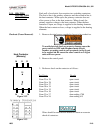
Wire Nos. Voltage Wattage Ohms (cold)
1L1 to 1L1 208 11000 11.7
1L2 to 1L2 208 11000 11.7
1L3 to 1L3 208 11000 11.7
1L1 to 1L1 240 11000 15.7
1L2 to 1L2 240 11000 15.7
1L3 to 1L3 240 11000 15.7
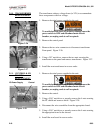
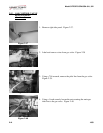
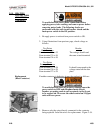
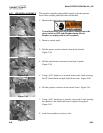
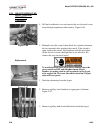
Replacement 1. Drain the shortening from the frypot
2. Remove the high limit bulb holder from the heating
element inside the frypot. See High Limit Temperature
Control-Electric Section.
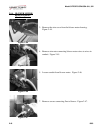
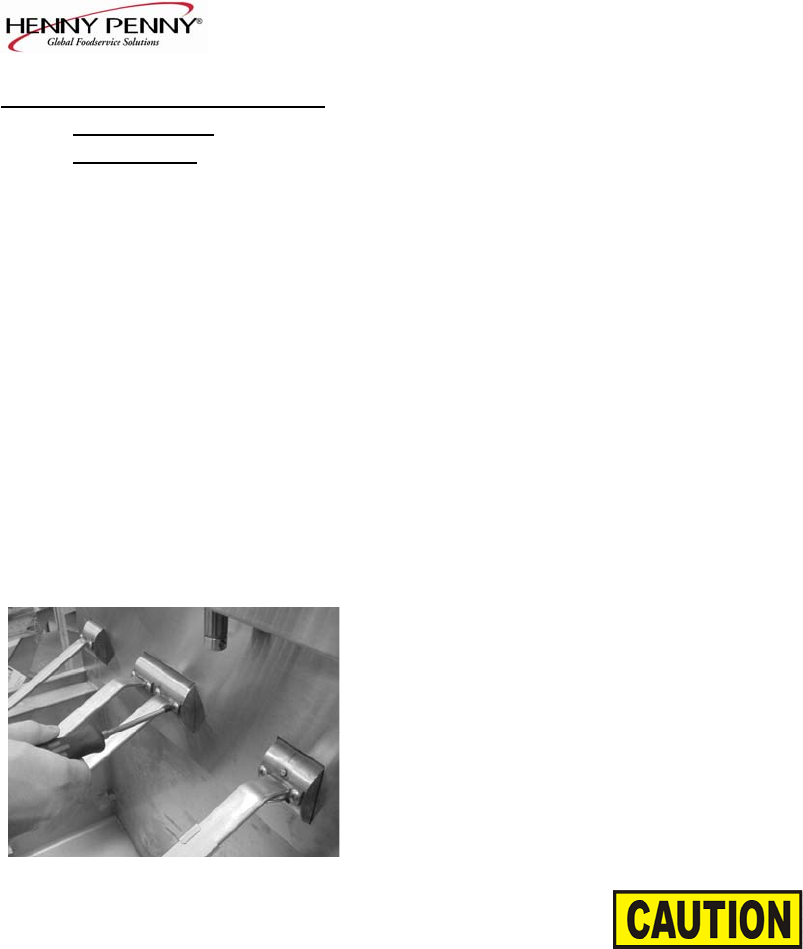
3. Using a Phillip’s-head screwdriver, remove the screws
securing the element to the element hinges. Figure 2-51.
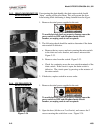
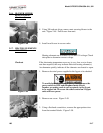
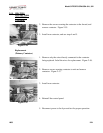
4. Pull element from fryer and replace with new element,
following steps in reverse order.
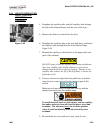
5
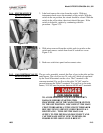
. Connect the power cord to the wall receptacle or close wall
Figure 2-51 circuit breaker.
Heating elements should never be energized without
shortening in the frypot, or damage to the elements could
result.
6. Replace the shortening in the frypot, and unit is ready for
operation.
2-18
1003