Updating the 10GbE pass-thru firmware 19
NOTE: The pass-thru module boot code firmware image is usually named 10GPTHRU-
w.x.y.z_FW.bin, where w.x.y.z is the firmware version number.
1. Using the null modem mini-USB to DB-9 cable, connect the console port of the pass-thru module to
the serial port of a computer that supports XModem/1K XModem.
2. Start HyperTerminal (part of Microsoft® Windows® operating system) or equivalent terminal
emulation application (depending on the operating system), and set the parameters for terminal
emulation console:
Parameter Value
Baud rate 9600
Data bits 8
Parity None
Stop bits 1
Flow control None
3. Power on or reboot the pass-thru module.
4. Hold down the Shift key and press the B key repeatedly during boot up, until the following message
appears: "Ready to begin XMODEM file transfer. Press Enter to continue."
5. Repeatedly press the Enter key on the computer that is connected to the console port of the pass-thru
module. When the console port is successfully communicating with the computer, indicating
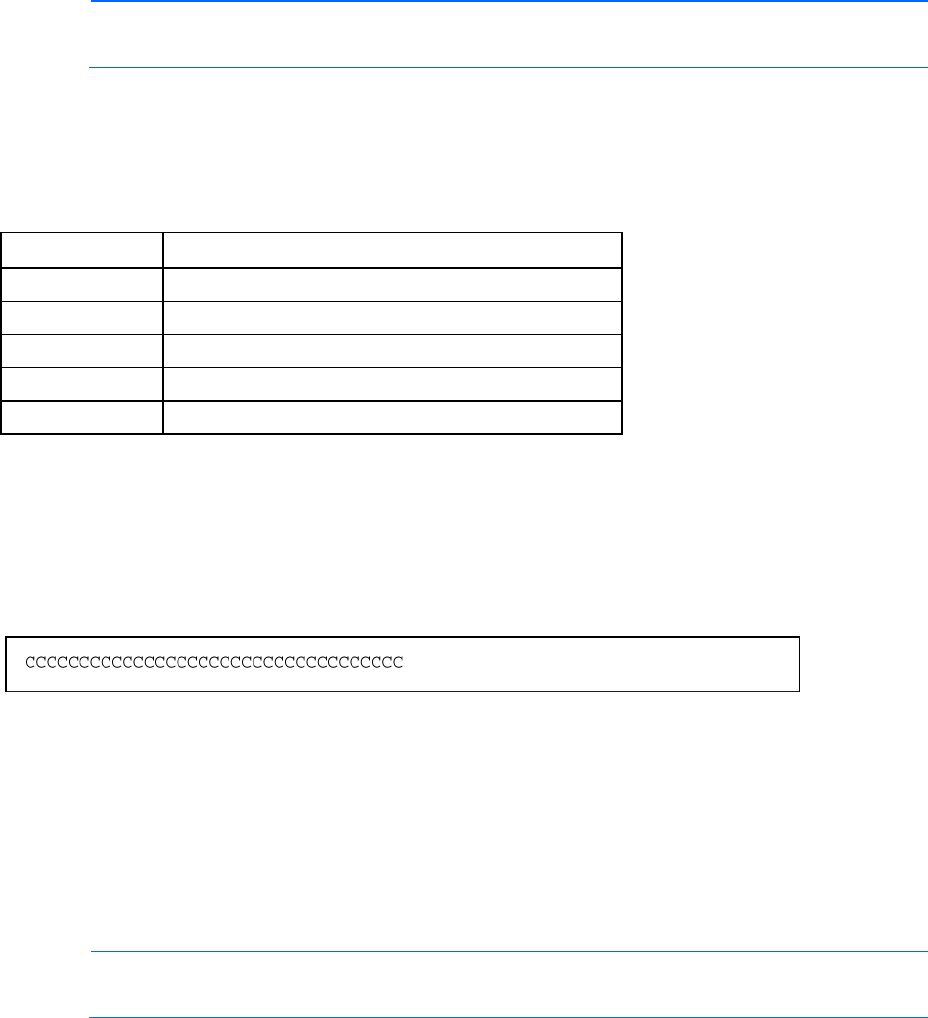
readiness for image transfer, continuous Cs appear.
6. Be sure that the new pass-thru module boot code firmware file is available on the computer. This file
can be downloaded from the HP website (http://www.hp.com/go/bladesystem/documentation).
7. Select <Transfer-Send File> from the menu, and choose the following options in the Send File
window:
Filename: C:\#*!<unassigned_variable!*#
Protocol: 1K XMODEM
The Send File window displays the progress of the file transfer. The file transfer might take up to 7
minutes.
NOTE: Although slower, XModem also works if 1K XModem is not used.
After completing the transfer, the new image automatically boots.
