–7–
REMOVING THE BLADE
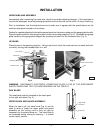
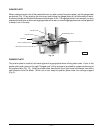
Remove the upper and lower pulley covers. Raise the gauge plate to its vertical position. Remove
the right table by lifting its right side and sliding the table to the right to free it from the locating pins.
Remove the column guard. Turn the tension adjuster counterclockwise until it stops (this will release
tension on the blade by raising the lower pulley). Raise the plastic blade guide on the lower blade guide
assembly and release the blade from the upper and lower blade guides. Free the blade from the blade
scrapers in the lower pulley area and release it from the pulleys. Remove the blade.
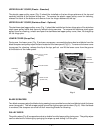
Make sure the pulleys are properly installed and the pulley latches are seated in the groove of the
pulleys. Install the new blade with the teeth pointing to the right and down as you face the front of the
saw. The blade must fit between the V's on the blade scrapers, in the slots of the upper and lower blade
guides, and must not touch any of the pulley flanges. The lower blade guide must be installed after
the blade is installed. When the blade is in position, see BLADE TENSION, below, to adjust the tension
properly. Refer to LOWER BLADE GUIDE, page 6, if the blade width of the new blade is different than
the old. Reinstall any removed parts.
BLADE TENSION
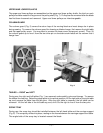
After the blade has been installed, set the blade tension by turning the tension adjuster clockwise until
it stops.


