– 4 –
ELECTRICAL CONNECTION
WARNING: ELECTRICAL AND GROUNDING CONNECTION MUST COMPLY WITH THE
APPLICABLE PORTION OF THE NATIONAL ELECTRICAL CODE AND/OR OTHER LOCAL
ELECTRICAL CODES.
WARNING: DISCONNECT ELECTRICAL POWER SUPPLY AND PLACE A TAG AT THE
DISCONNECT SWITCH INDICATING THAT YOU ARE WORKING ON THE CIRCUIT.
ELECTRICAL DATA
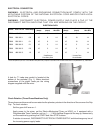
Models Volts / Hz / Ph Rated Amps
Circuit Size
(Amps)
Fuse Size *
(Amps)
60°C Copper
Wire Size
Circuit Size
(Amps)
Circuit Breaker **
(Amps)
60°C Copper
Wire Size
D300 115 / 60 / 1 10.2 15 15 14 20 20 12
D300 200 / 60 / 1 5.6 15 6 14 15 10 14
D300 230 / 60 / 1 5.1 15 6 14 15 10 14
D300 200 / 60 / 3 2.1 15 3 14 15 3 14
D300 230 / 60 / 3 2.0 15 3 14 15 3 14
D300 460 / 60 / 3 1.0 15 1 14 15 1 14
* Dual Element
Time-Delay Fuse
** Inverse Time
Circuit Breaker
Circuit Size (Minimum) & Fuse / Circuit Breaker Size (Maximum) compiled in accordance with the National Electrical Code (ANSI/NFPA 70), 1993 Edition.
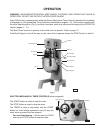
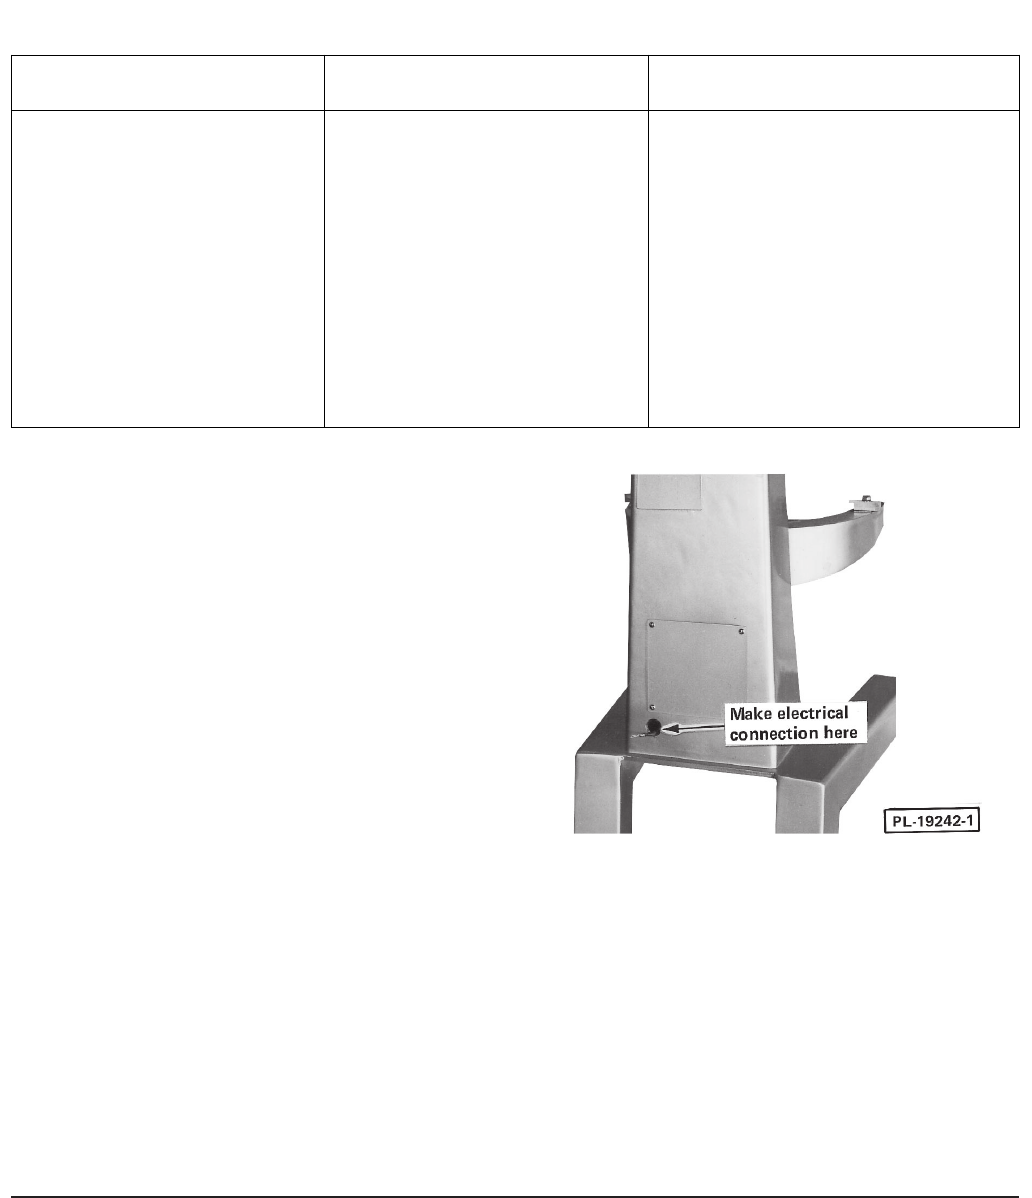
A hole for
3
⁄4" trade size conduit is located at the
bottom of the pedestal (Fig. 1). Make electrical
connections to the pigtail leads per the wiring
diagram supplied with the mixer.
Fig. 1
Check Rotation (Three-Phase Machines Only)
Three-phase machines must be connected so the planetary rotates in the direction of the arrow on the Drip
Cup. To check rotation:
Set the gear shift lever on 1.
Apply power to the mixer, set the Electro-Mechanical Timer on HOLD; or, if equipped with a
Programmable Timer Controller, set it on [ -- : -- ]. With the Bowl Support all the way up, momentarily
run the machine by pushing the START and then STOP buttons.
If rotation is incorrect, DISCONNECT ELECTRICAL POWER SUPPLY and interchange any two of
the incoming power supply leads.


