– 11 –
DISHWASHING
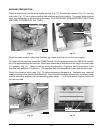
Scrape and/or rinse dishes to remove food particles and other debris. Never use steel wool on ware
to be loaded into the dishwasher. Place the dishes in a rack. Do not stack dishes on top of each other
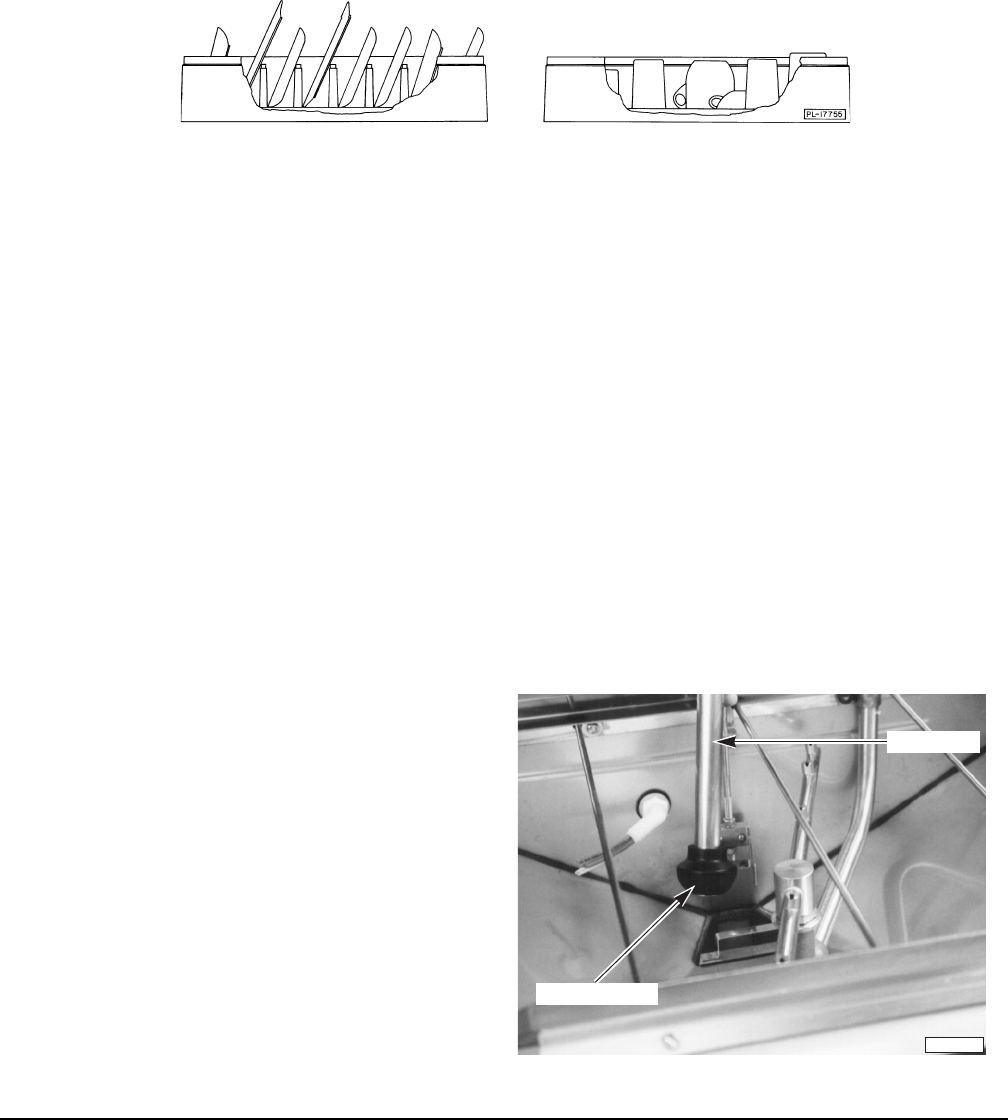
as water must have free access to all sides of every dish. Stand plates edgewise in a peg-type rack
(Fig. 16). Place cups, glasses and bowls upside down in an open or compartment-type rack (Fig. 16).
Silverware and other small pieces should lay loosely on the bottom of an open-type rack.
Do not allow foreign objects to enter the unit, especially metallic contaminants.
Fig. 16
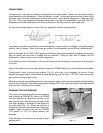
Open doors, slide the rack of dishes into the dishwasher, close the doors, and begin rinsing and loading
another rack of dishes. When the doors are closed, the dishwasher cycle will begin automatically.
After 90 seconds, the
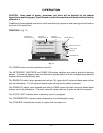
CYCLE LIGHT
goes out to indicate that the cycle has been completed, the doors
may be raised, and the rack of dishes can be removed. Slide the next rack of dishes into the
dishwasher, close the doors and continue operation.
If the washing cycle is interrupted, the cycle will continue from the time of interruption and complete
the cycle.
None of the machine functions will operate unless the
POWER
switch is on and the doors are closed.
Occasionally, check the drain pan strainer (Fig. 13) and clean it as necessary to prevent it from
becoming clogged (which could result in water splashing onto the floor). DO NOT remove the drain
pan strainer during a wash cycle.
Whenever there is an extended period of time between racks, check the thermometer before washing
the next rack of dishes. If the water temperature is below 120°F, the machine must be manually drained
and manually refilled with fresh water.
DRAINING THE DISHWASHER
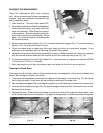
The machine may be drained by either pressing
and holding the
DRAIN/FILL
switch on
DRAIN
until the machine is completely drained, or by
opening the doors and removing the drain tube
(the drain stopper is attached to the bottom of
the drain tube) (Fig. 17). When the machine is
completely drained, replace the drain tube/drain
stopper, close the doors and hold the
DRAIN/
FILL
switch on
FILL
for approximately ten
seconds.
Drain and clean the machine at the end of each
working shift.
Fig. 17
PL-40931-1
DRAIN TUBE
DRAIN STOPPER


