


© HOBART 2008 F25230 (Rev. A, May 2008)Page 5 of 8
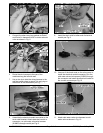
4. Replace existing service cover with one
supplied in kit (919277). The power cord will
have to be disconnected from the contactor in
the control drawer to replace the existing
service cover. Assemble the electrical conduit
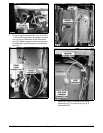
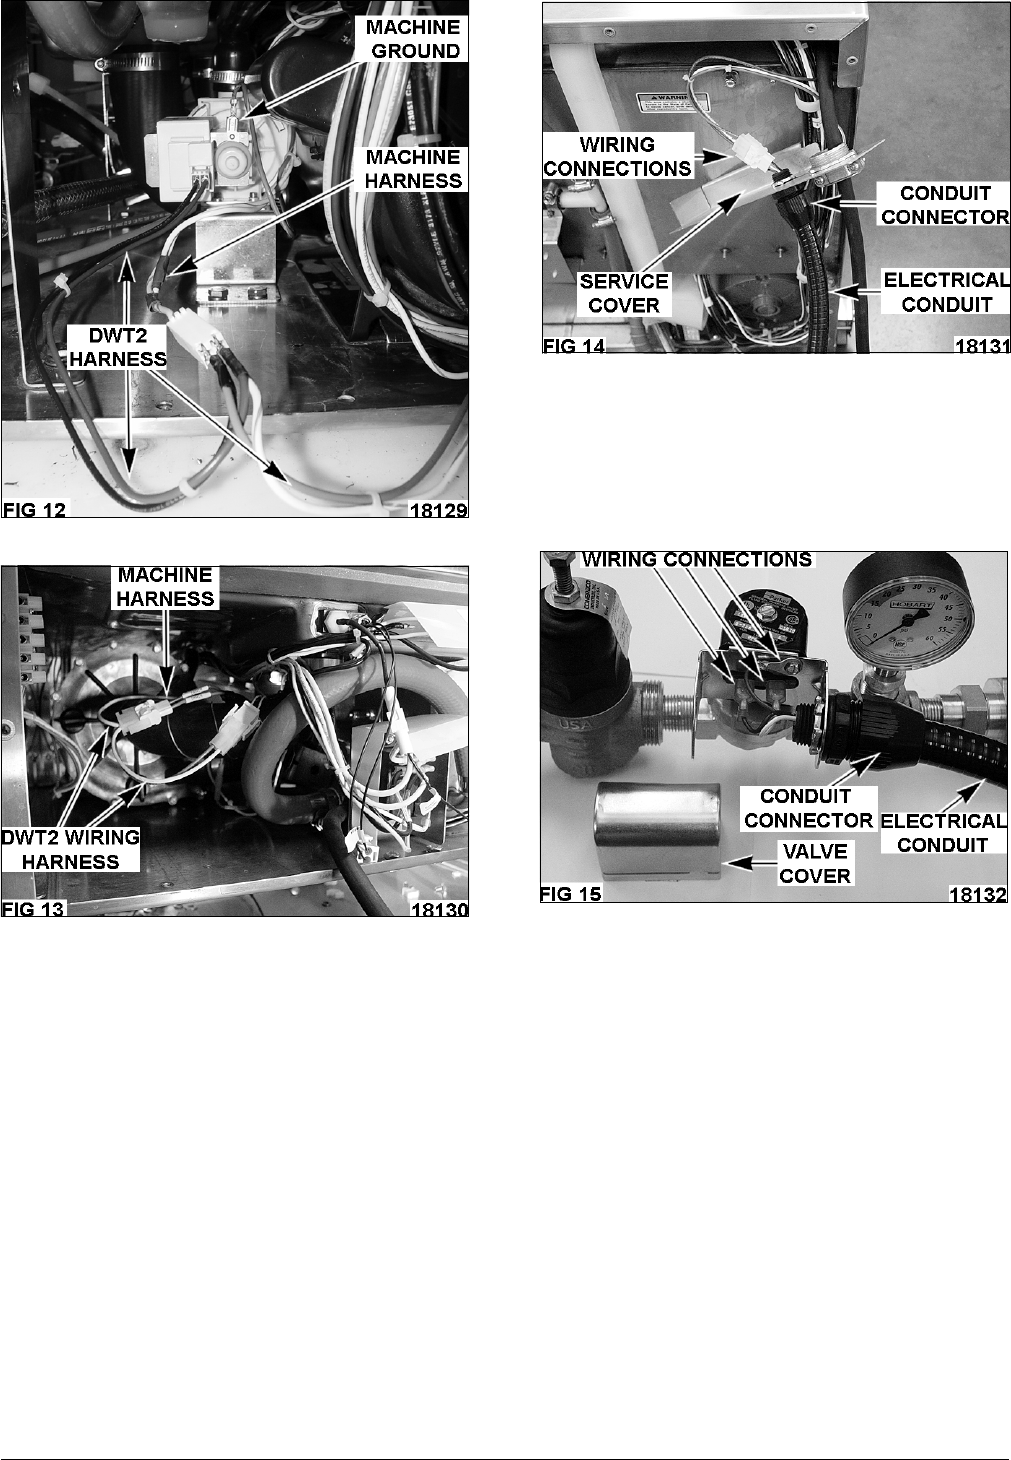
connector to the service cover per Fig 14.
5. Attach electrical conduit to connector and run
cold water valve wire harness (919862) through
conduit per Fig 14. Make wiring harness
connection per Fig 14. Replace valve cover.
Attach service cover to dishwasher after all
connections have been completed.
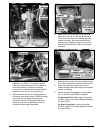
6. Make the electrical connections on the cold
water valve per Fig 15. Use one of the knock
outs on the valve cover to install the electrical
conduit connector. Run the cold water valve
wire harness (919862) through the connector
and install the electrical conduit to the conduit
connector.
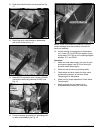
7. Reinstall motor cover, wire way and base cover
to unit after all electrical connections are made.
8. Dress valve electrical conduit so it will not
sustain damage when the machine is moved for
service or cleaning.
9. Locate existing wiring diagram on dishwasher
unit. Locate P1-4 and 2TB-N on diagram.
For Solenoid Drain Units - apply wiring label
F-44097-1 from kit to existing diagram between
P1-4 and 2TB-N.
For Drain Pump Units - apply wiring label
F-44097-2 from kit to existing diagram between
P1-4 and 2TB-N.